Playing in the dark
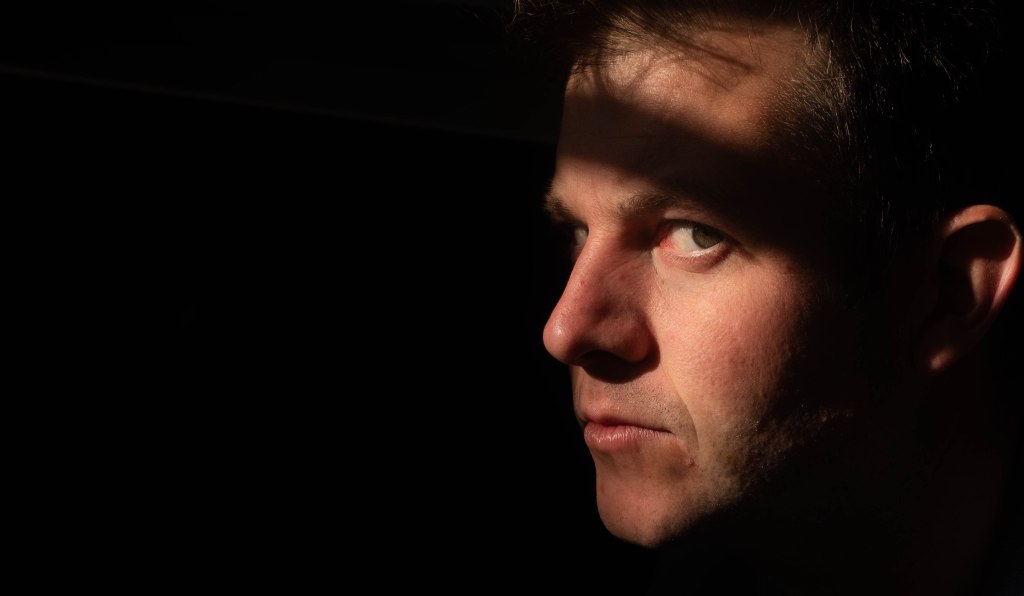
Chiaroscuro
A dramatic use of shadows, bold black shapes and patterns. Generally dark.
ISO 200 F5.6 1/200

ISO 200 F5.6 1/160

ISO 200 F5.6 1/420

ISO 200 F5.6 1/160s

ISO 200 F3.2 1/140s
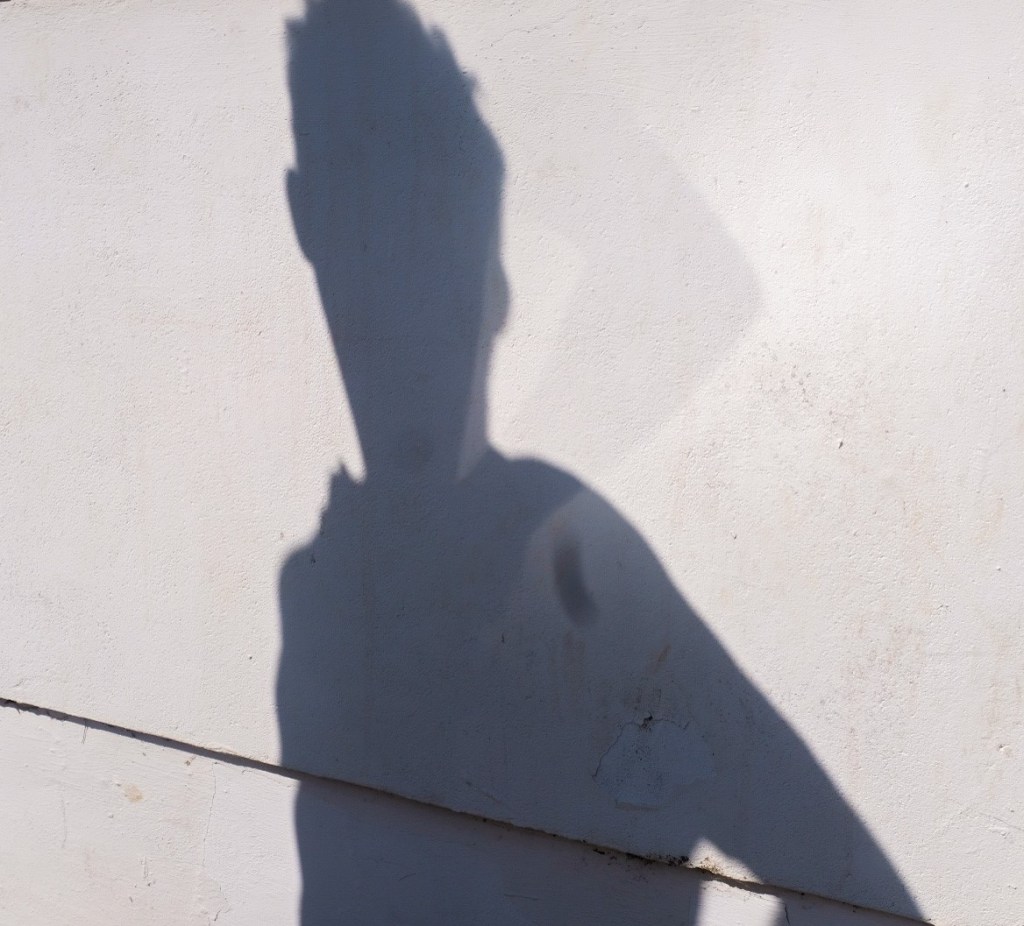
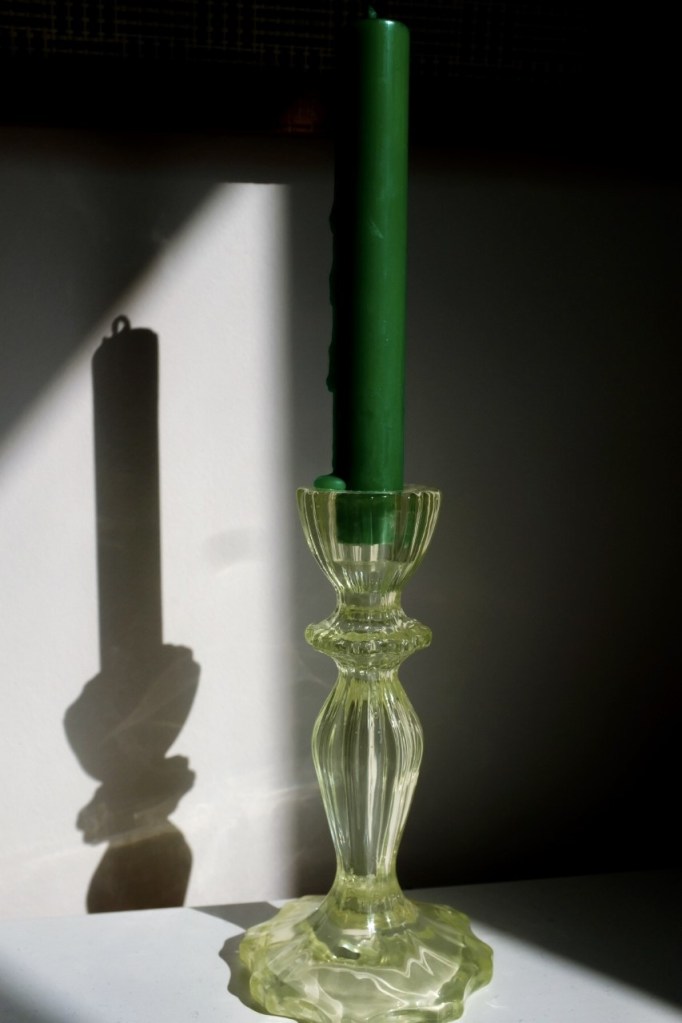
Cast Shape
Casting a shadow, the shape of the object is projected onto a light background.

ISO 200 F5.6 1/170s

ISO 200 F5.6 1/300s
ISO 200 F 11 1/850s

ISO 200 F5 1/125s

ISO 200 F5.6 1/300s
ISO 200 F6.4 Shutter speed 1/800s
1.1,2.1,2.2 Chiaroscuro photography is looking at a big contrast between light and dark which can then create a dramatic look. In able to achieve this I needed to seek the natural light as well as a dark back drop and then have a relatively low exposure so you get the darkness contrasted to the face or object lit up. I kept the aperture at a medium low so the portrait pops out, a low ISO and then a fast shutter speed so not too much light is coming in. I used my Fuji X 100 camera with 23mm lens and I used the exposure compensation dial to help speed the shutter speed up. A similar method was used again for my cast a shadow photos, not to put the aperture too low as the shadow in the backdrop also needed to be in focus, so a slightly wider depth of field. I then used Lightroom afterwards just to help the background be darker and pop the contrast up for the shadows and highlights on the lit up faces. I experimented with Raw photos in the portraiture this time to be able to work with it more afterwards.
3.1, 3.2 In my Chiaroscuro photos, I did these on a sunny day so I could use the natural beam of light on the faces. In the first set of photos, I got my husband to kneel in front of our window with shutters, so a beam of light drew on to his face. I positioned him in front of our black TV screen to achieve a dark backdrop, but the dark backdrop was primarily achieved by having the room relatively dark; light on my husband’s face, but no lighting of the background. I was really happy with these. I used lightroom with the raw photos afterwards just to make sure the background was really dark and increased the highlights slightly on his face. With my daughter, it was near the end of the day in golden hour, I went to the tunnel underneath Richmond bridge where I was able to achieve direct sunlight on my daughter’s face, whilst having a background with very little lighting. This worked quite well, I managed to have soft highlights on her face with the contrast of a dark background and I like the mystical one of her walking out from the tunnel with just the light reflecting on her face as well as the pillar. Unfortunately I didn’t quite get her face in focus, but I still liked the feel of the image. Once again I used Lightroom with the raw photos to really darken the backdrop and highlight the face. With the casting a shadow work, initially I did find this tricky to make it interesting and creative. Using my son I managed to get a shadow alone and one of him next to his shadow, they both had a Peter Pan effect which I quite enjoyed! I experimented more with objects too as I’m normally drawn to people. Though saying that the frog was almost as difficult to capture like a person, as it was bouncing around on the spring! However with the candle I was able to move it exactly how I wanted to get a good composition with the light and shadow in the picture and with light room I could really contrast and make the shadow and light reflections on the candle stick pop. Playing with the exposure composition dial and a minus value, this sped up the shutter speed so I could get a lower exposure to get lovely contrast of dark and light as well as making the shadows pop out. I really enjoyed this particular project as it really helped me understand the importance or exposure and seeking the right light.
4.1 When photographing my children in Richmond in the early evening on Saturday, it was very busy. I tried to make sure I was not in people’s way, with the tunnel work we kept to one side so we were not directly in the public’s walkway.
