The Colour of Light
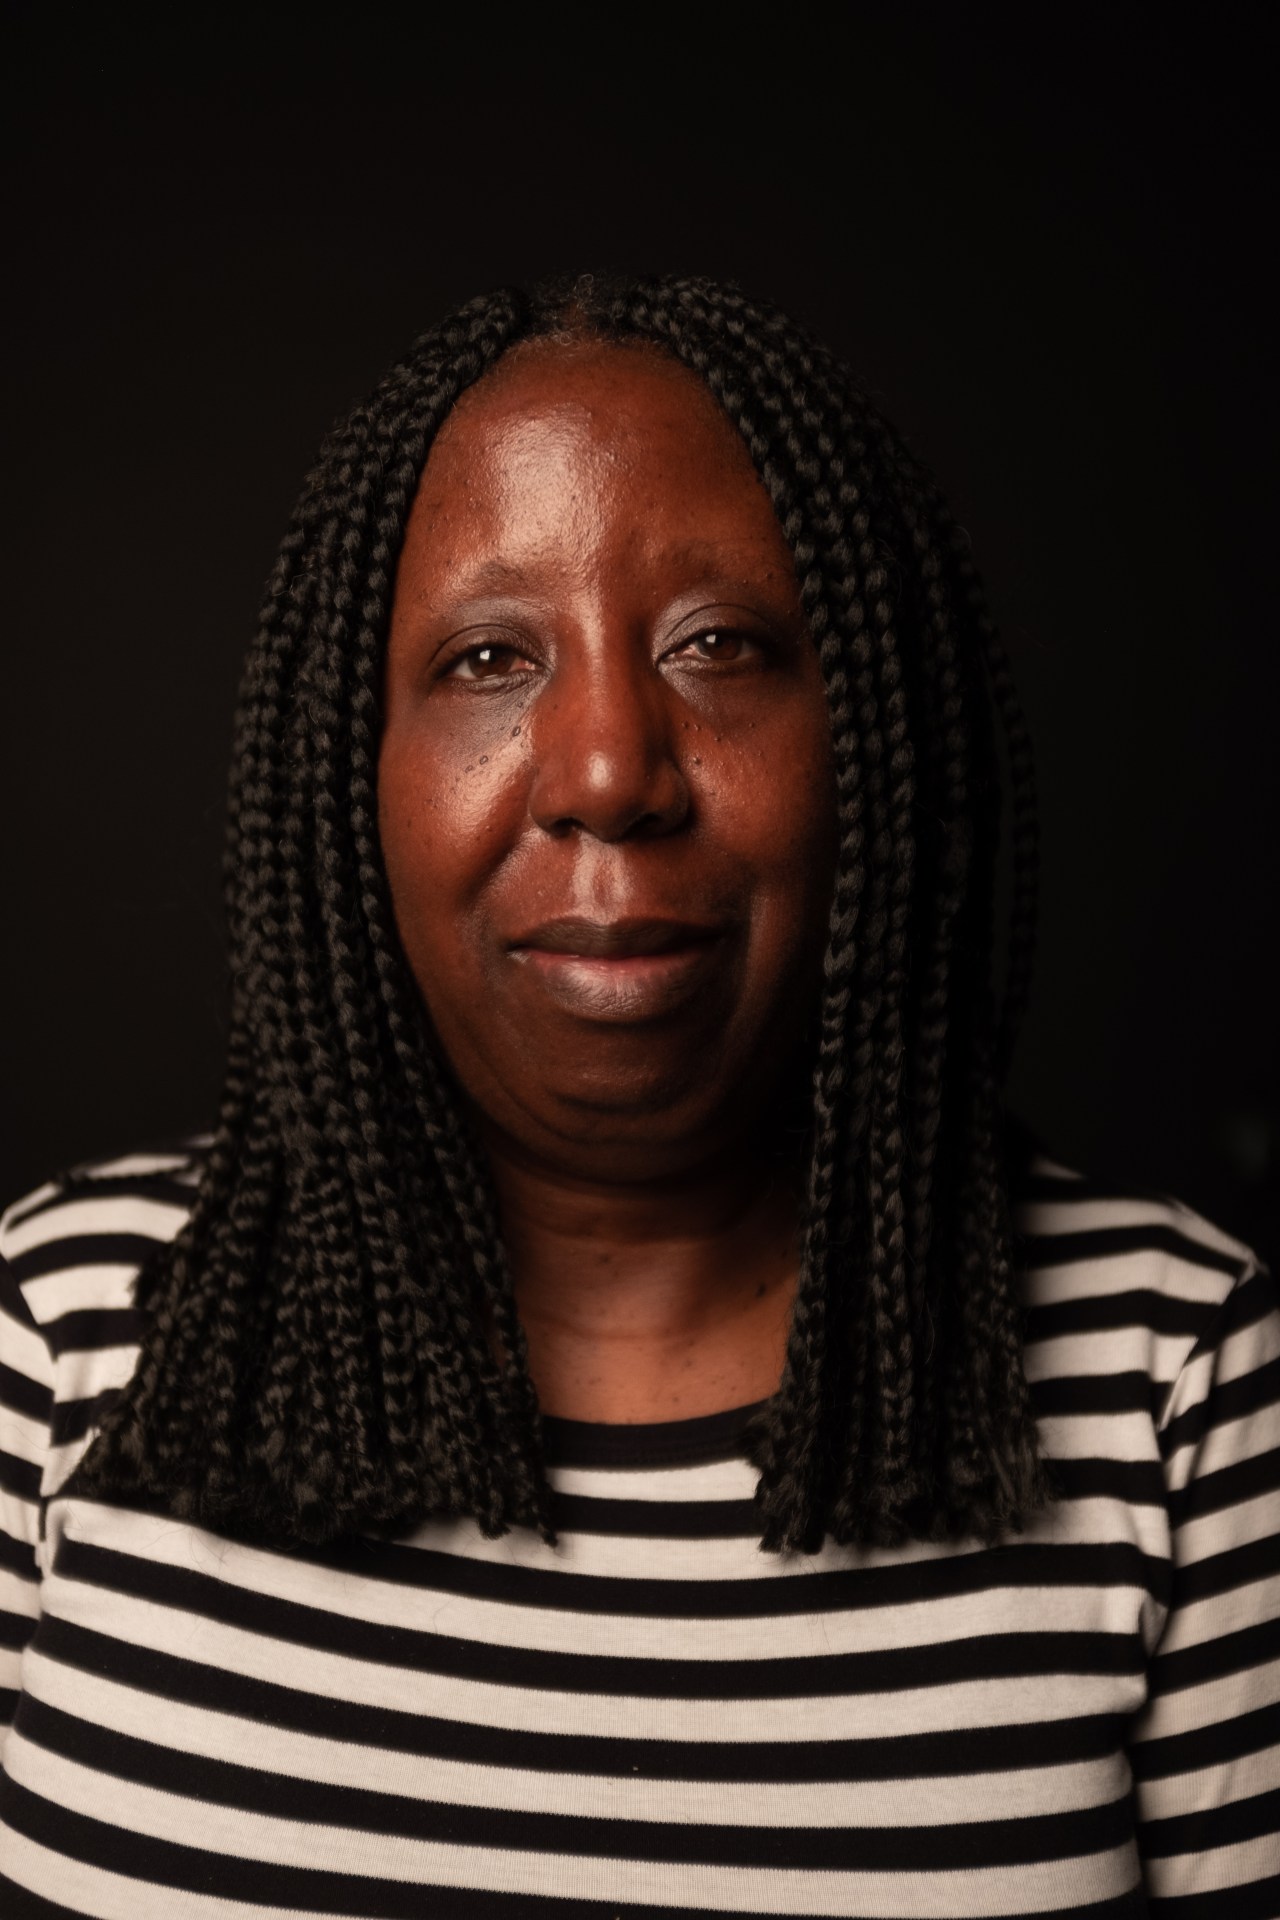
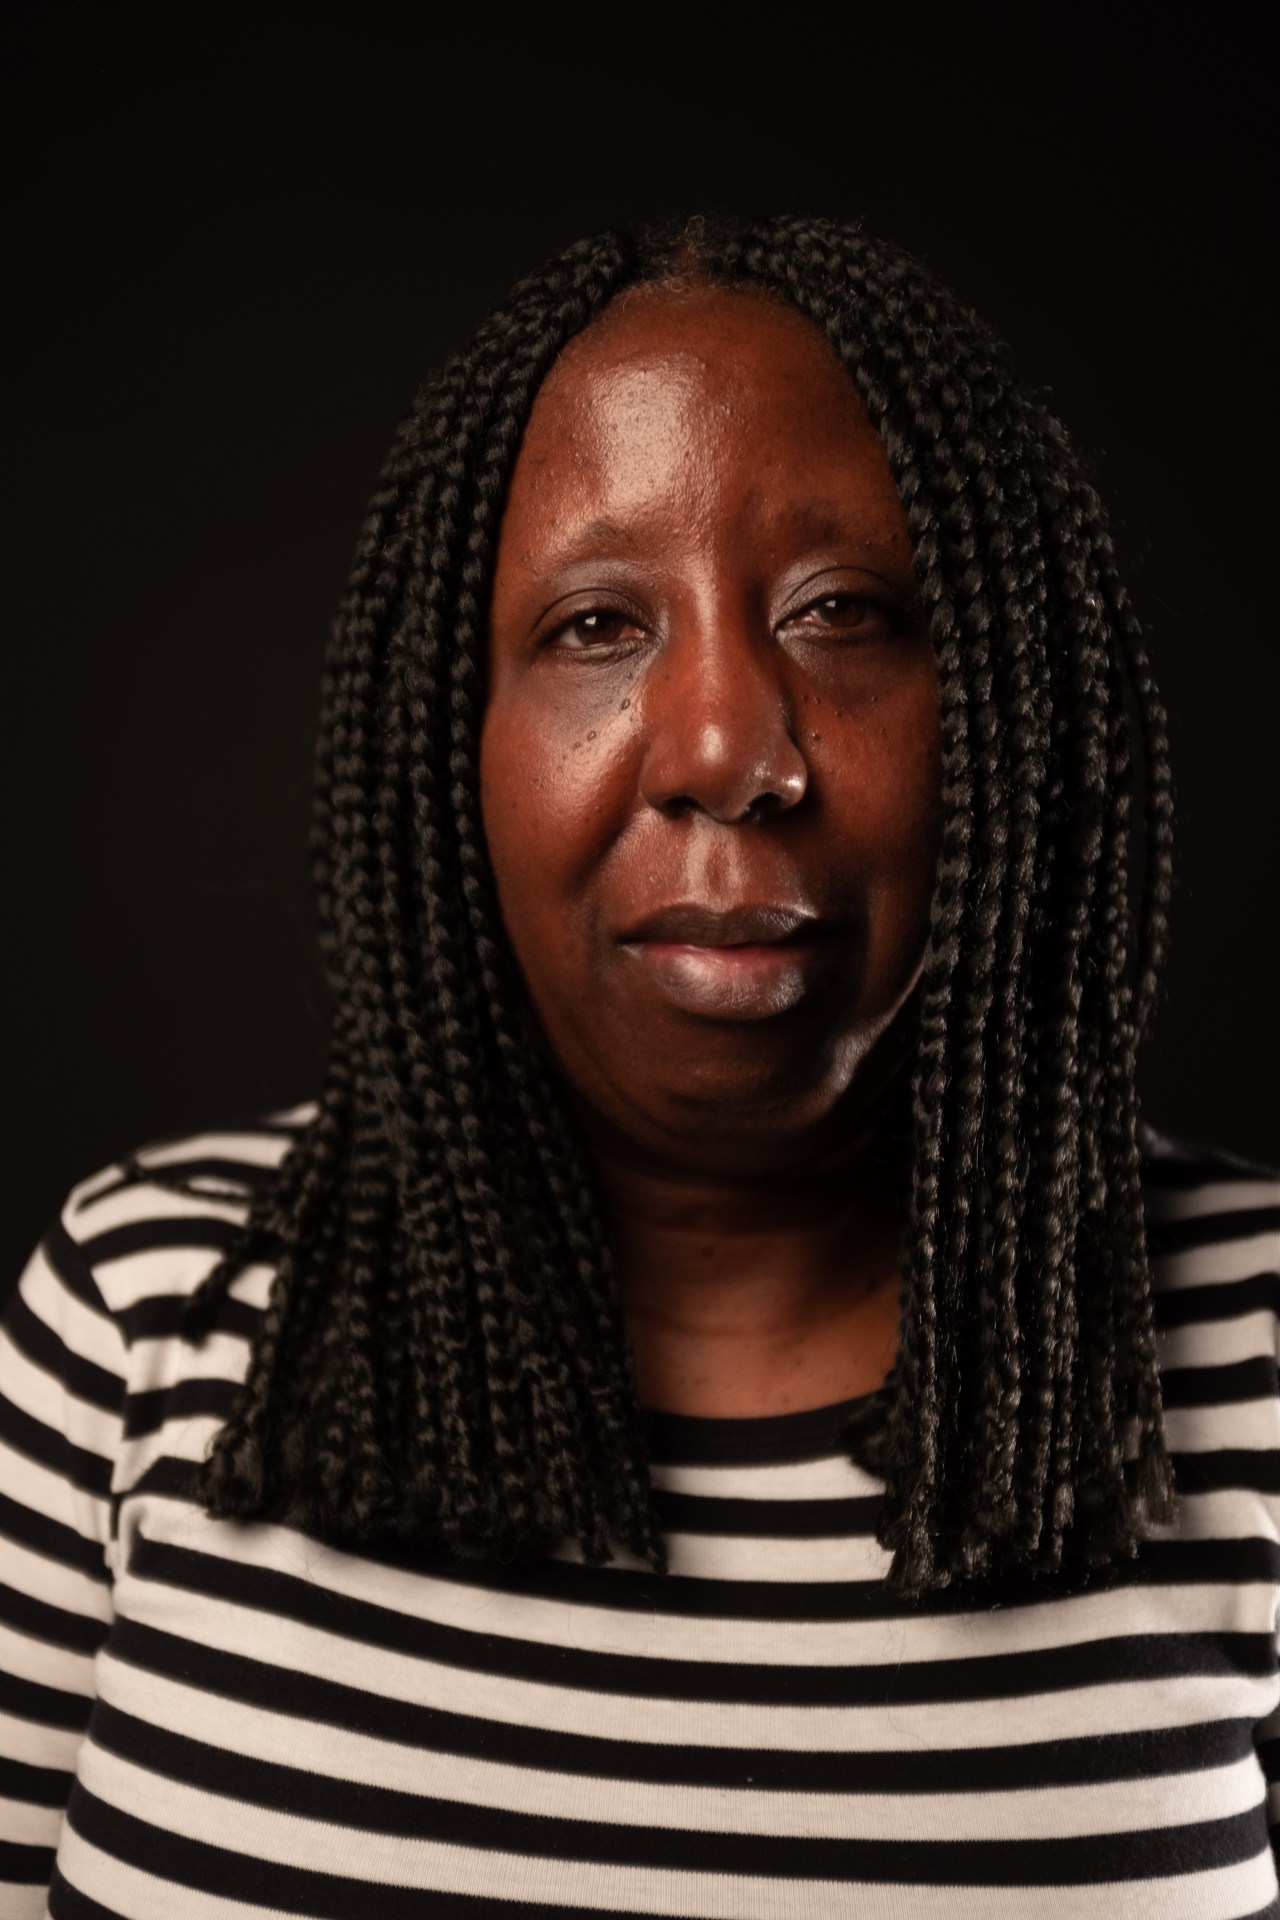
White Balance – ” Getting an accurate white balance is important when shooting any photograph, perhaps especially so with landscape images. There are likely to be many tones and colours in the image, and you will want to ensure that these accurately reflect what you saw before your eyes when you took the picture. Just like a camera can’t see the same dynamic range that we humans can, it can’t identify colours like we do. Camera’s “see” images and the hues within as “temperatures” of light, and it is the temperature of light that is the underlying control point of white balance. This temperature is measured in Kelvin (K). Cool, or bluer, temperatures have lower K value, whereas warmer have a higher K value.
Like most modern digital cameras, the X100S offers a set of white balance presets along with the ability to use an auto white balance. The choices for white balance with the X100S are: Auto, Custom, Colour Temperature, Fine, Shade, Fluorescent Light 1, Fluorescent Light 2, Fluorescent Light 3, Incandescent, and Underwater.” pg 131, White Balance, Fujifilm X100S From snapshots to great shots Kevin Mullins.
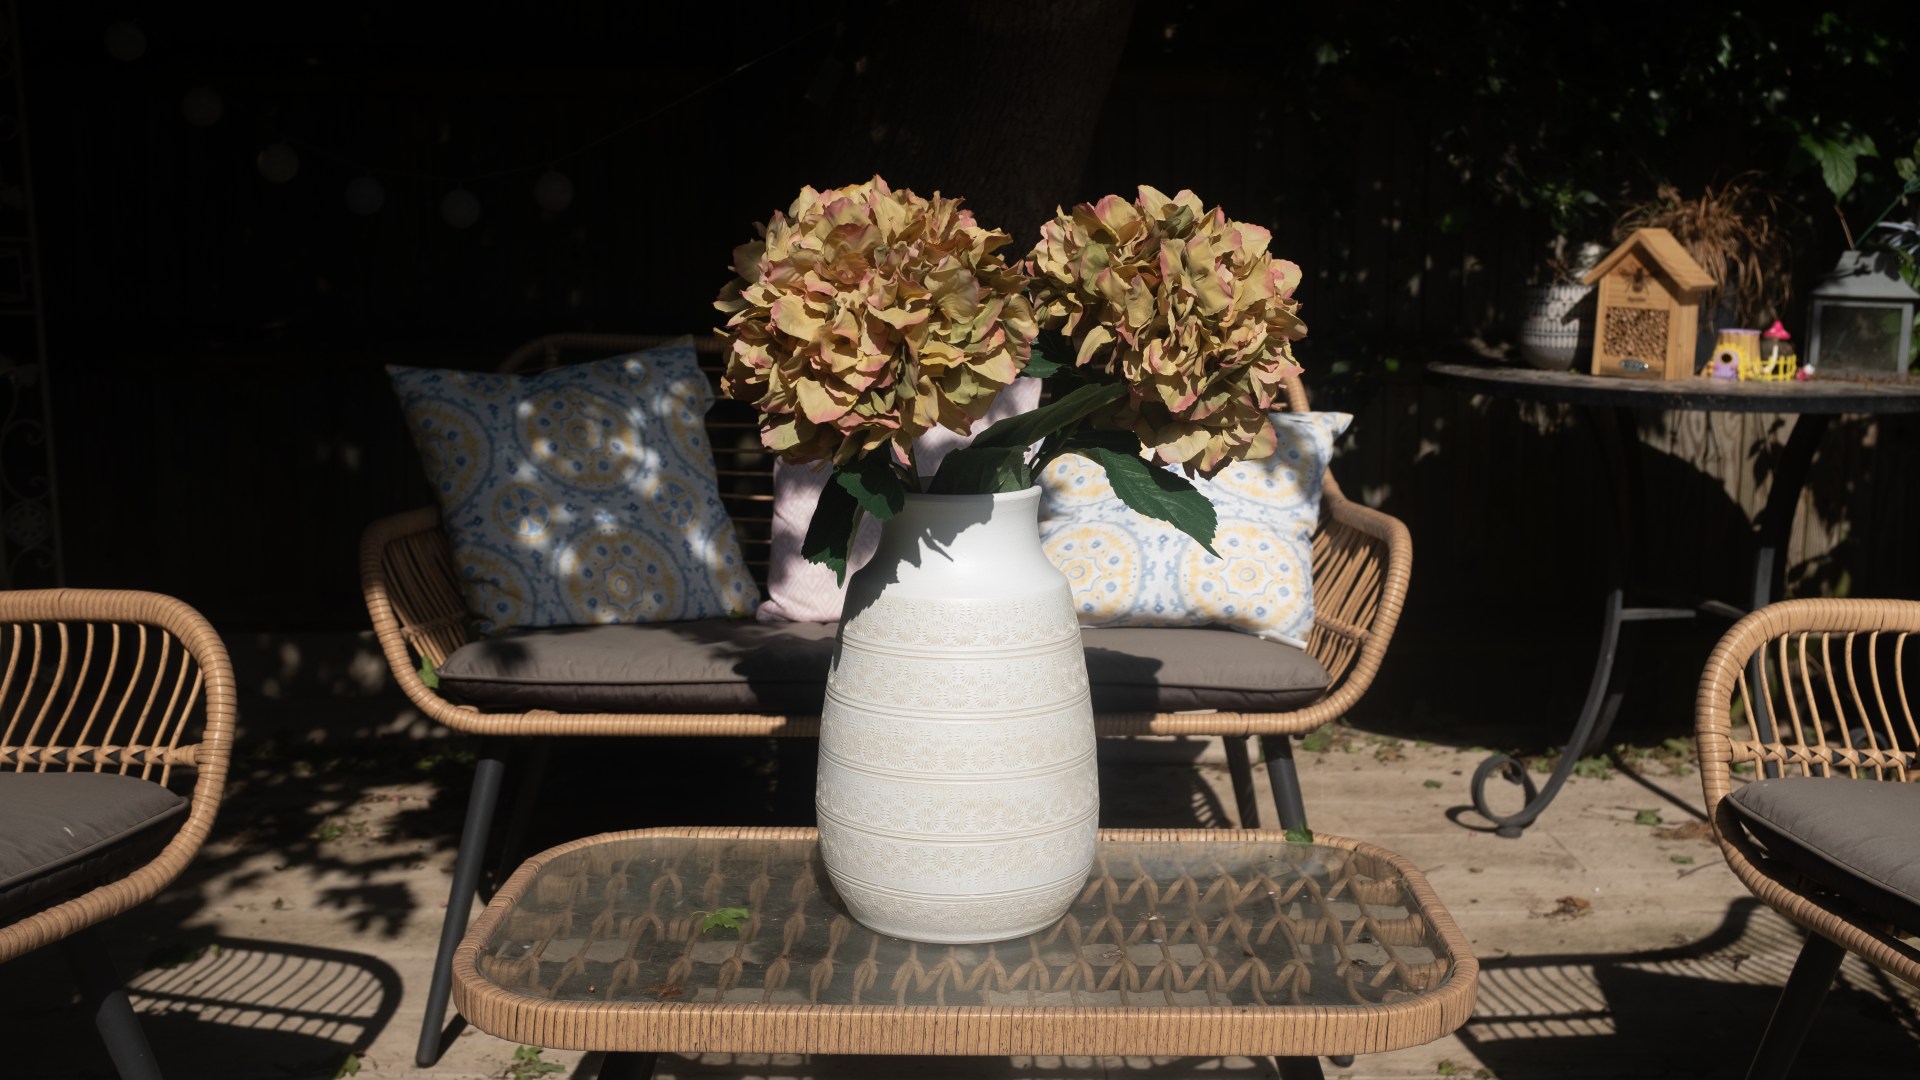
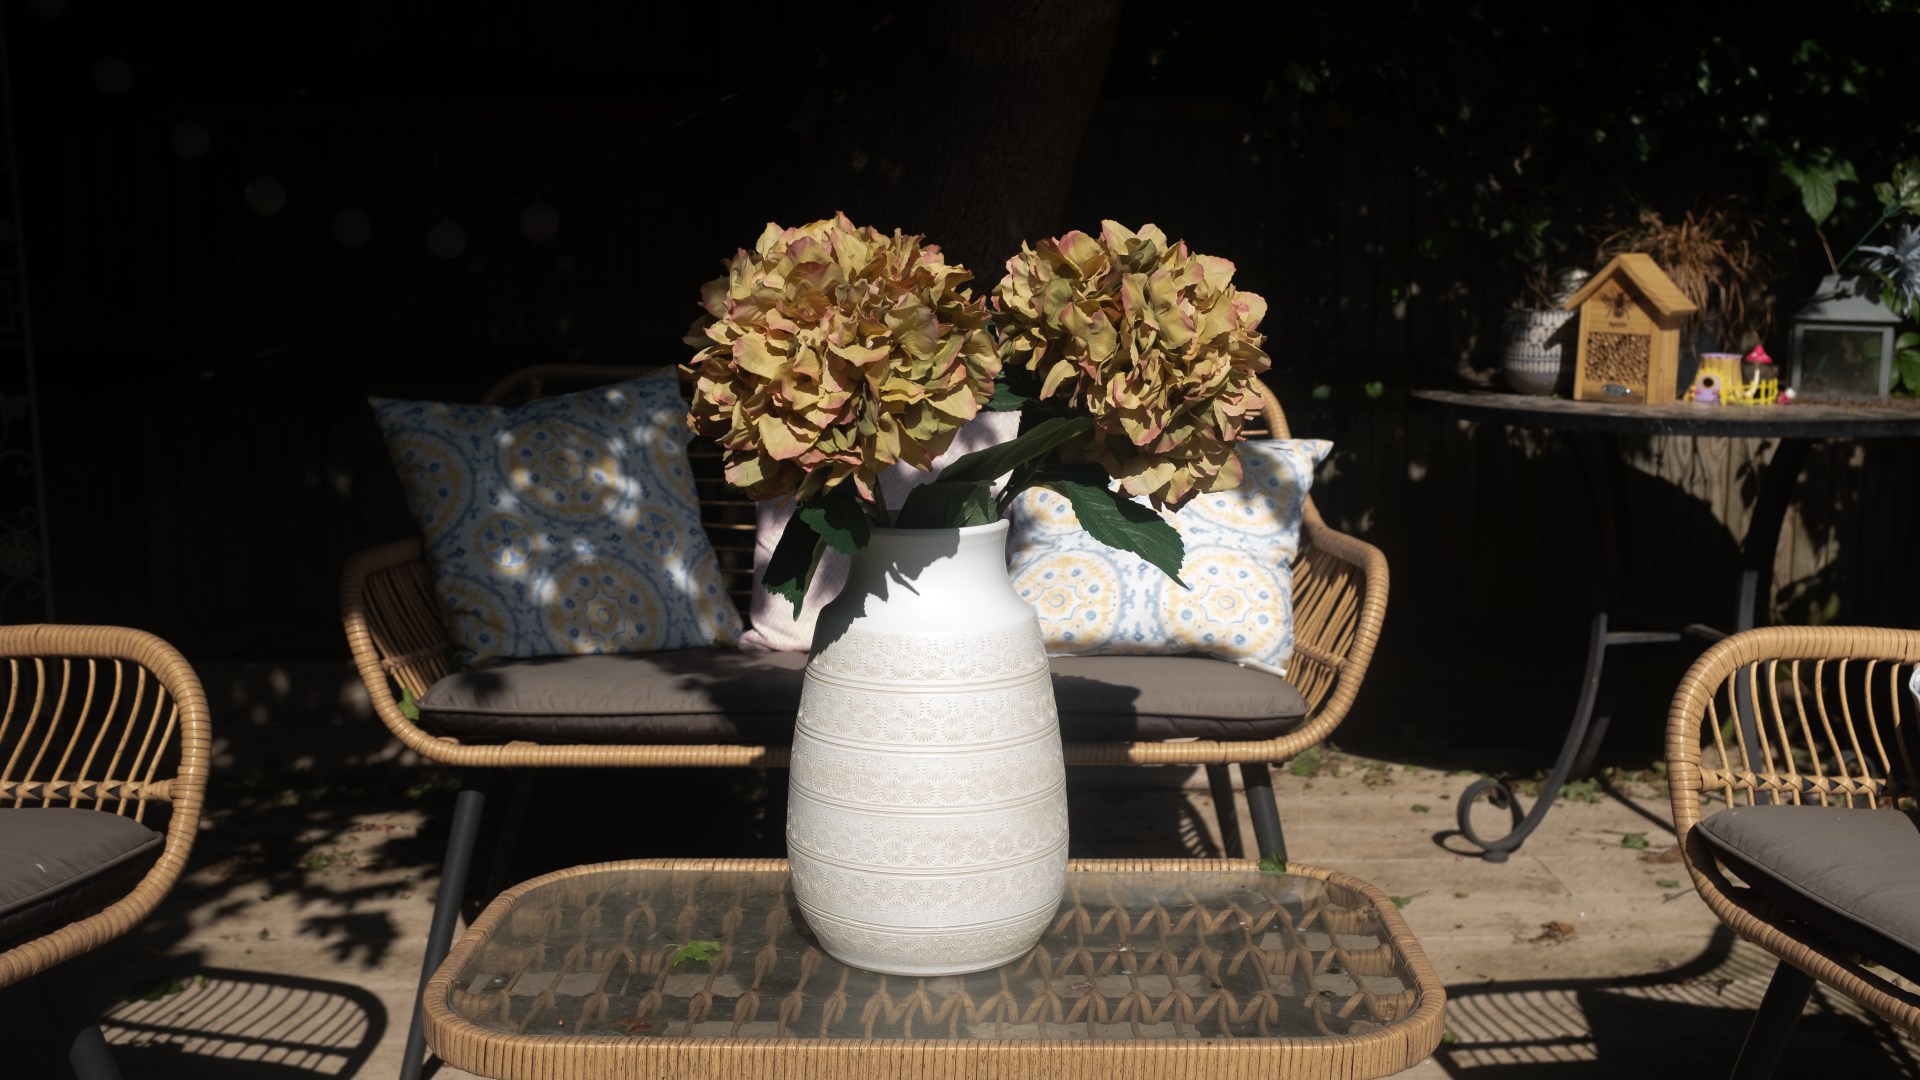
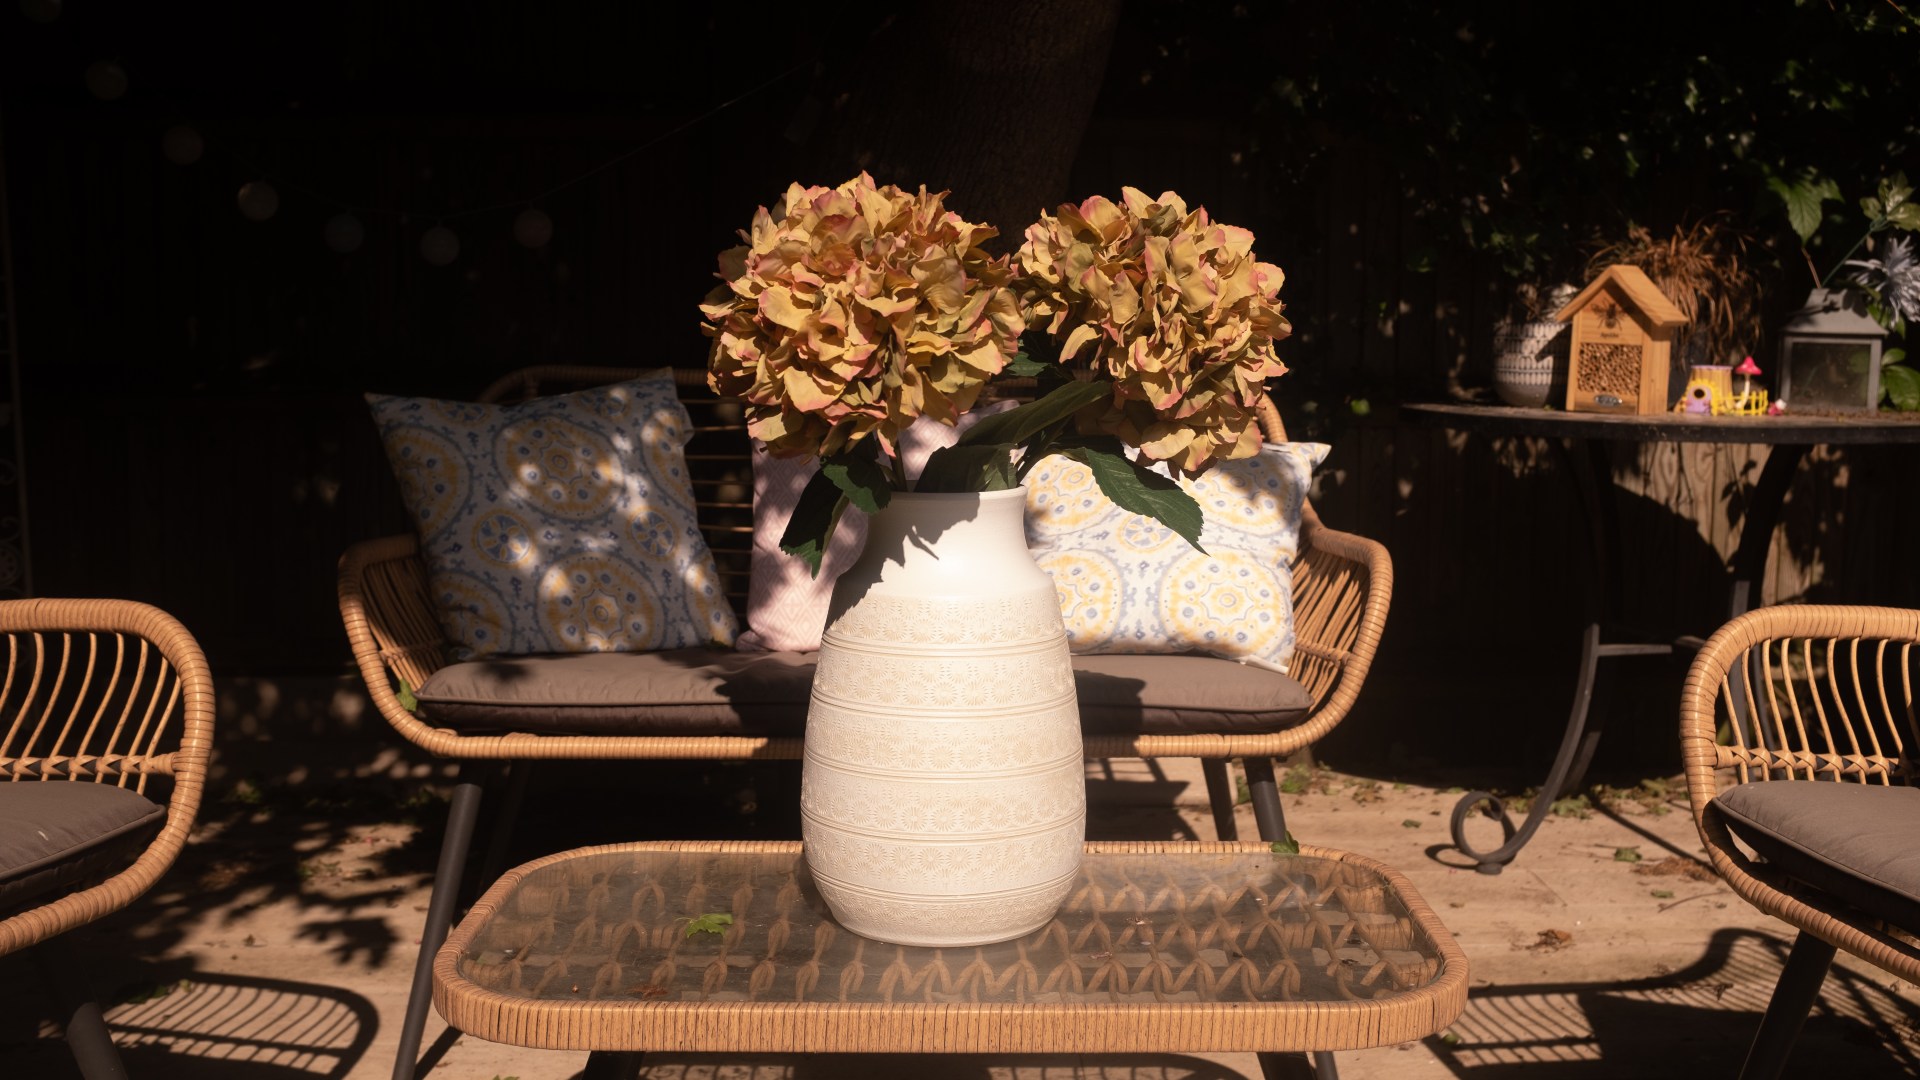
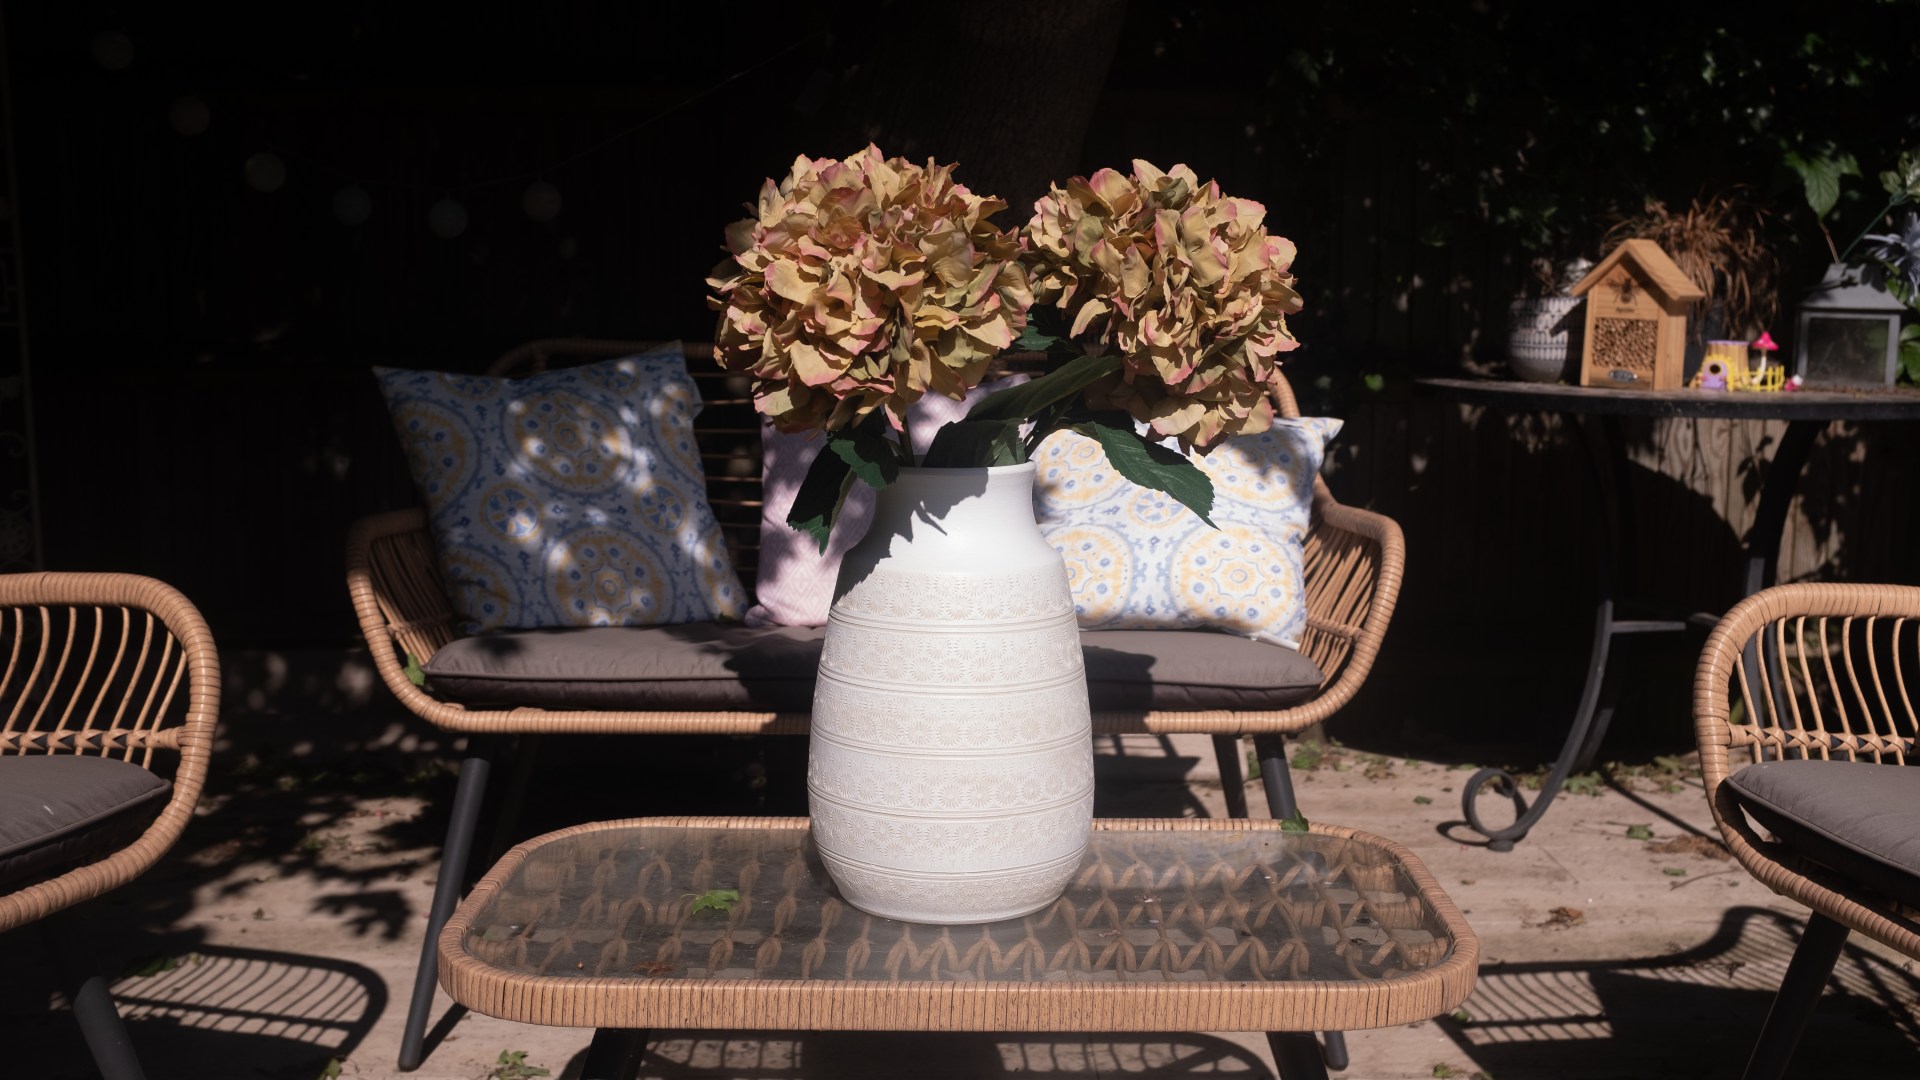
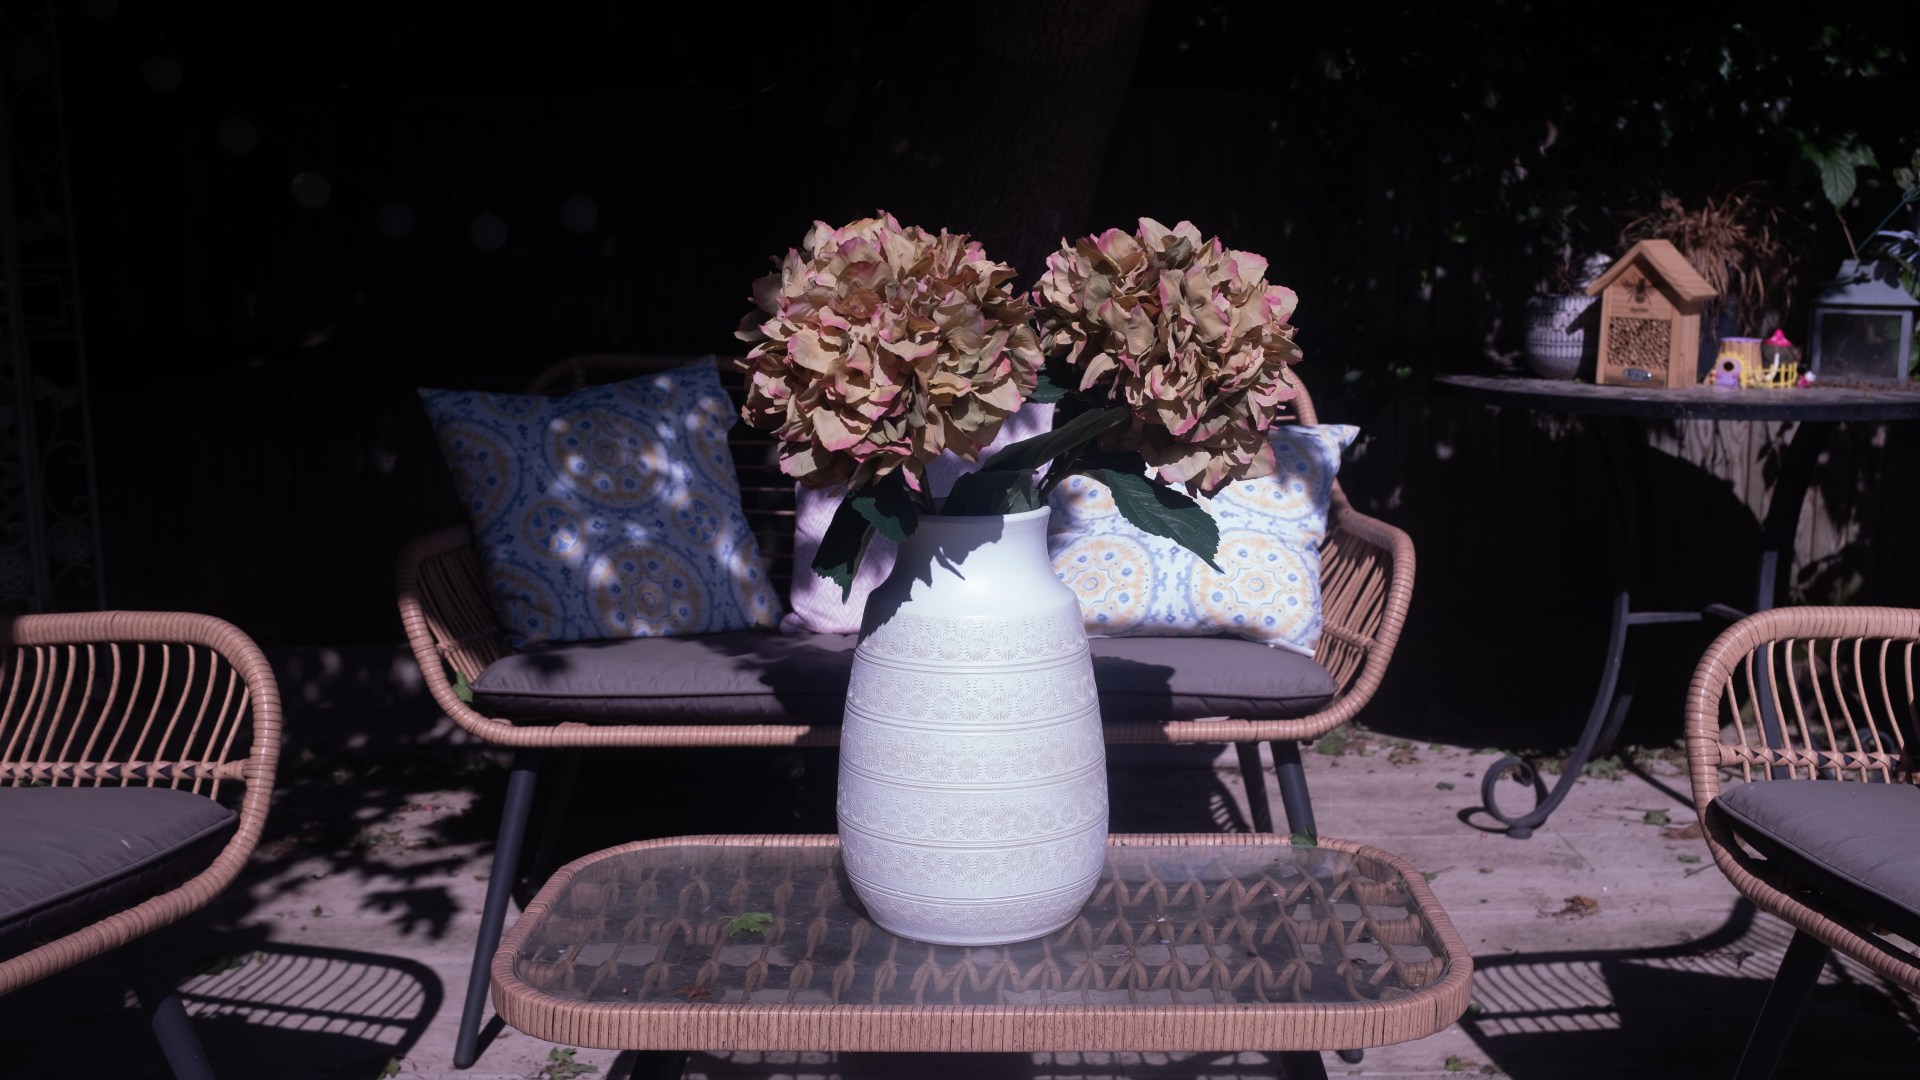
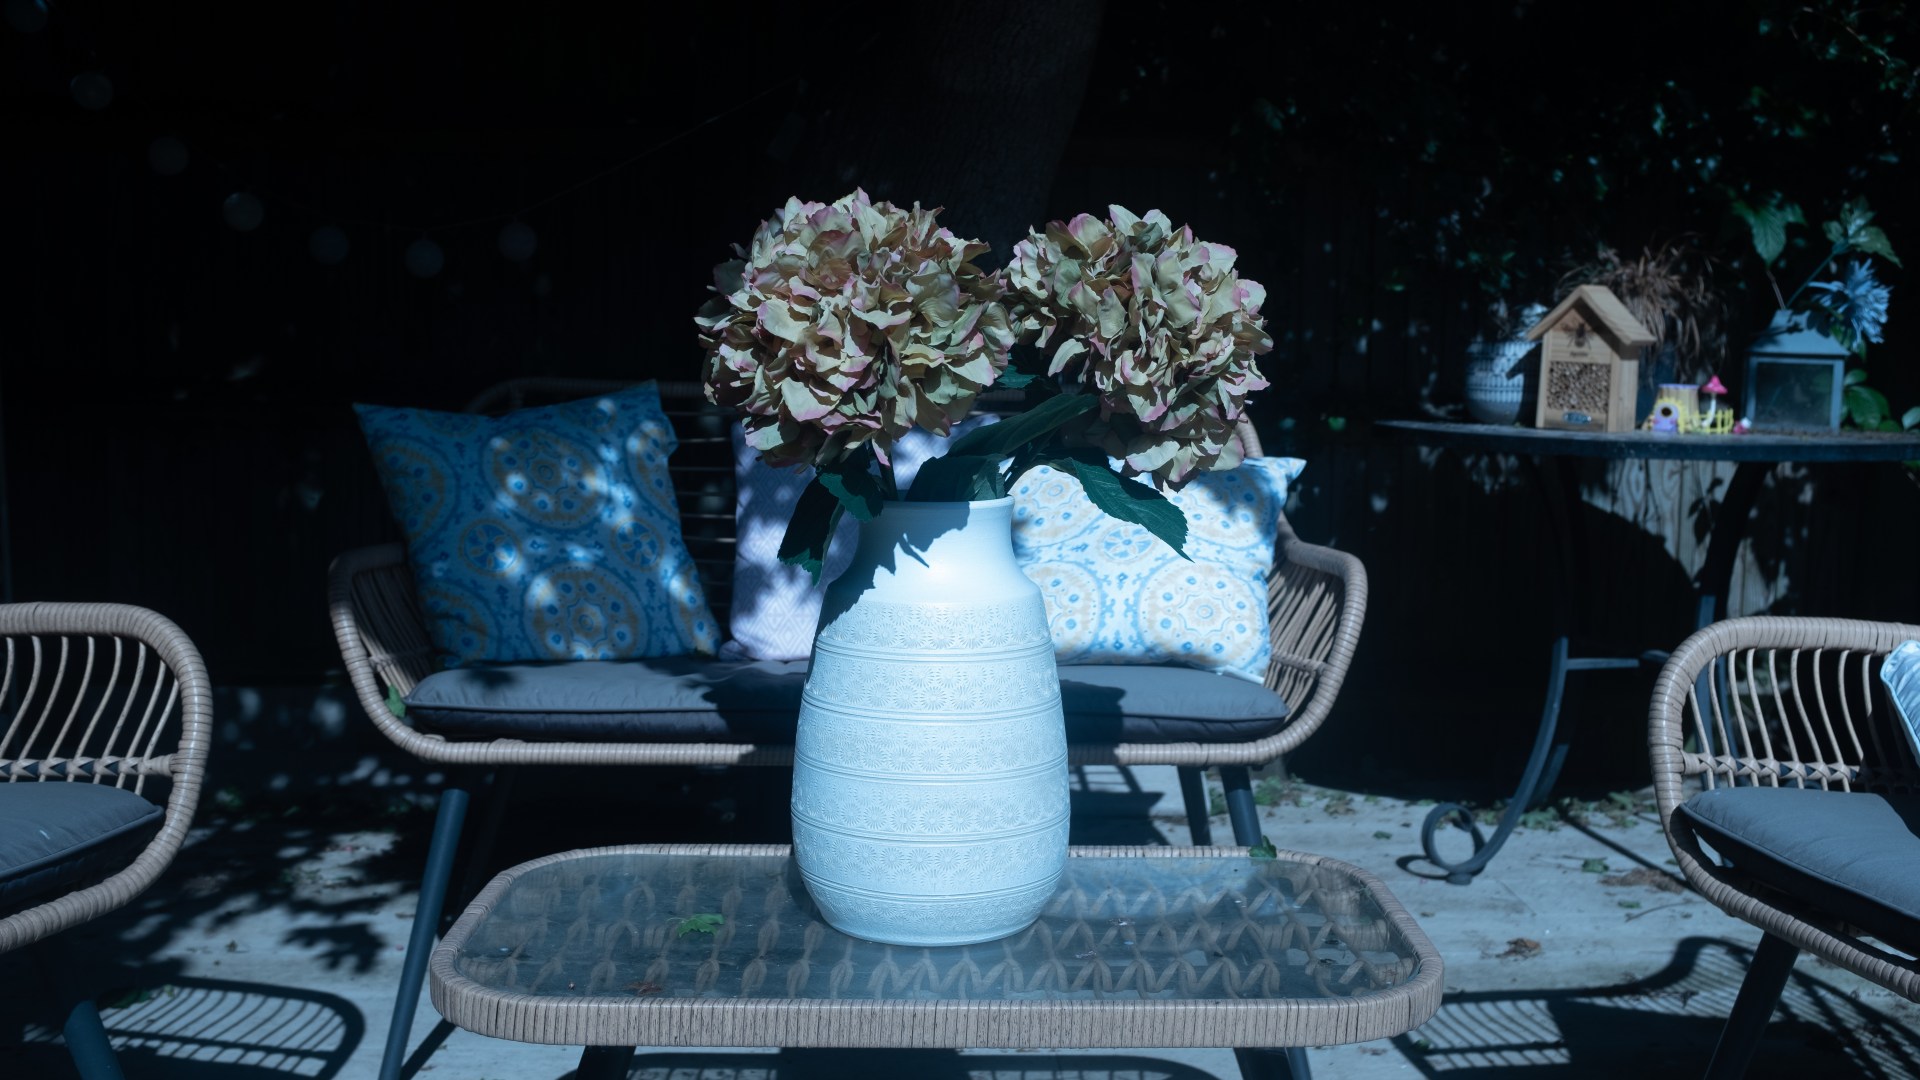
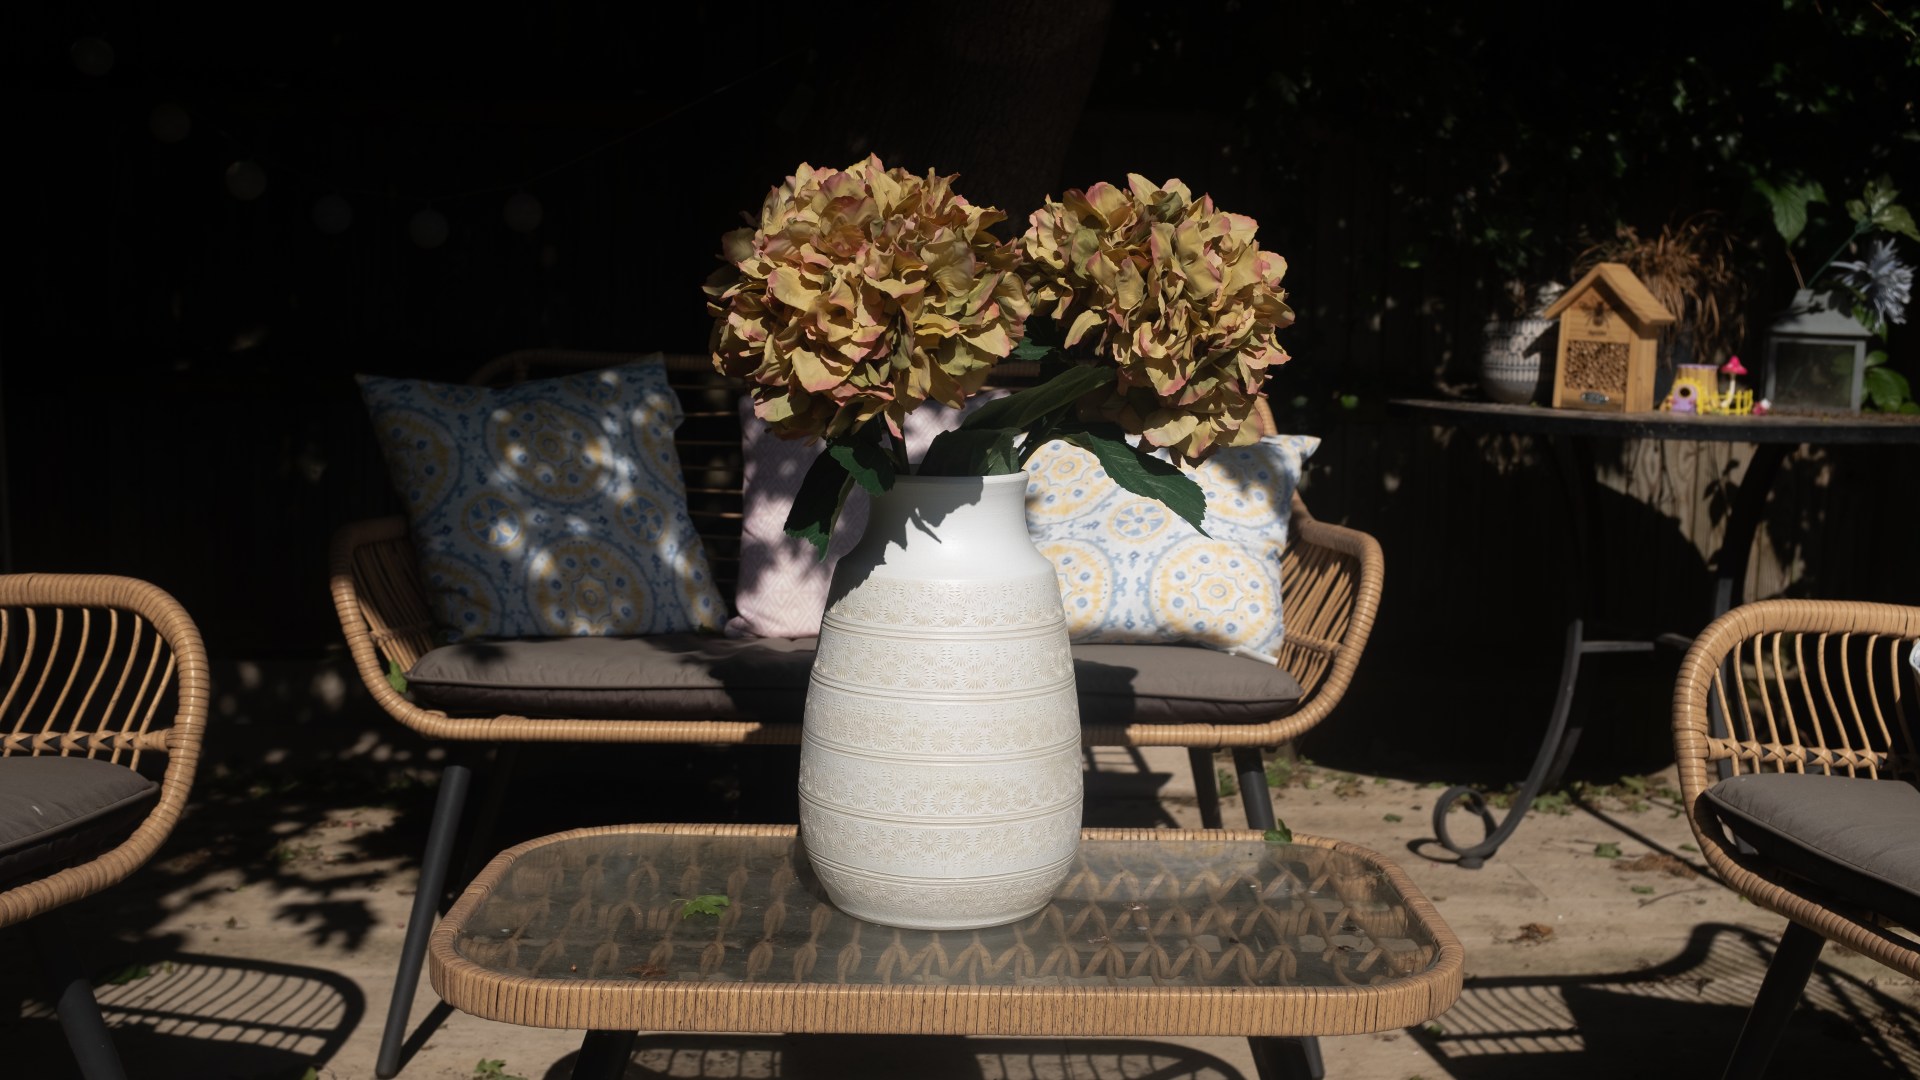
Task 1 – Take 2 sets of shots with all the presets in the white balance setting:
I will be using the following presets:
Auto, daylight, shade, fluorescent 1, fluorescent 2, fluorescent 3, incandescent, underwater.
For the camera settings outside in the daylight, I used my Fujix100F with the 23mm lens, shutter speed 1/2000, Fstop 4 and ISO 100

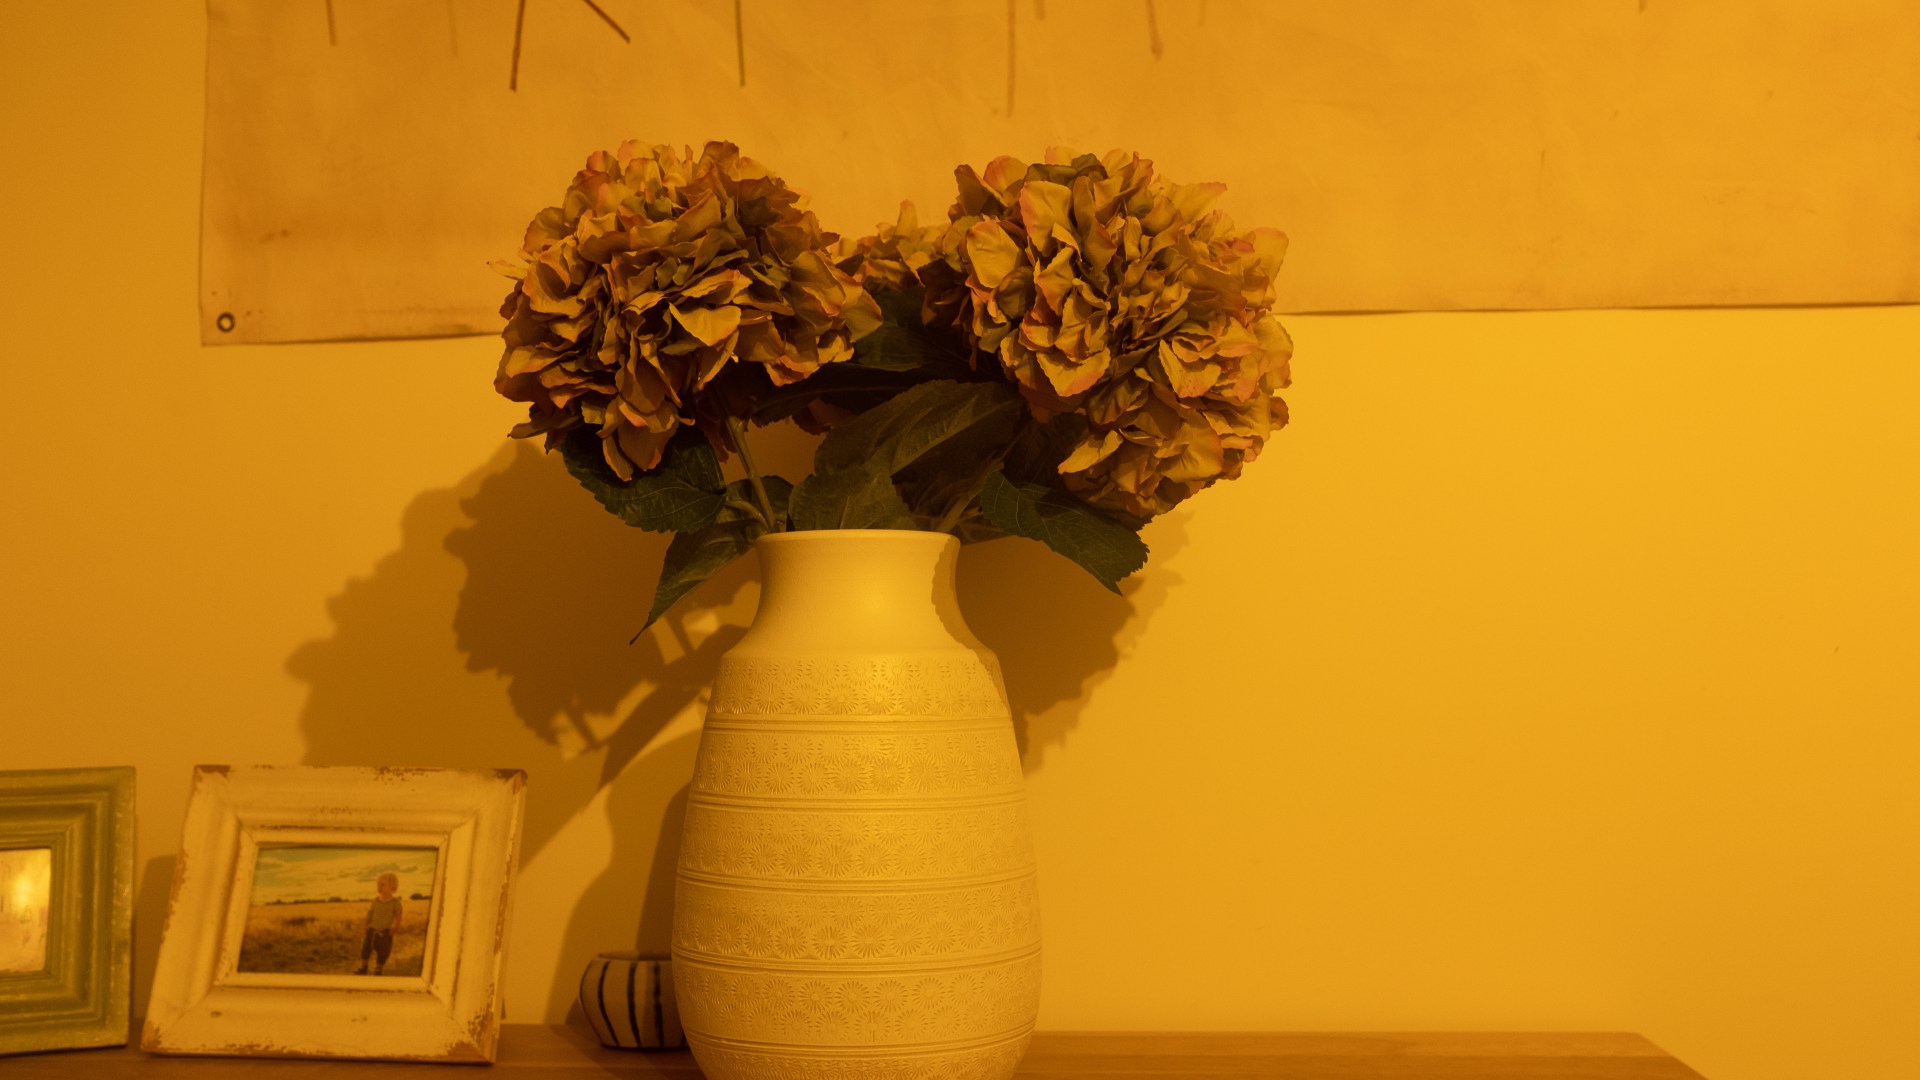
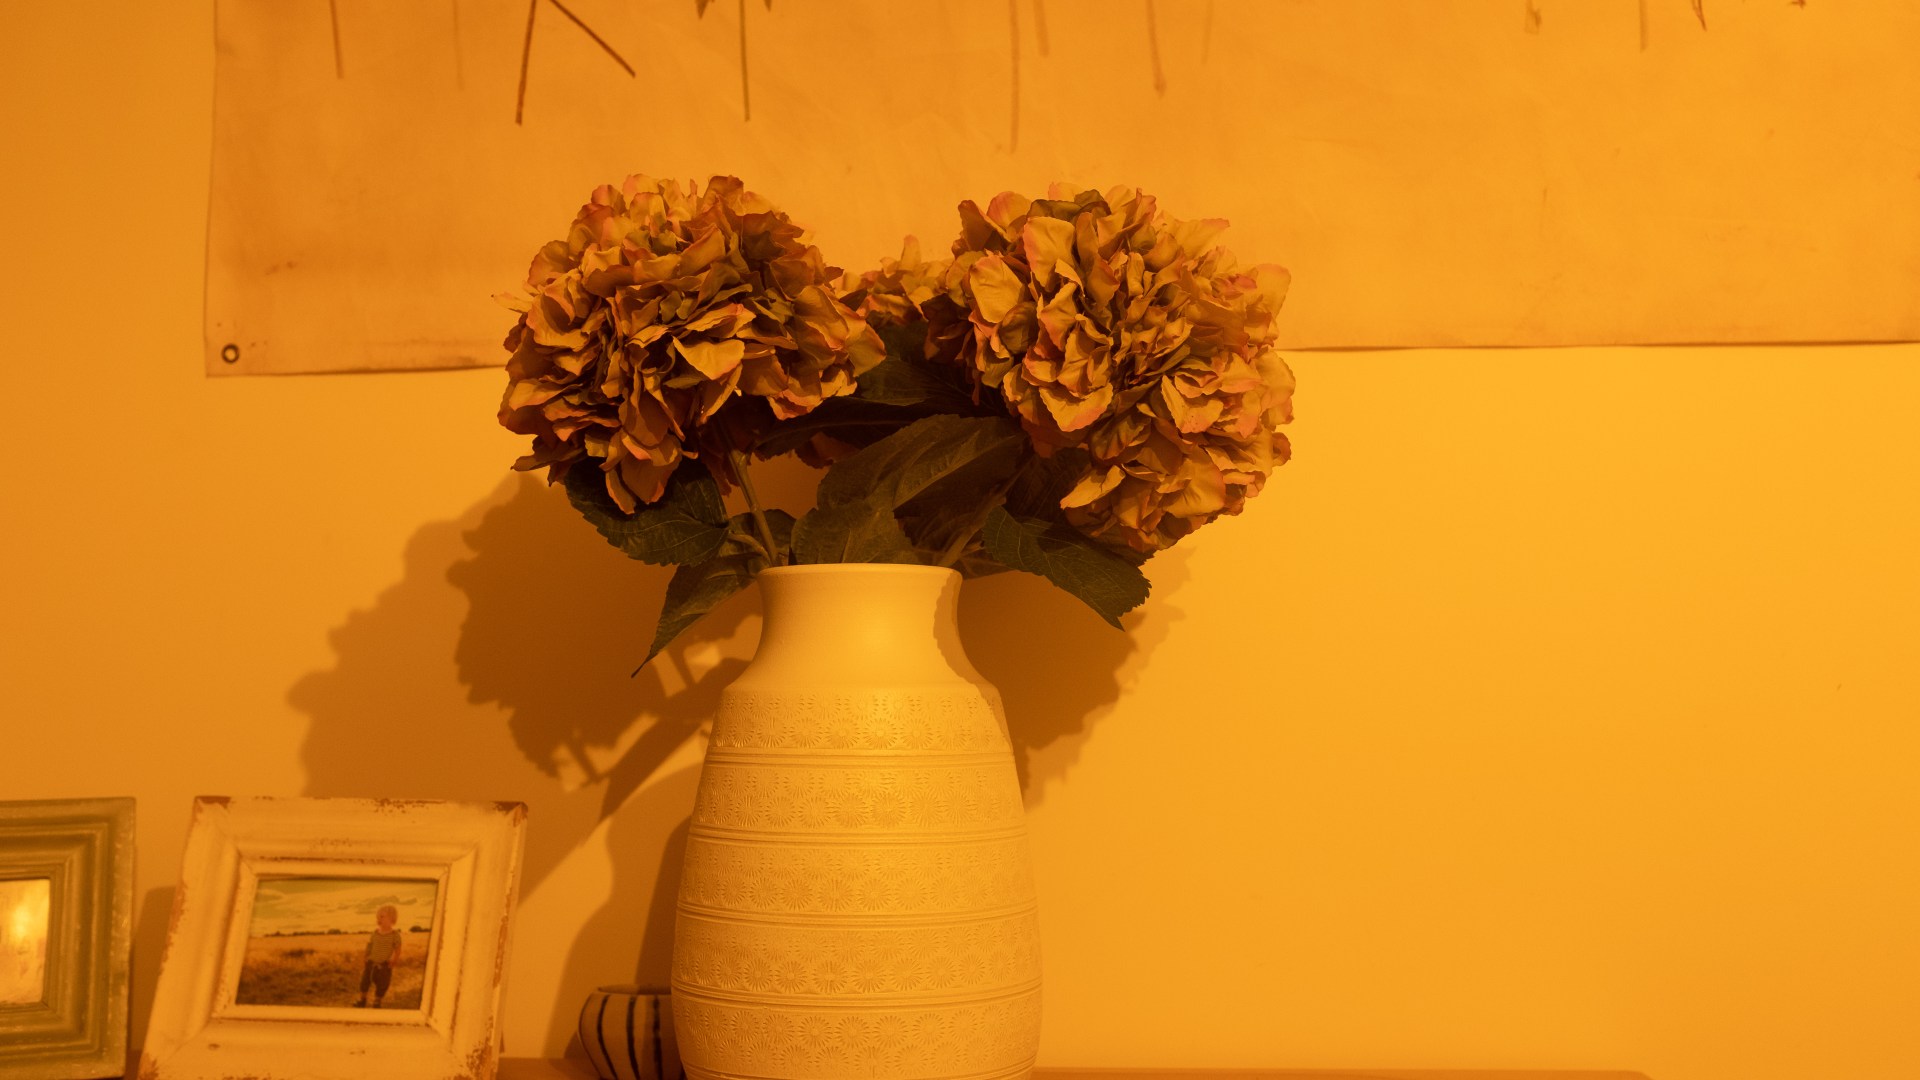
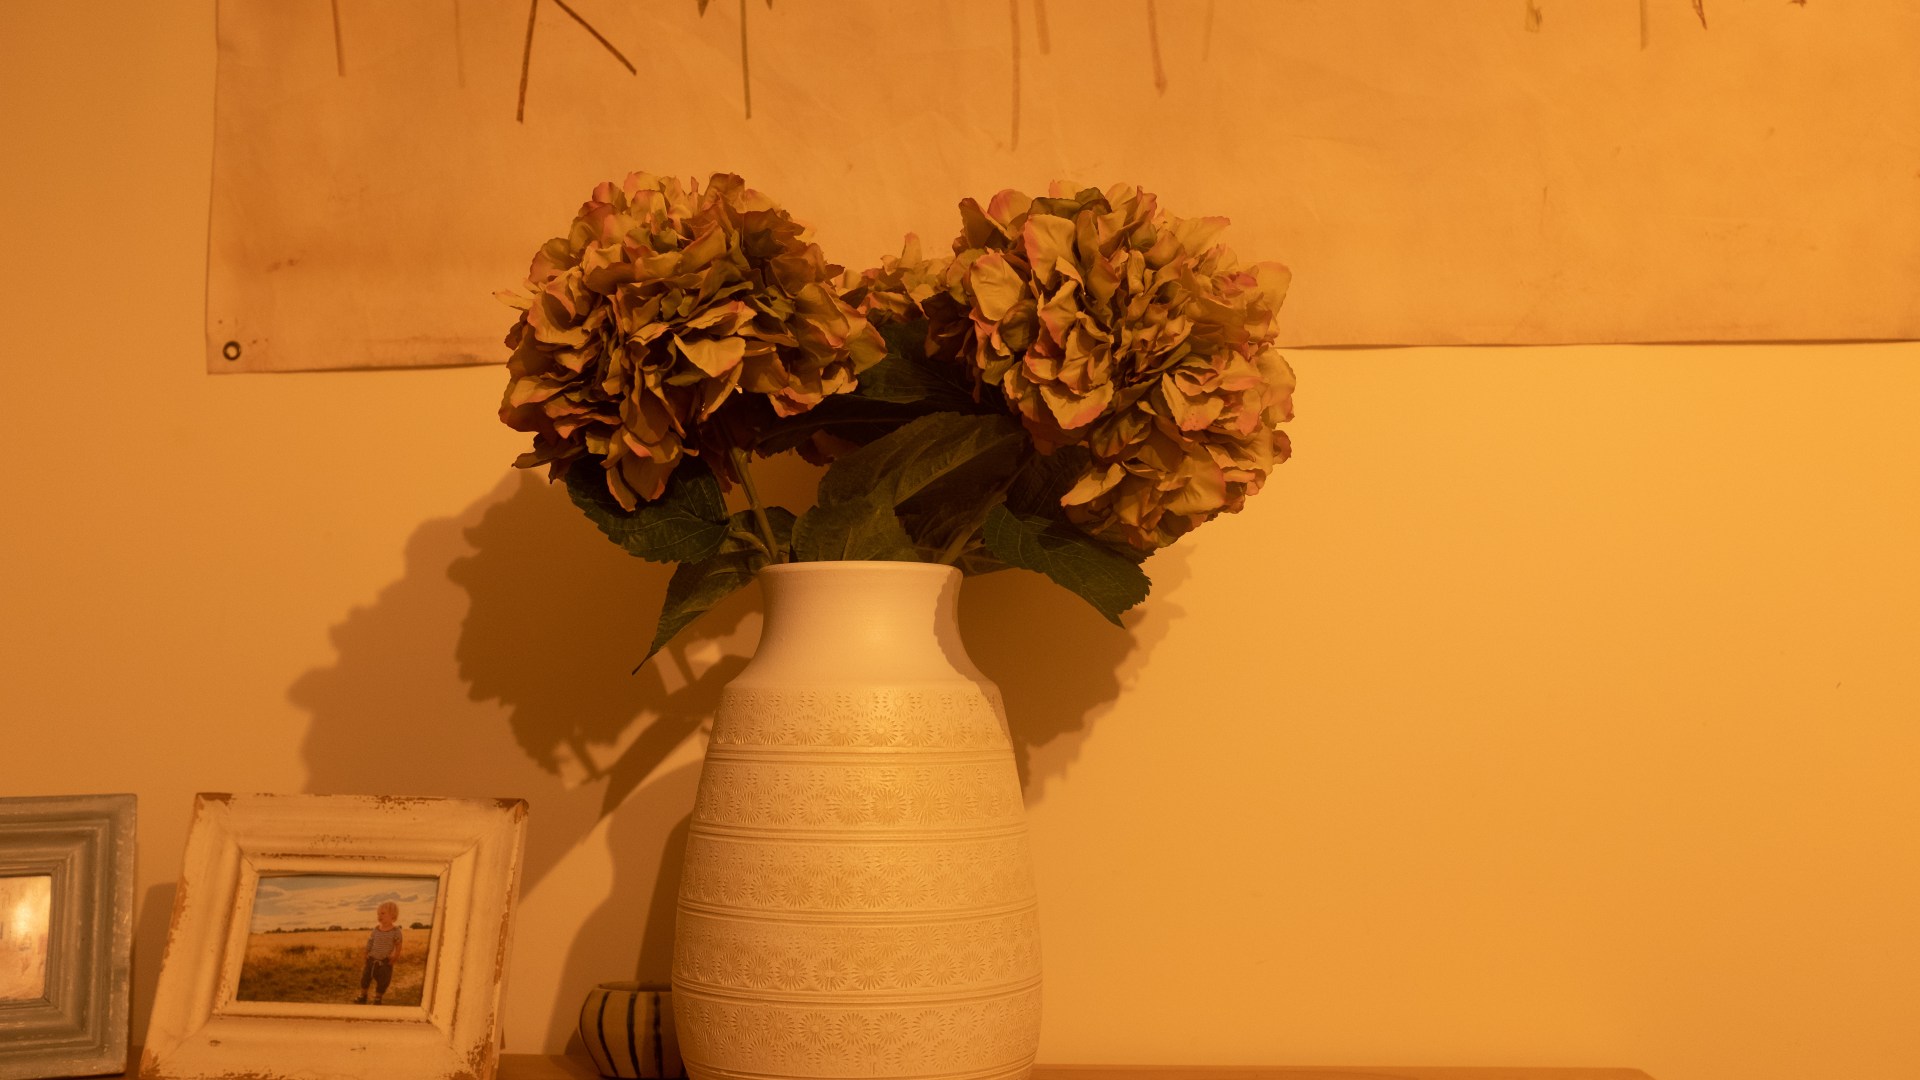
For the camera settings inside in the evening, I used my Fujix100 with the 23mm lens, shutter speed 1/8, Fstop 4 and ISO 800. I had two lights on (hanging ones above the kitchen island)


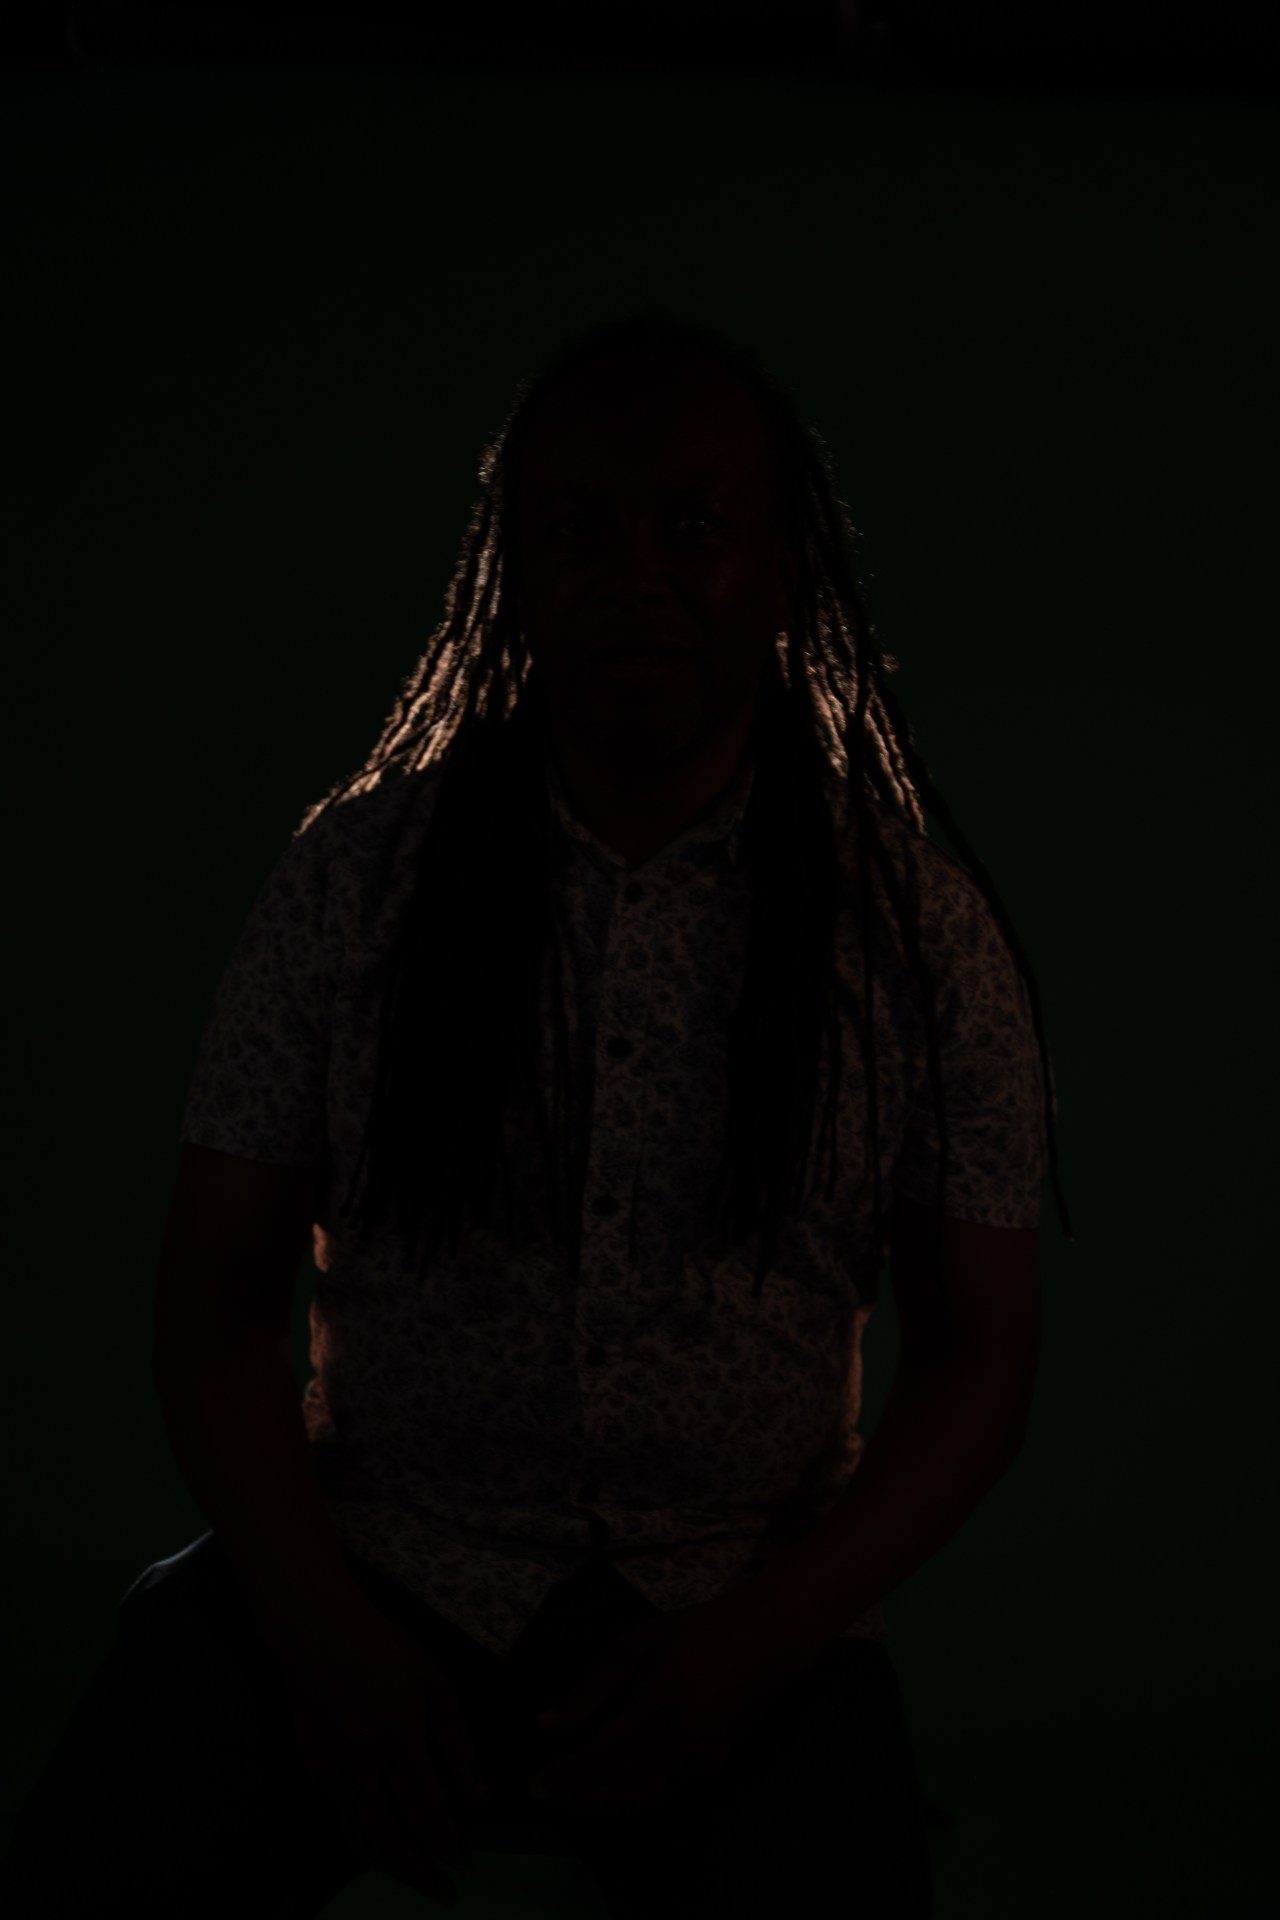
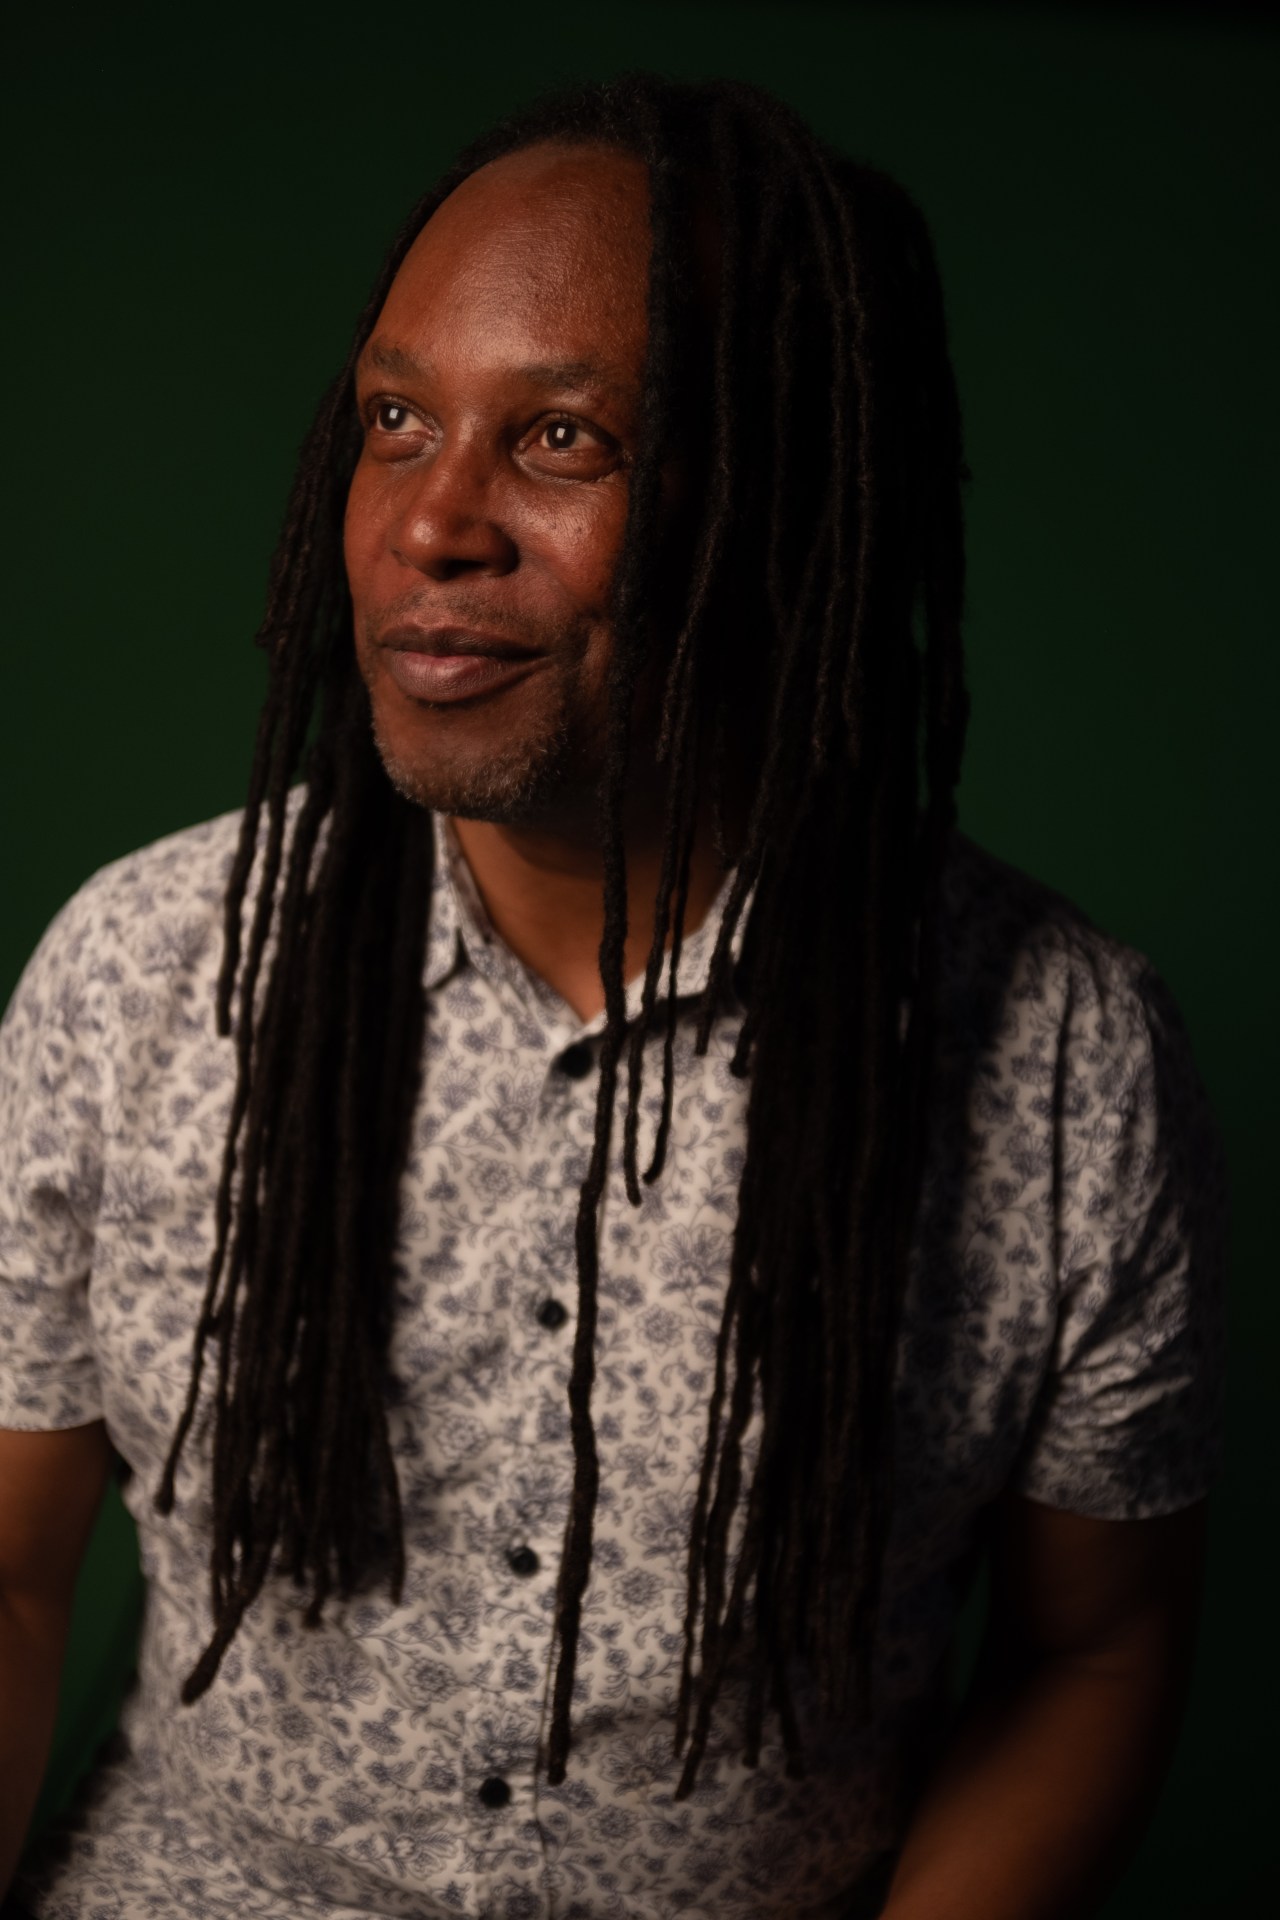
TASK 2 SINGLE ARTFICIAL LIGHT
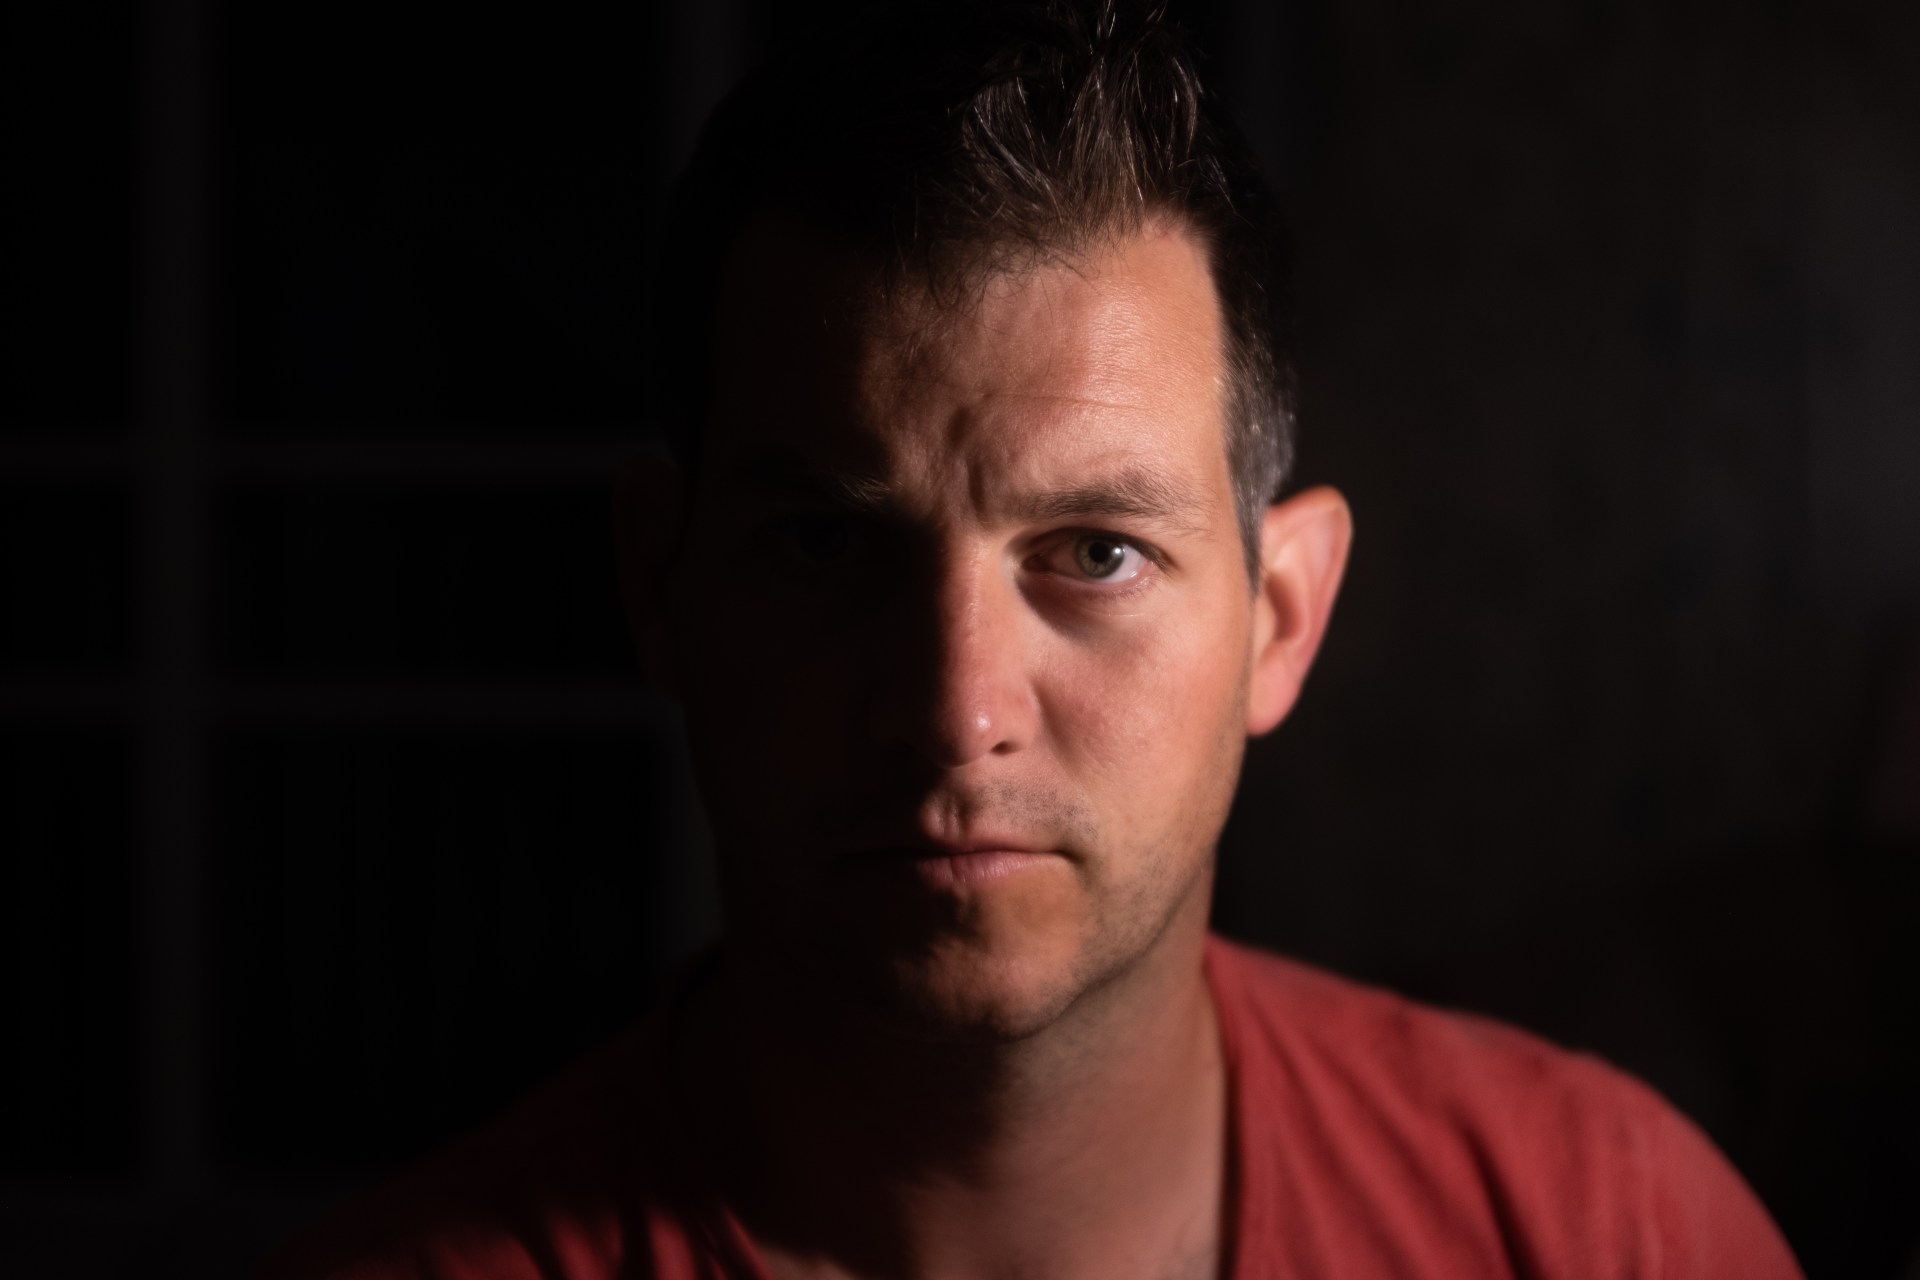
Using my FujiX100F camera and Tele convertor lens I used a shutter speed of 1/60 or 1/30 F stop 2 and ISO 400. I used on single light bulb without a shade (bedside light)

2.1, 2.2 For this first task I need to be in manual and keep the settings the same for each shot so I can see what difference the preset makes. Outside I used a low ISO and a fast shutter speed as it was quite a bright day, I kept my Fstop at 4, a mid low aperture. For the evening shot, I used a slower shutter speed, so held my camera still on a book on my kitchen island, to help with no shake and F stop 4 and a higher ISO of 800. I had an artificial light on, (the hanging light above the kitchen island).
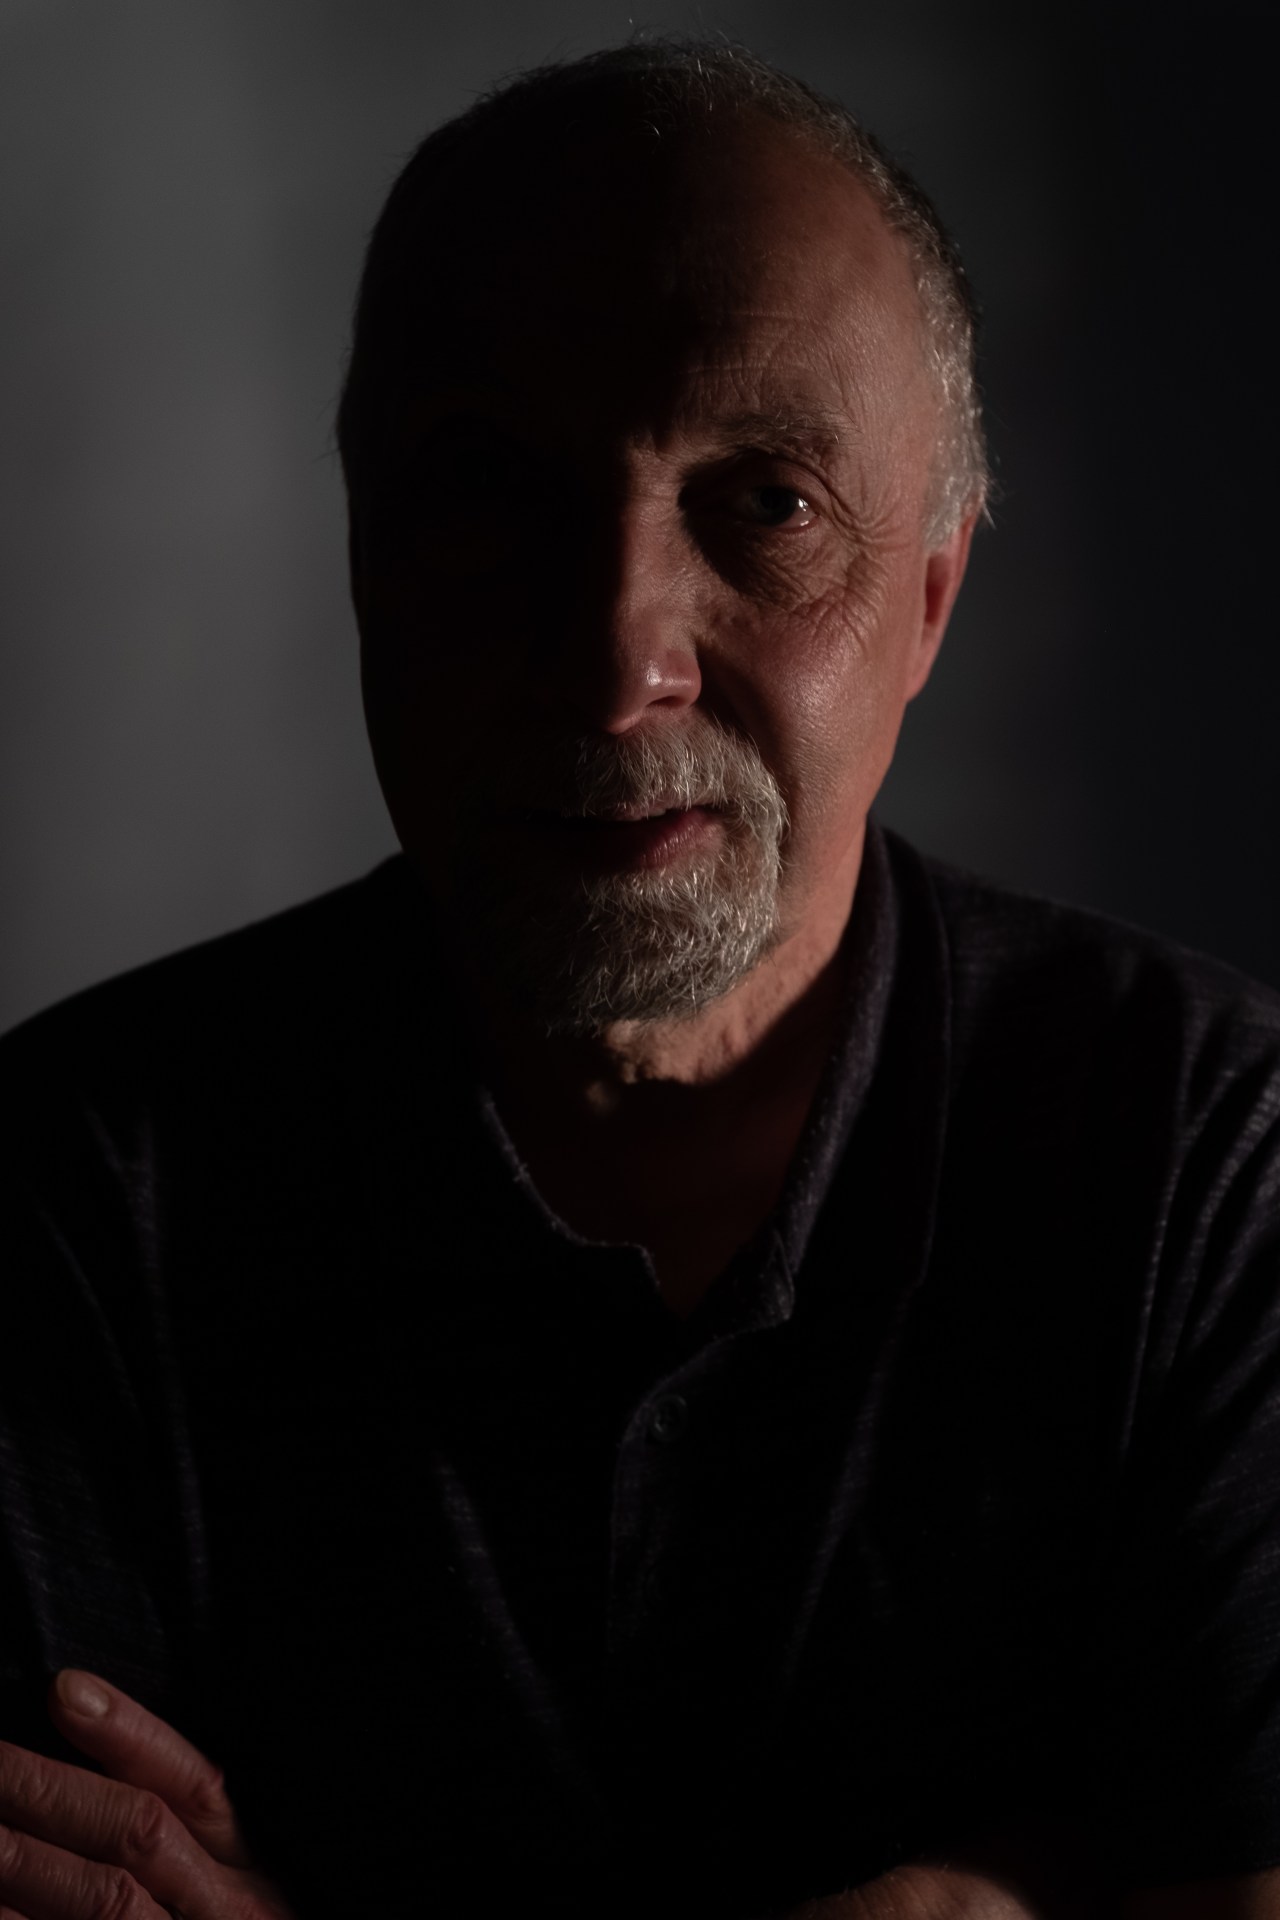
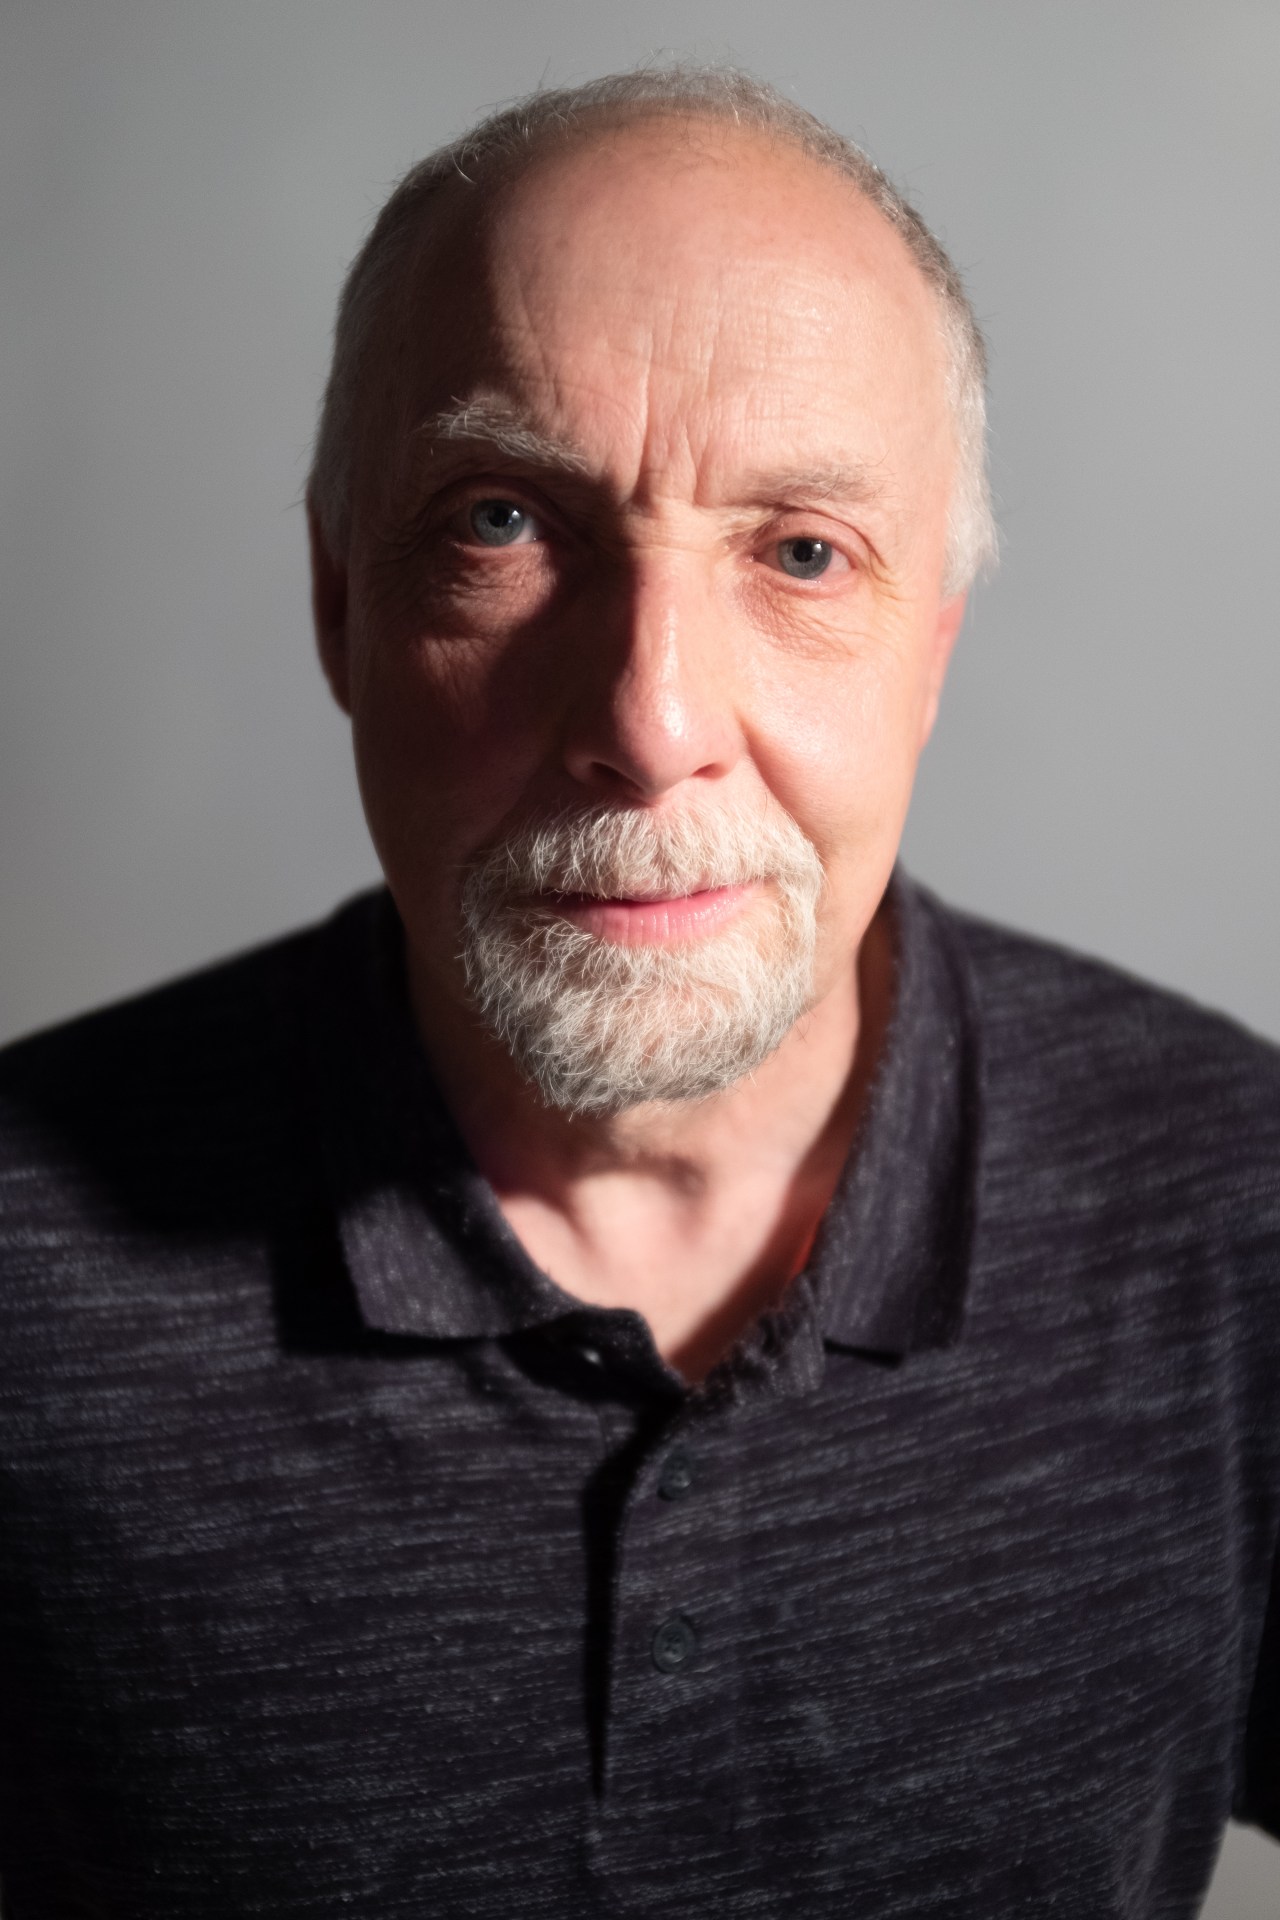
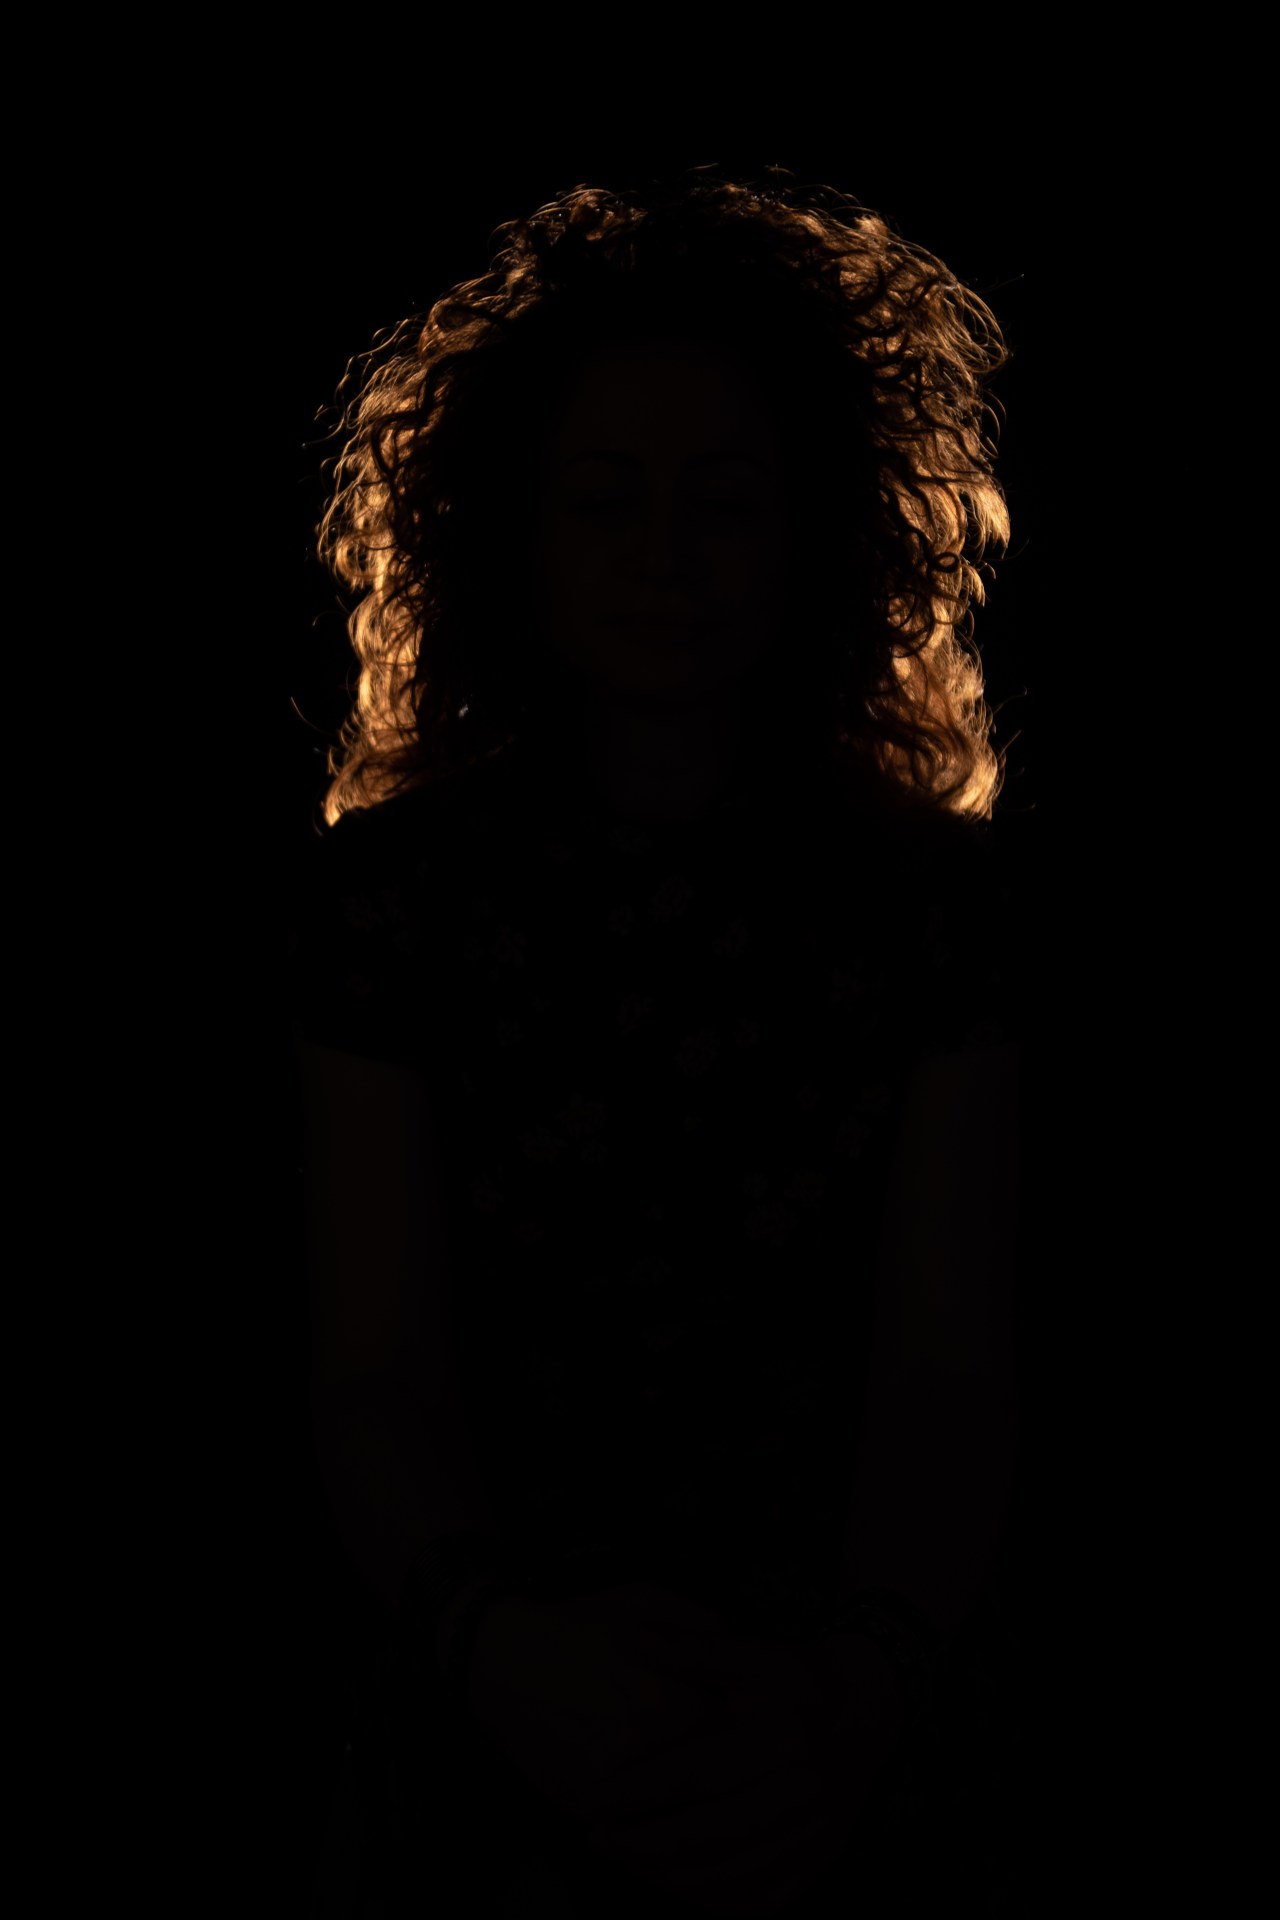
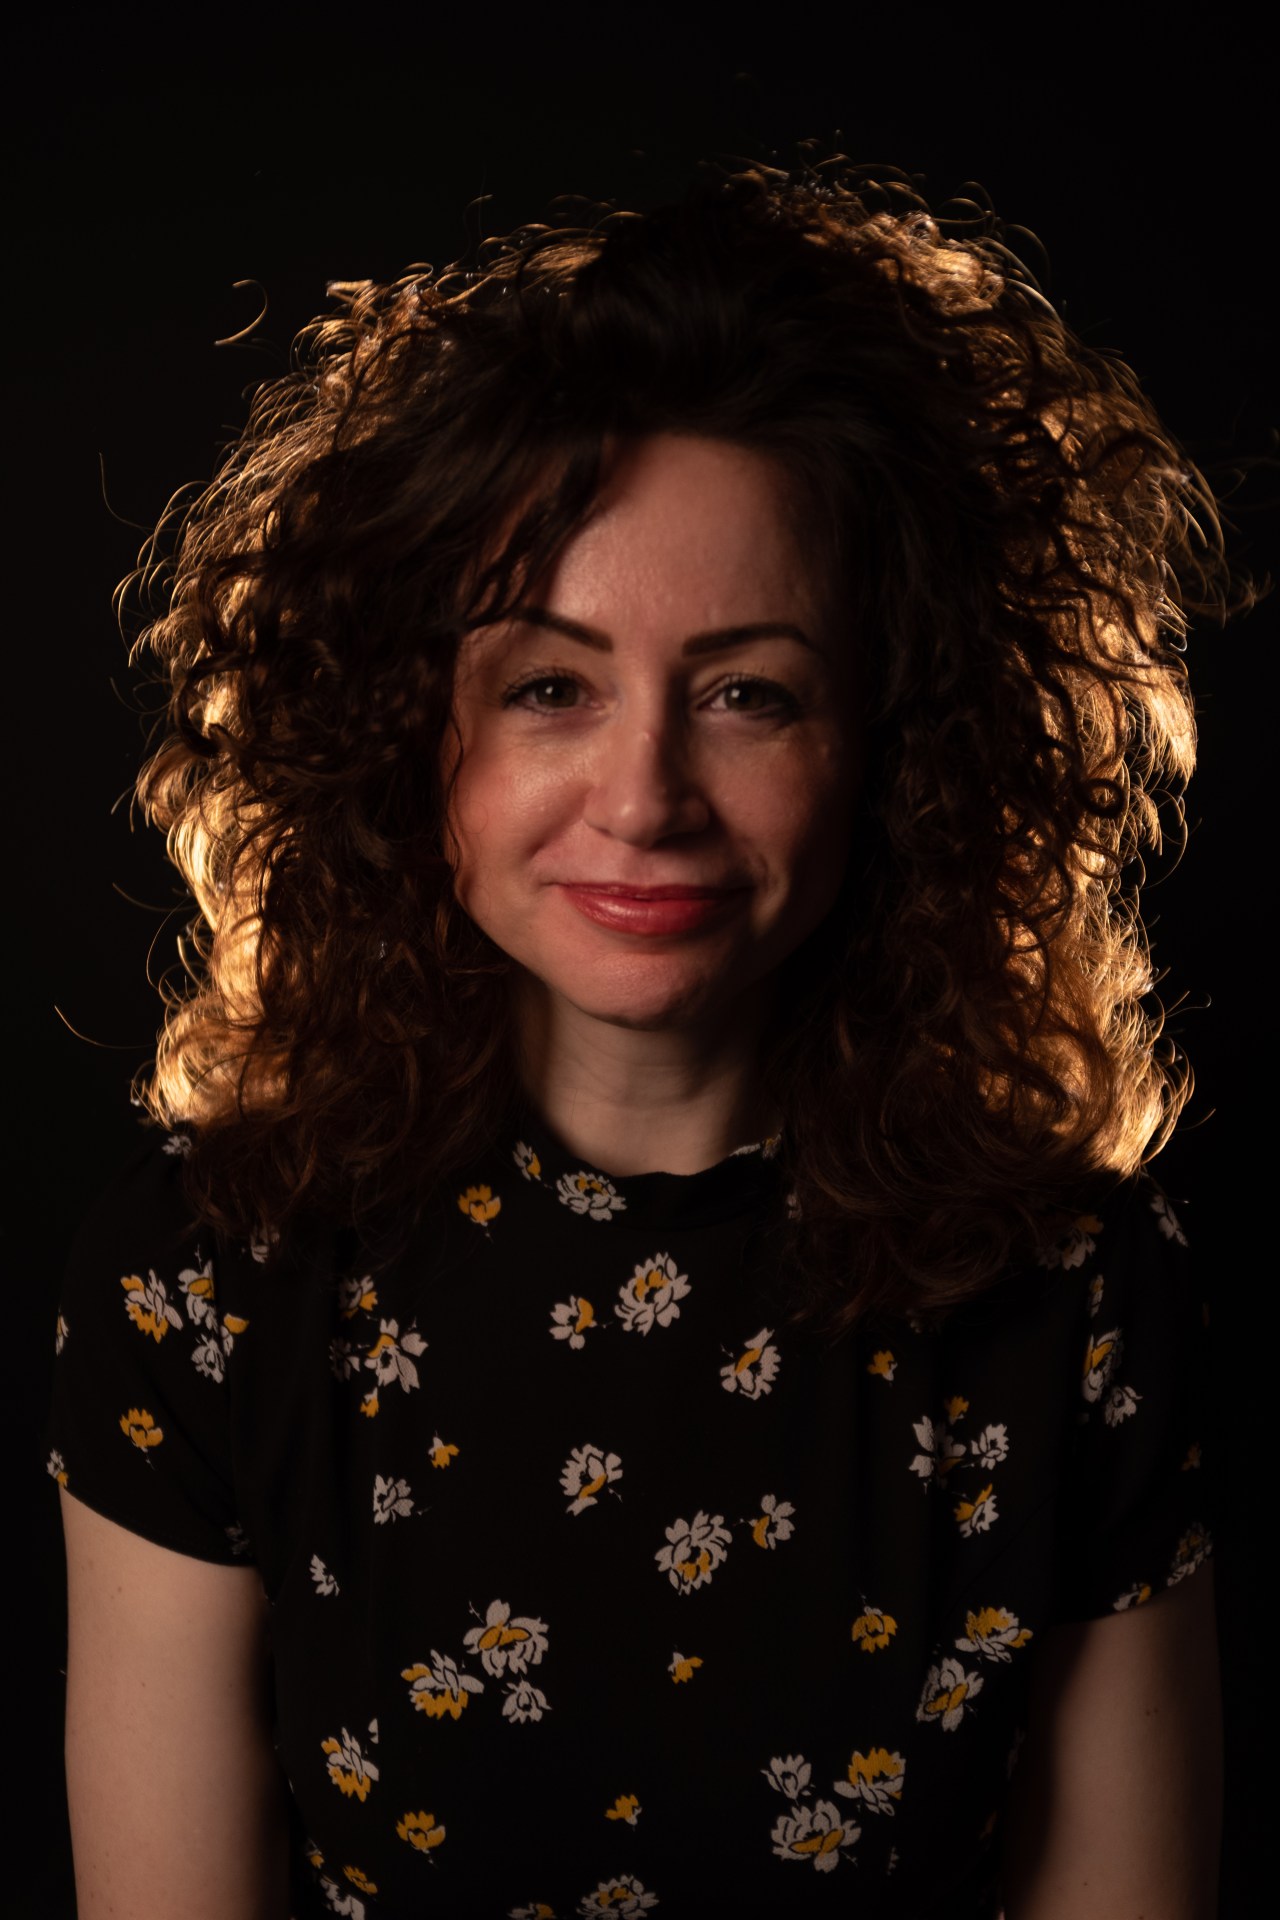
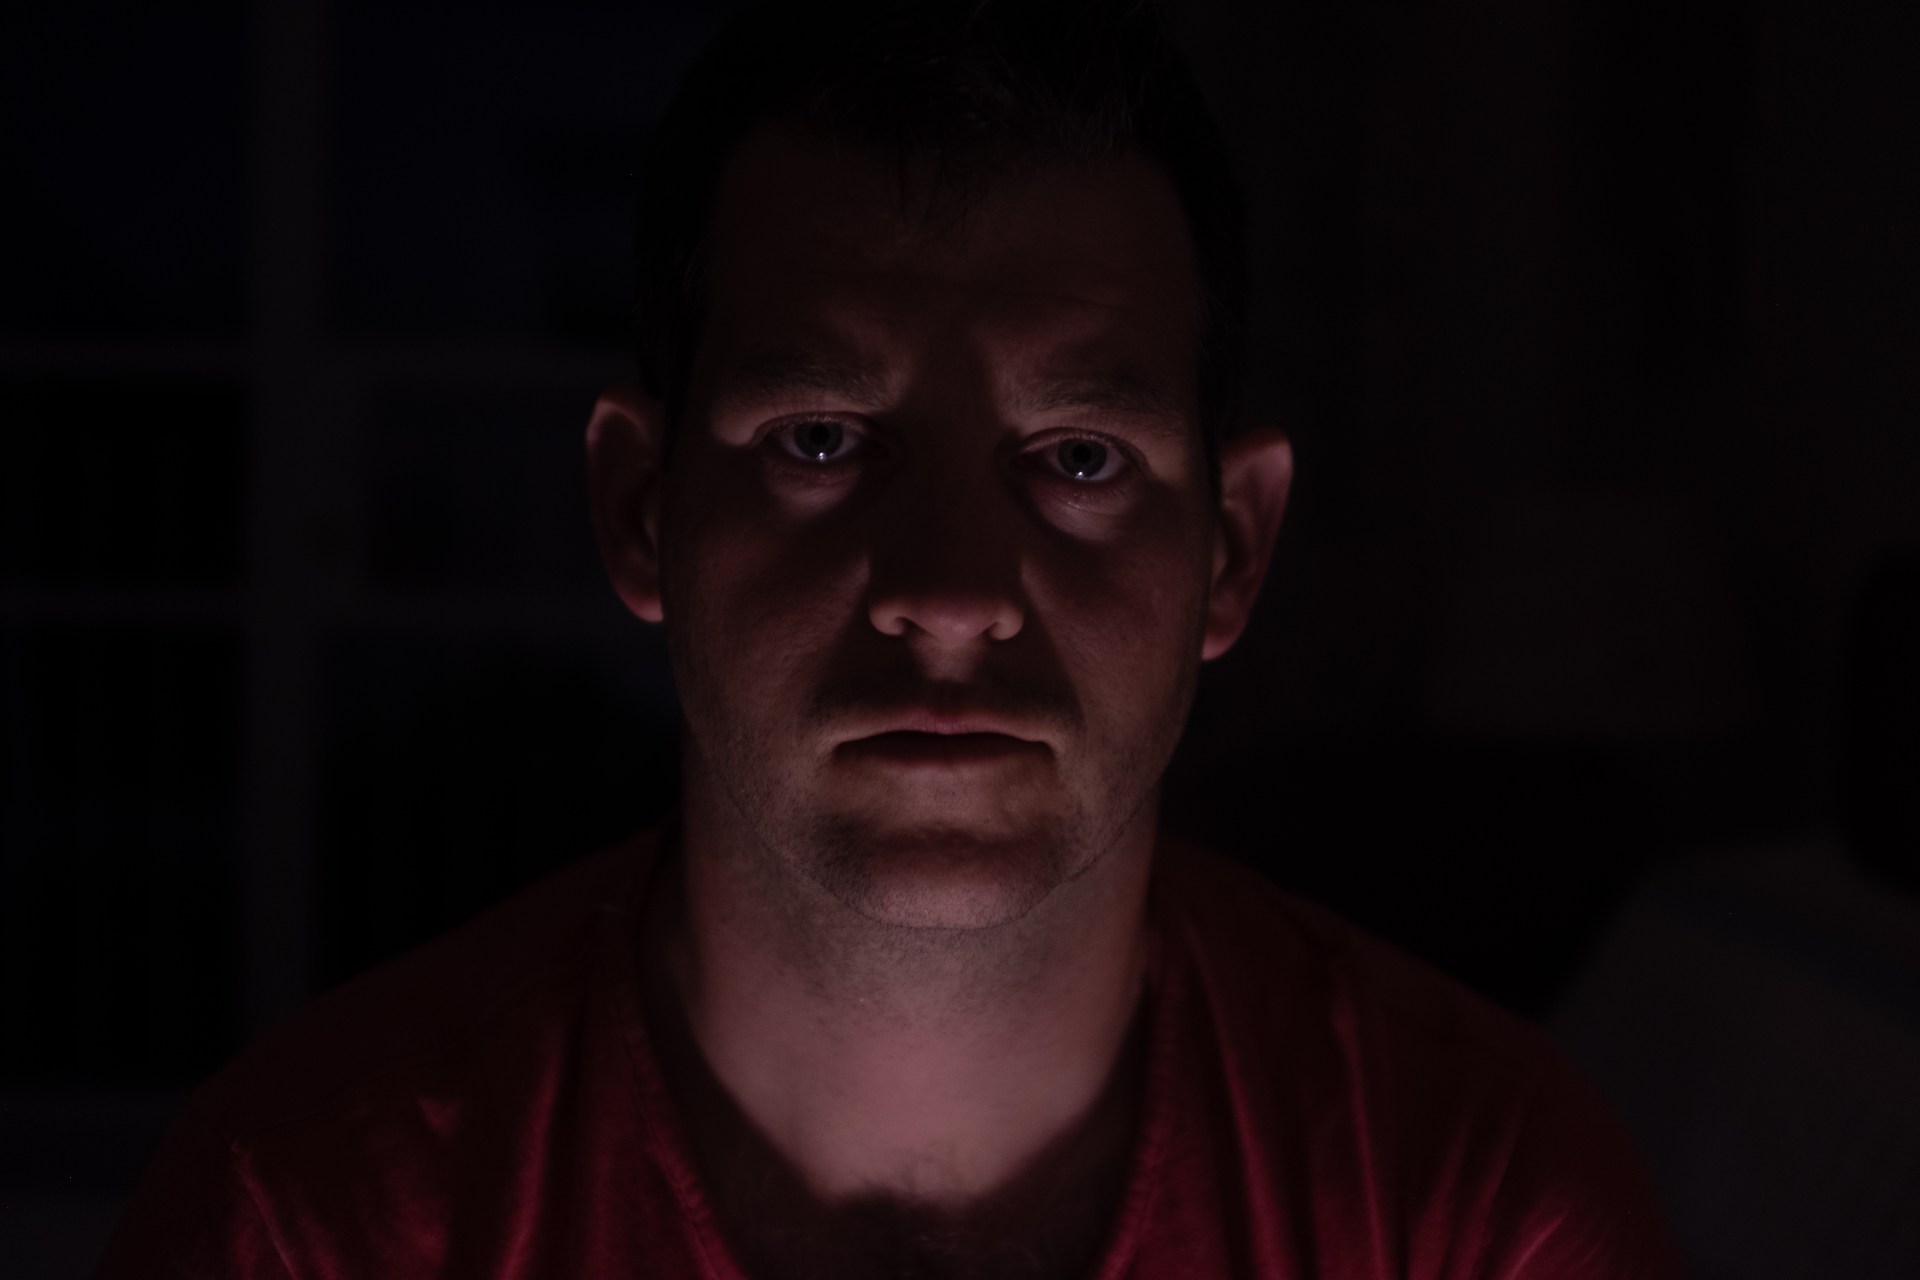
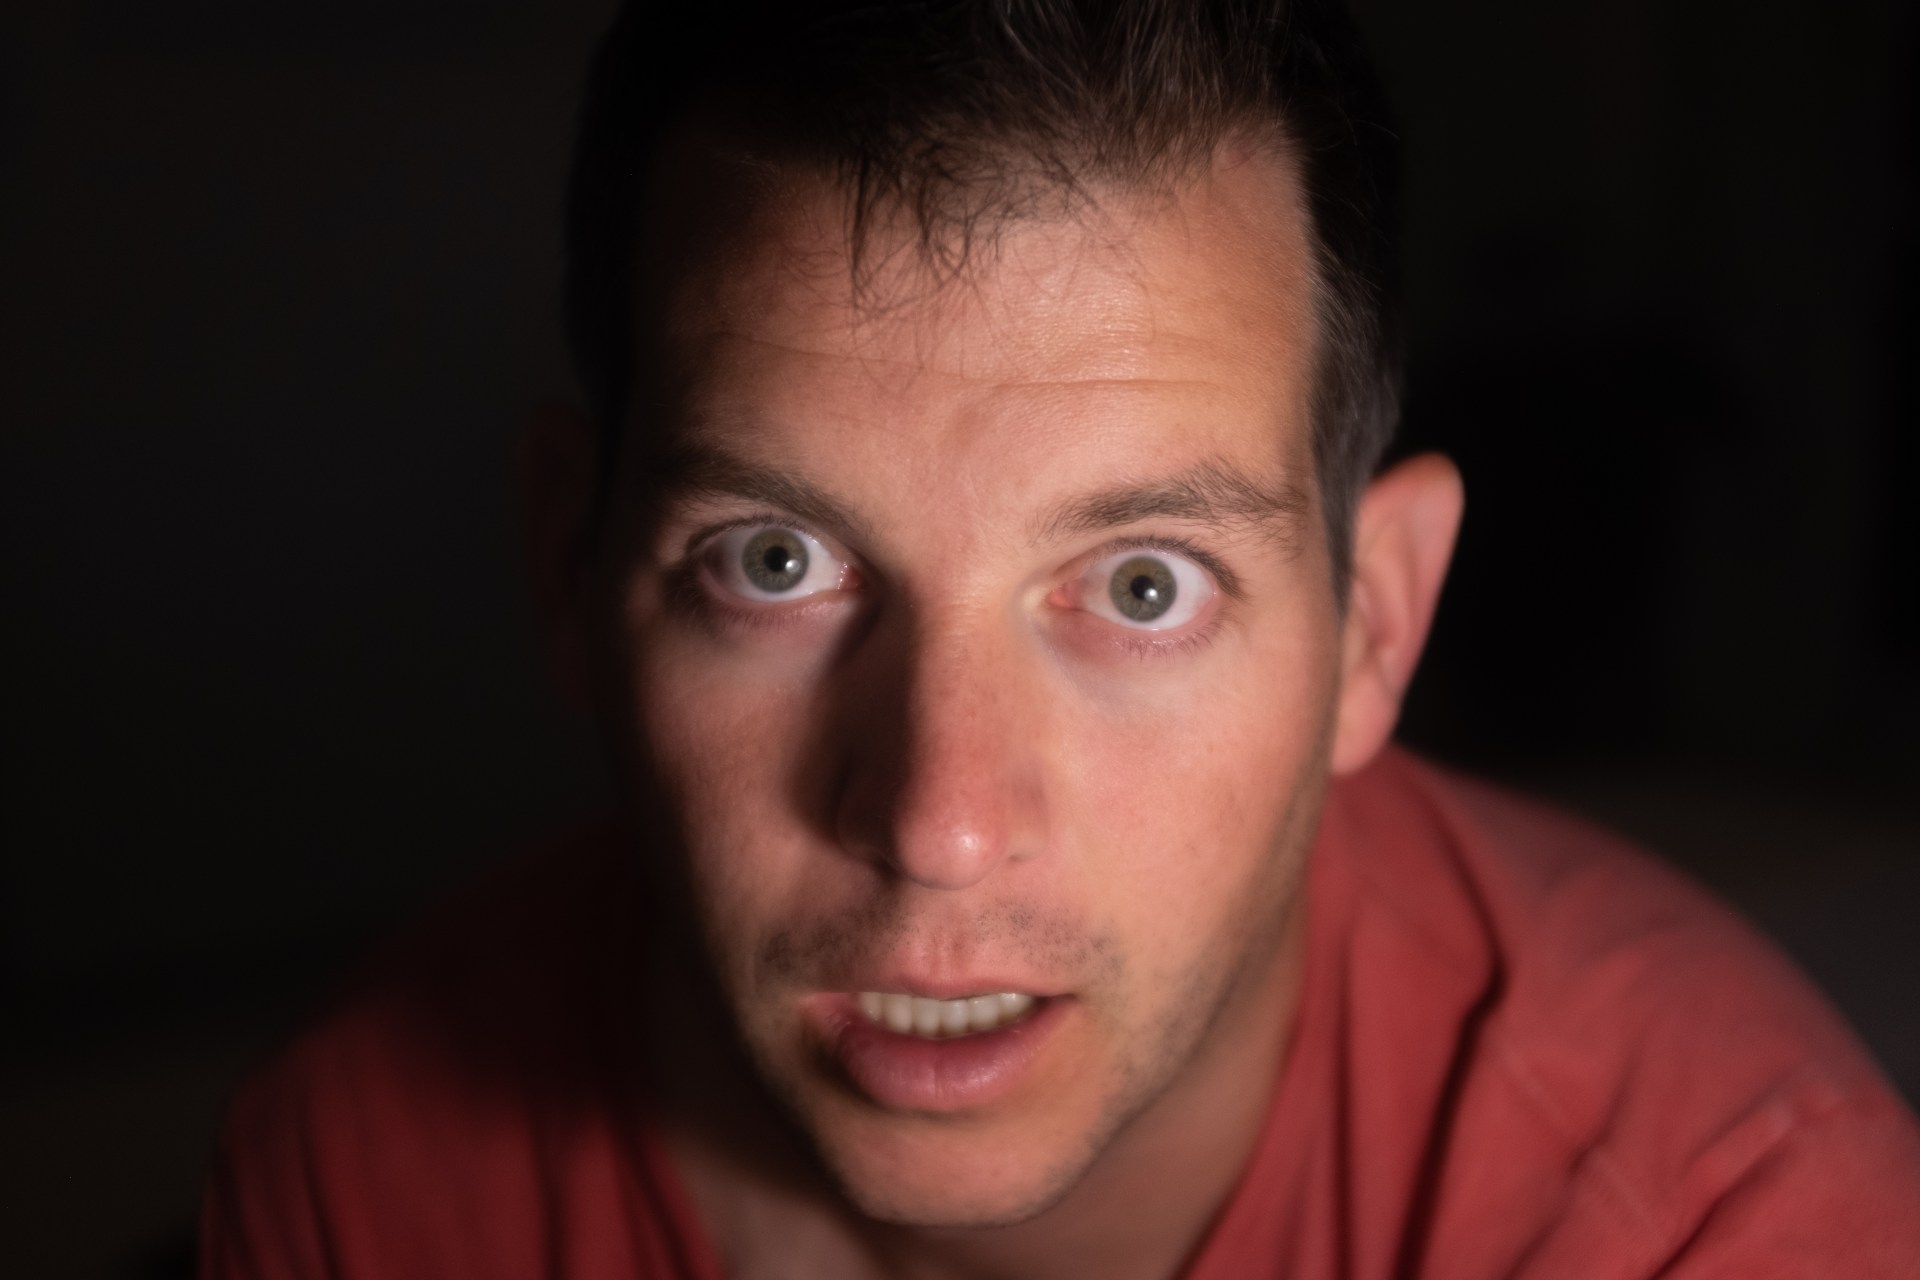
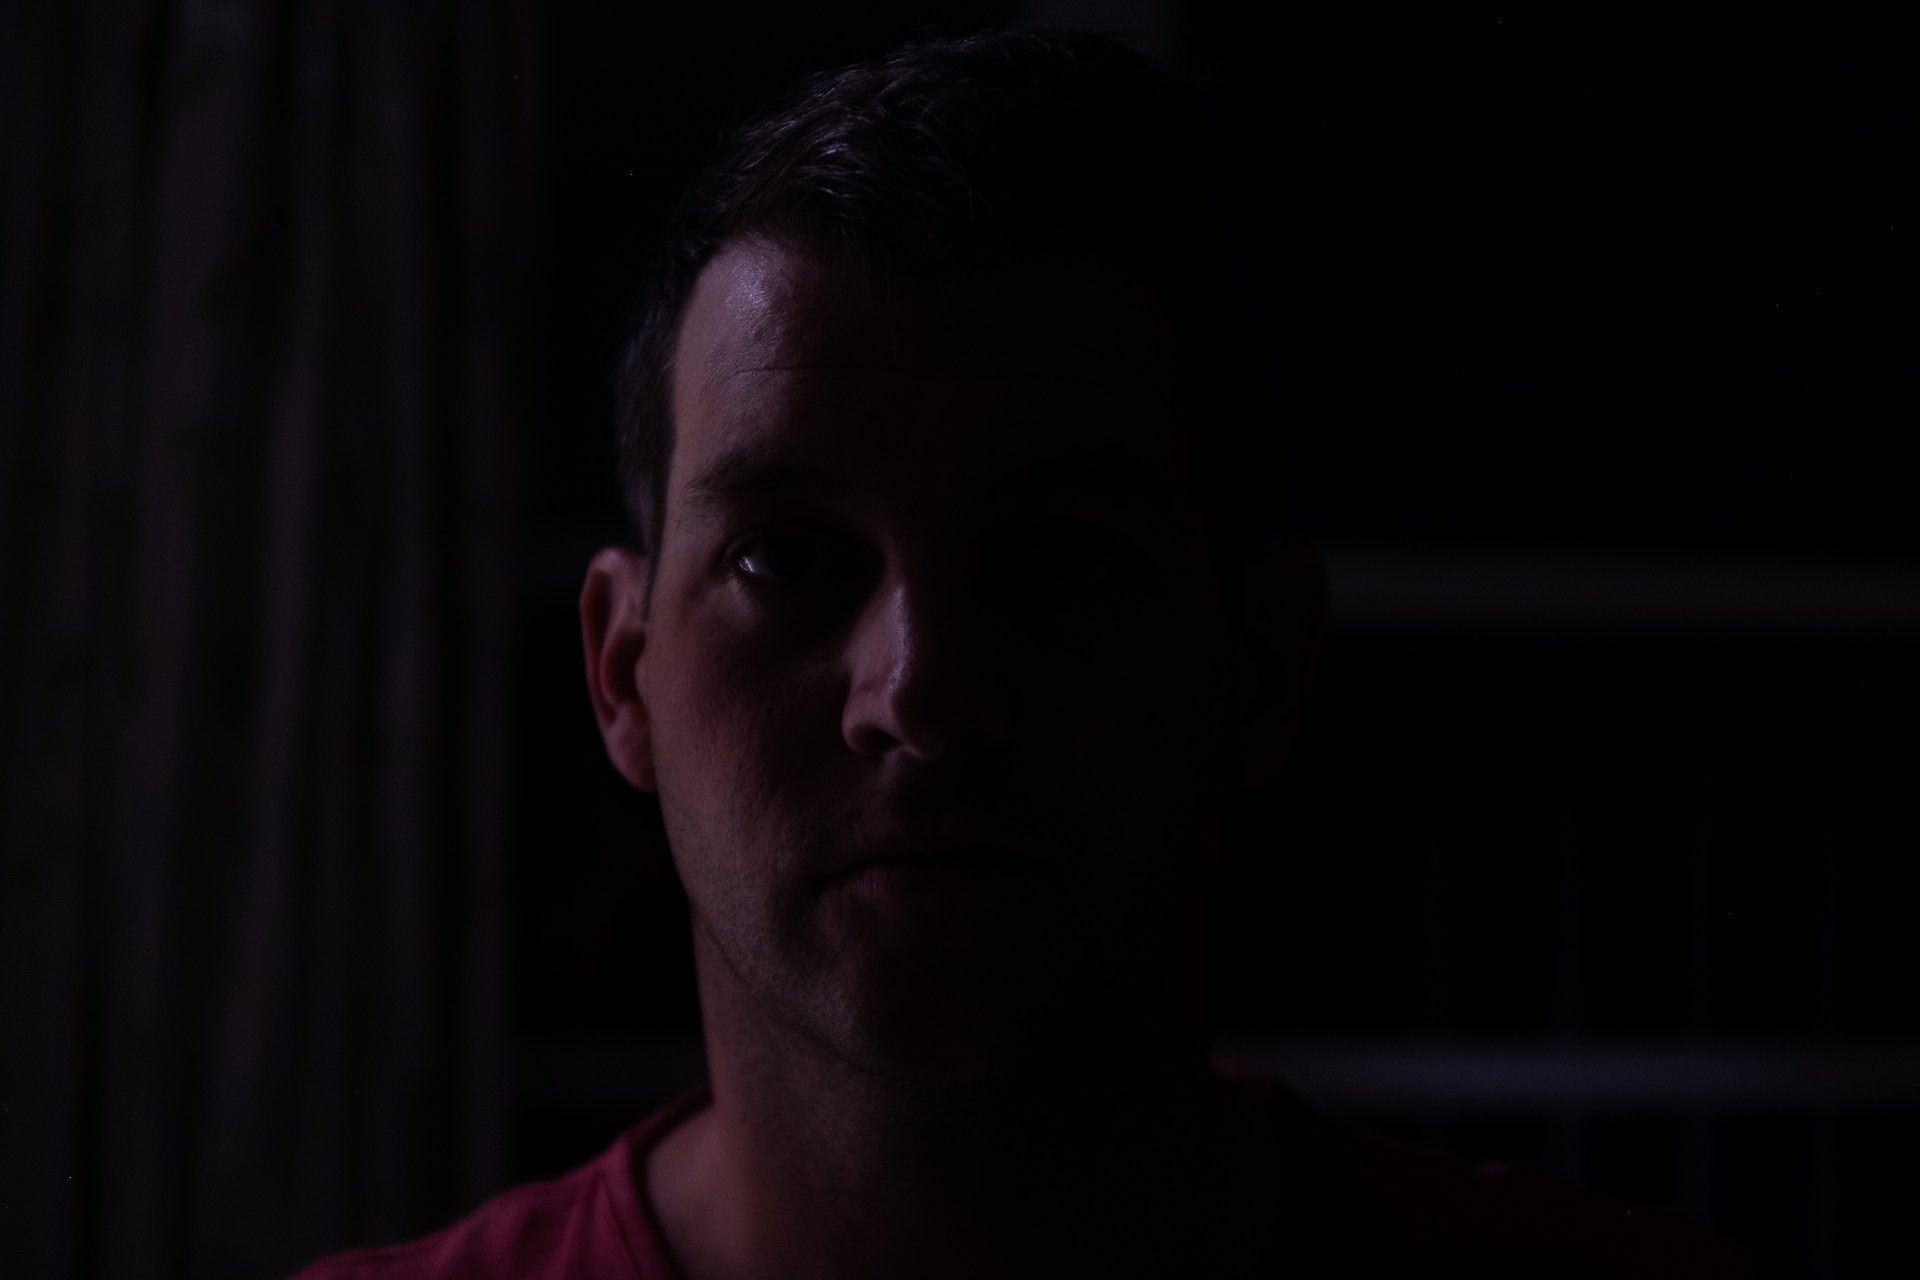
For the second task when shooting with one artificial light, I used a bedside light without the lamp shade, a slow shutter speed of 1/60, wide aperture of F Stop 2 and ISO 400. WIth these settings I wanted to create shadows as well as have a dark background.
3.1,32 With the first task, shooting an object both outside in the daylight and then inside in the evening with an artificial light. The presets I could see more clearly in the daylight. They were warm, to cool, to blue. In the evening as the artificial light used was a warm vintage light bulb, the presets used came through similar, a yellow orange effect. It would be interesting to see how it would work with a different artificial light source.
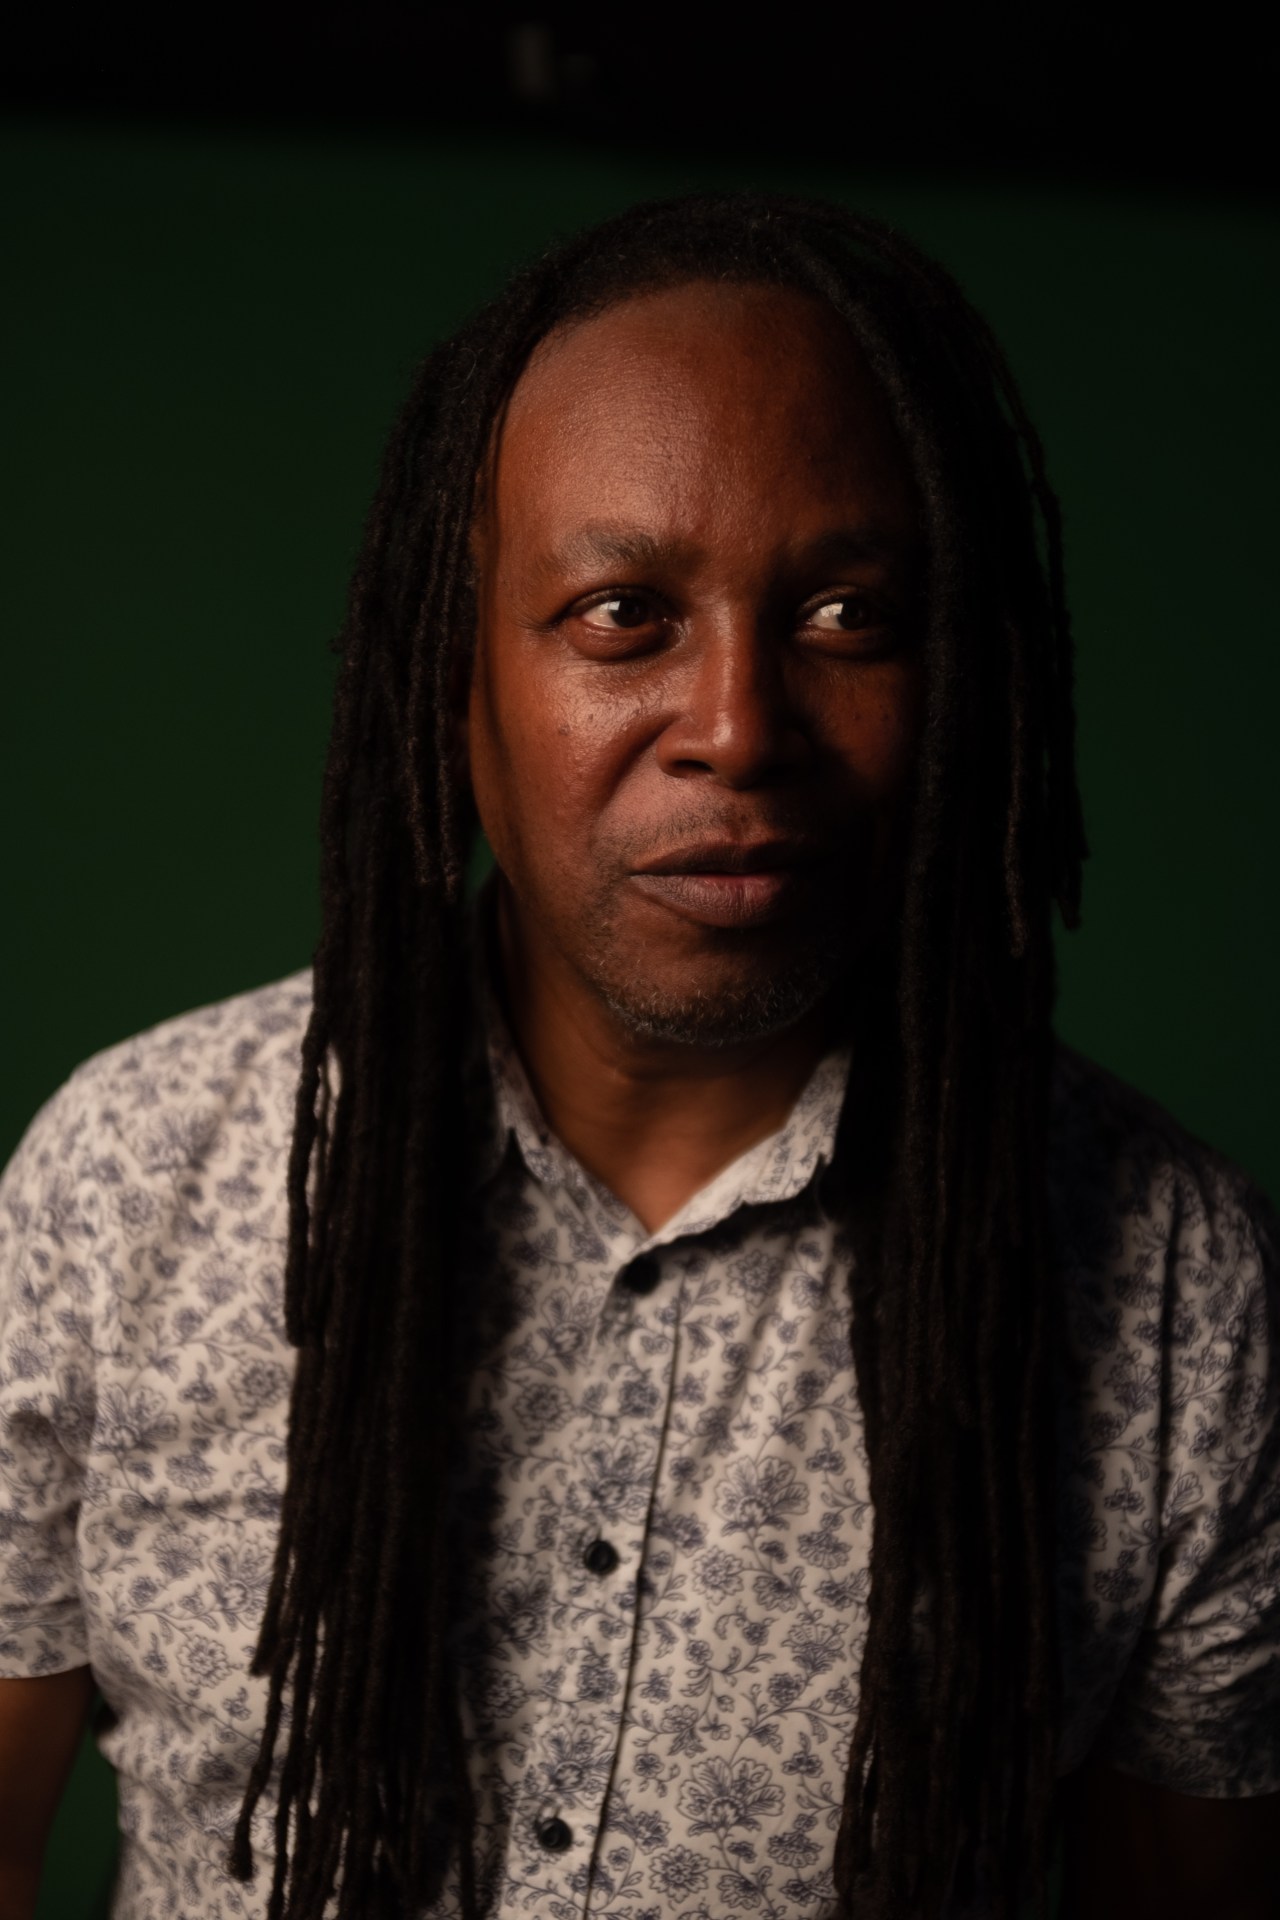
With task two and using one artificial light source, I wanted to play with the use of shadows on the face. I was able to achieve this by moving my light source to different positions and asking my husband to angle his face to a different position. This task really helped me to see how and where a light can be positioned can affect the shadows on the face and the overall mood of the picture. With task 1 and exploring my white balance presets, I can see how these can be useful to use in either a studio setting with artificial lighting or perhaps a landscape photo.
4.1 All these photographs were taken in the privacy of my home. I could have perhaps used a tripod instead of balancing on a book on my kitchen island to protect the camera equipment from damage.
Classwork photos:
In class we experimented with soft light, hard light, front light and side and back light. We had three different back drops white, black and green. We had to set our white balance settings to Tungsten light.