Studio Flash Photography and Portraiture lighting
In class we experimented with flash and how we can add light. We used a strobe light and a soft box light.
There are two different lights that can be used, strobe light and constant light.
A strobe light in flash photography is larger and more powerful. It has a pack and head, monolights and can be battery powered. You can adjust the F stop on the strobe.
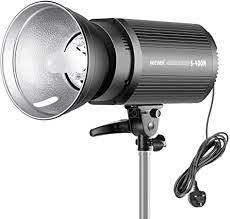
The advantages of a strobe light is:
- A power pack delivers a flash to your camera
- Can freeze the action as very fast shutter speed, so no blur
- Very powerful, can over power the sun, get rid of ambient light with a fast shutter speed and provide a dark portrait in a lit room
- can use a low ISO of 100 with a strobe light
- Easy to modify
- More control photographing the face outside
The advantages of Constant light:
- You can see exactly what you are going to get, easier to work with. With a tungsten light you can put a soft box on.
- Provides a cinema look
- When doing a portrait, the dress can be a blur and the face is sharp, so get a motion look
- Can use any camera
Disadvantages of a Strobe light:
- Can’t see what you are going to get, so it is trial and error to begin with and harder platform to learn
- Can’t go over 1/200
Disadvantages of Constant light:
- You need a higher ISO
- Low power, can’t use outside as well
- Movement is more of a problem with the constant light as there will be a blur
Overall when doing still photography strobes are easier to get a good exposure.
We looked a the mechanics of shooting using studio flash in class and experimented with our camera:
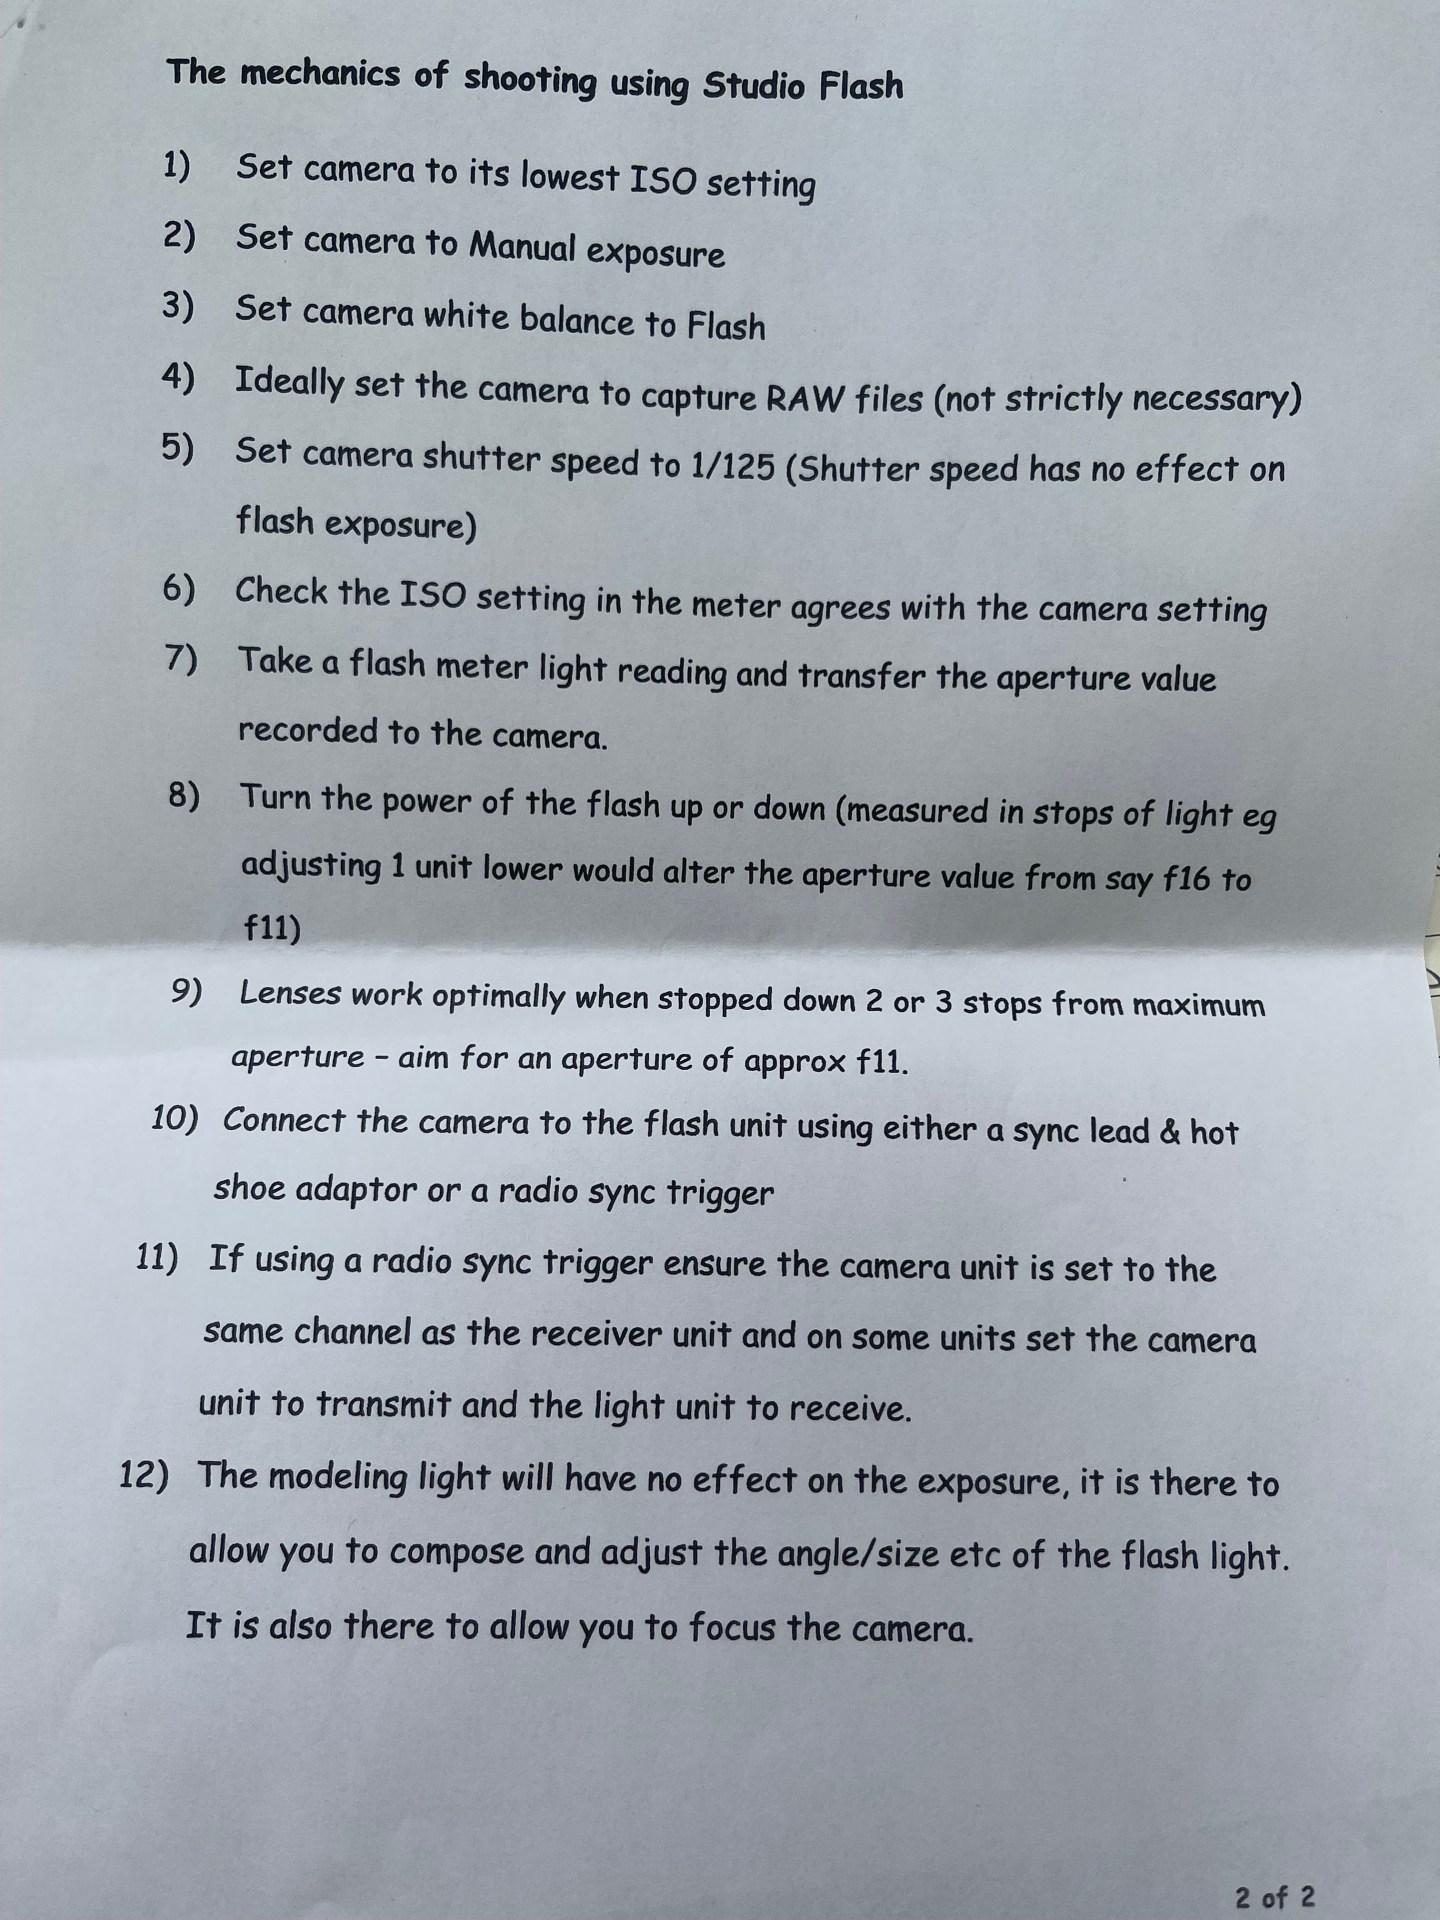
Photos taken in class when experimenting using a flash:
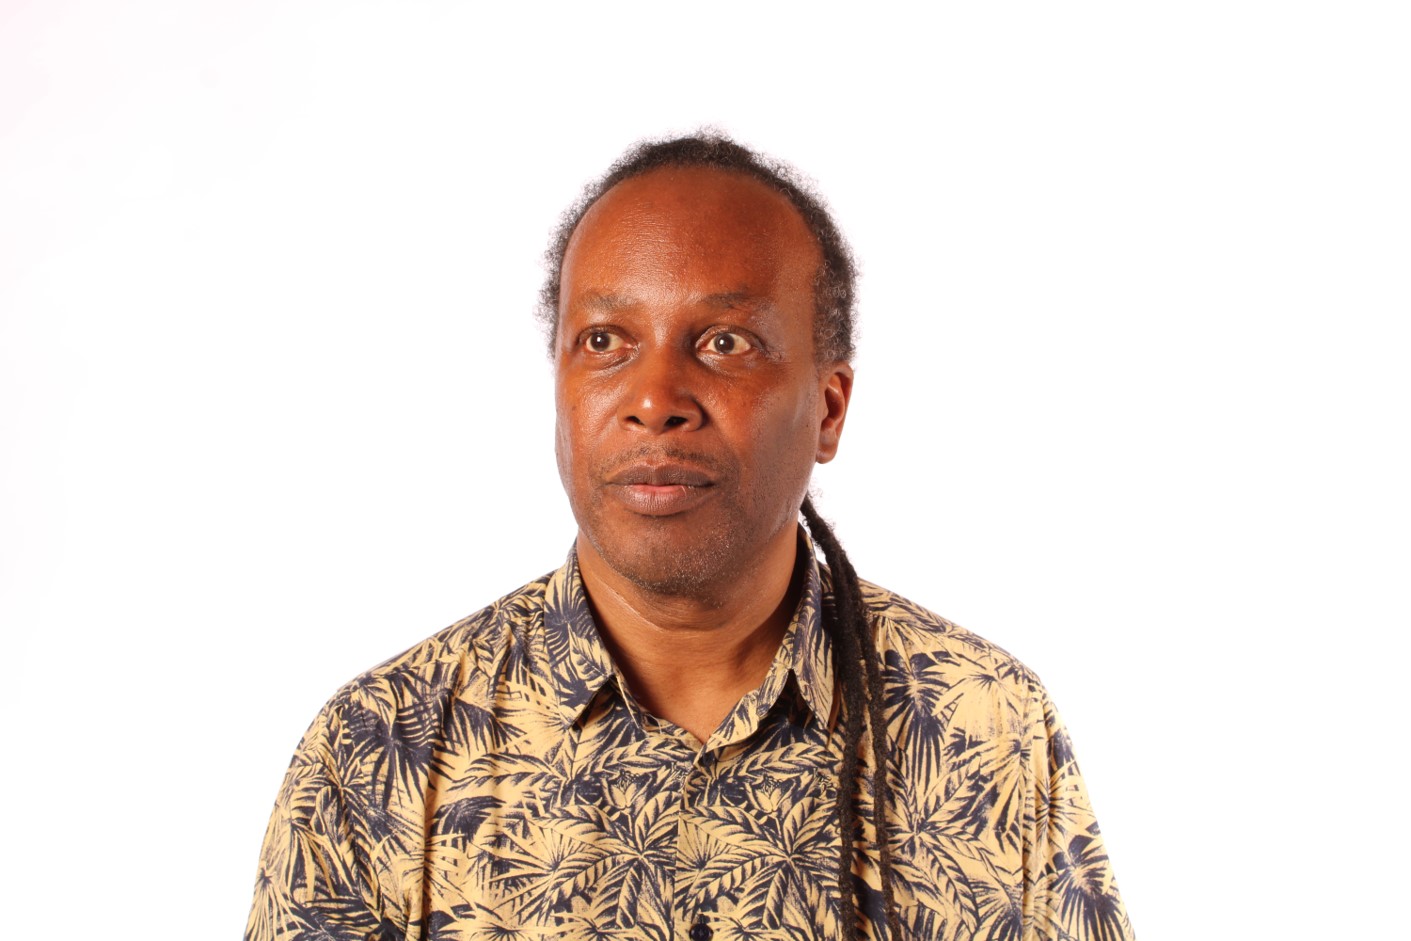
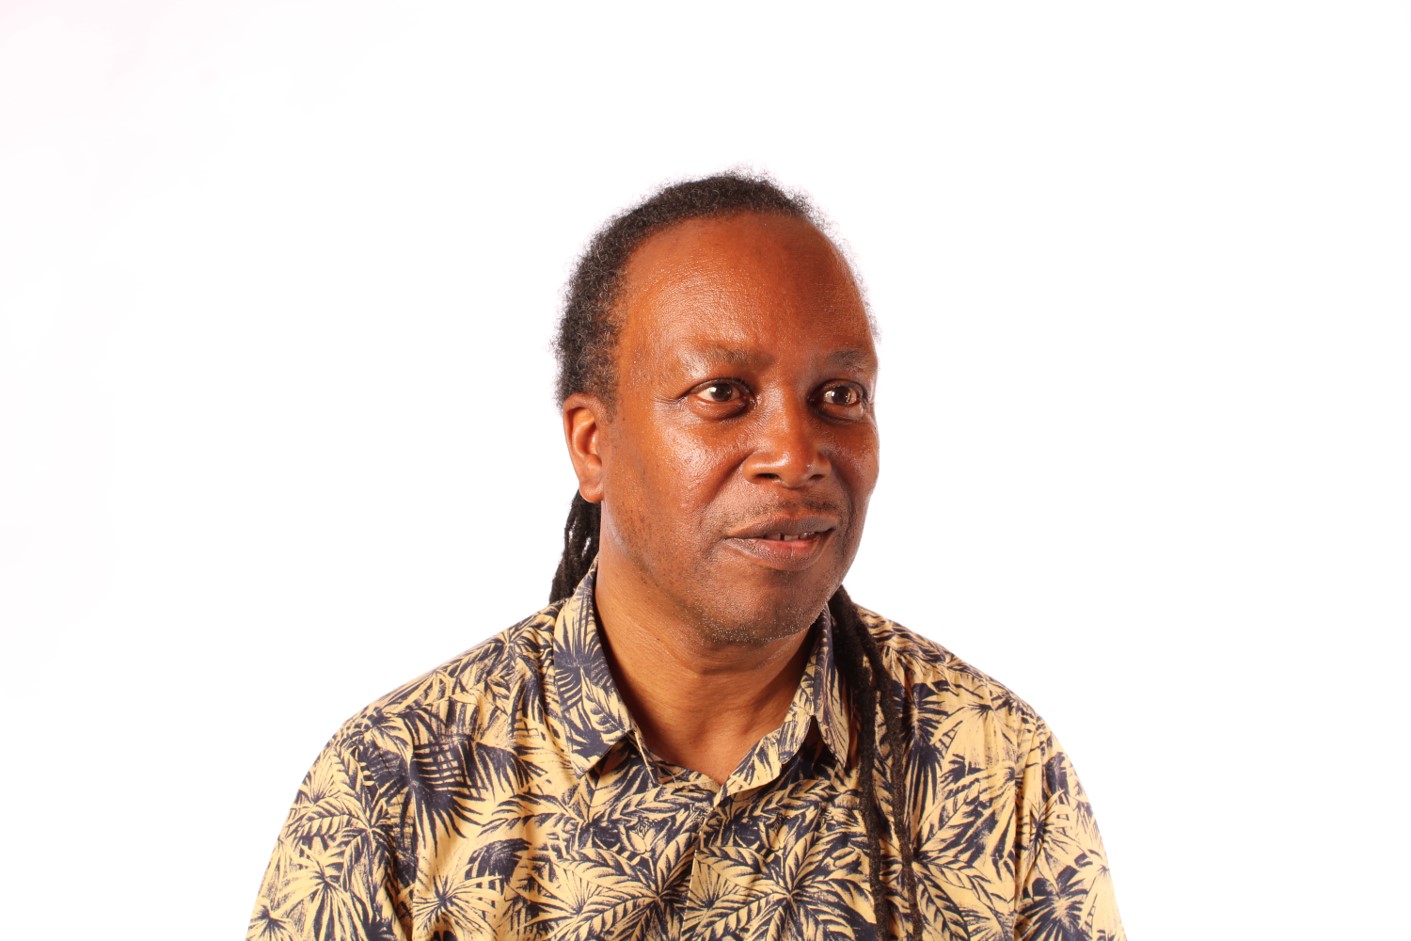
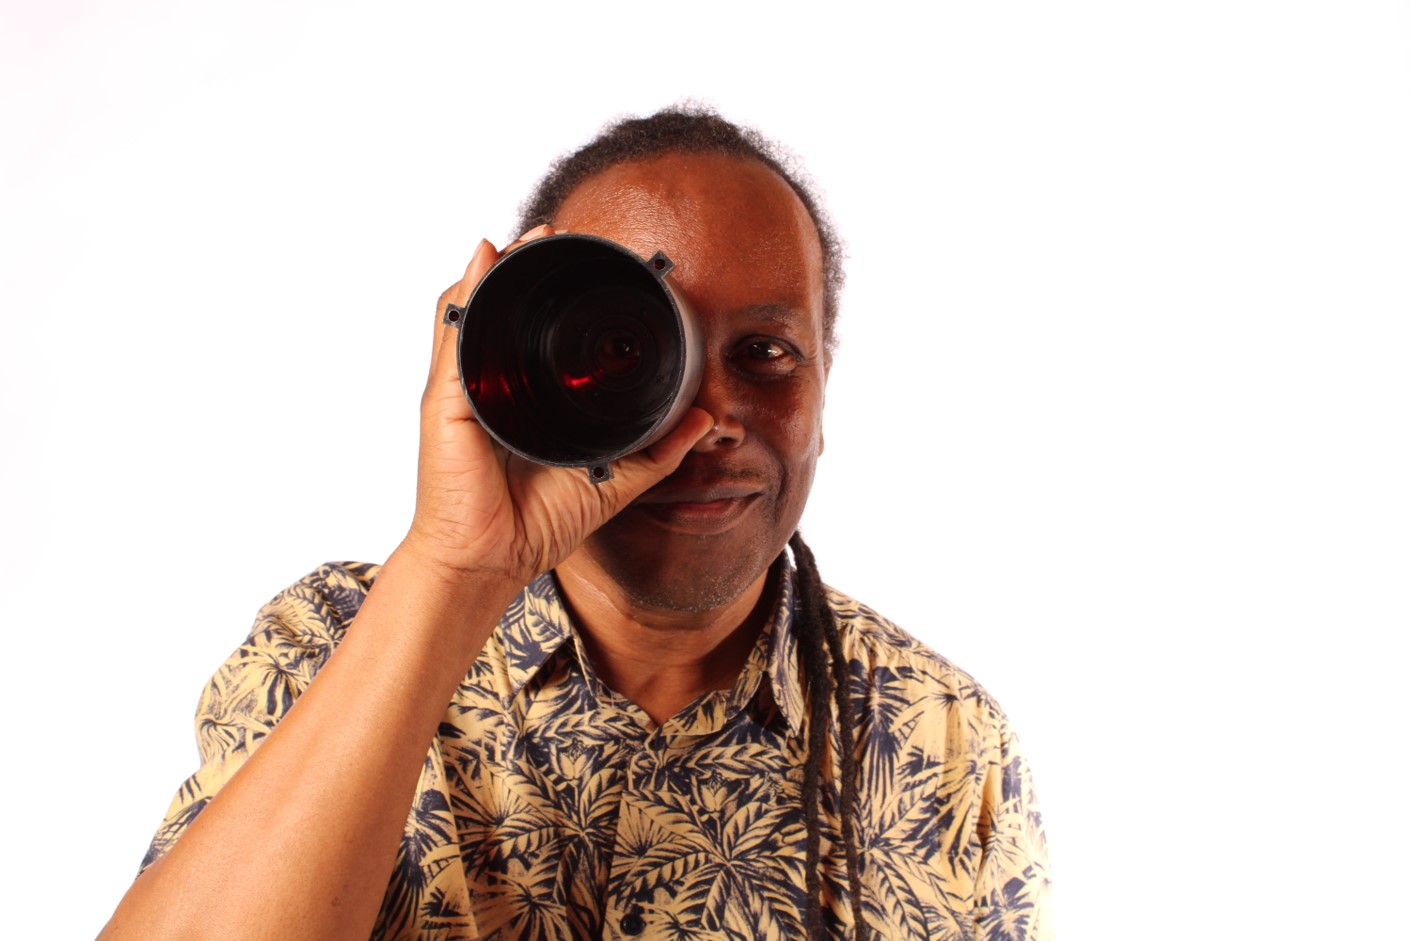

In class using our key light and soft box we could move the light around and experiment with different portraiture situations.
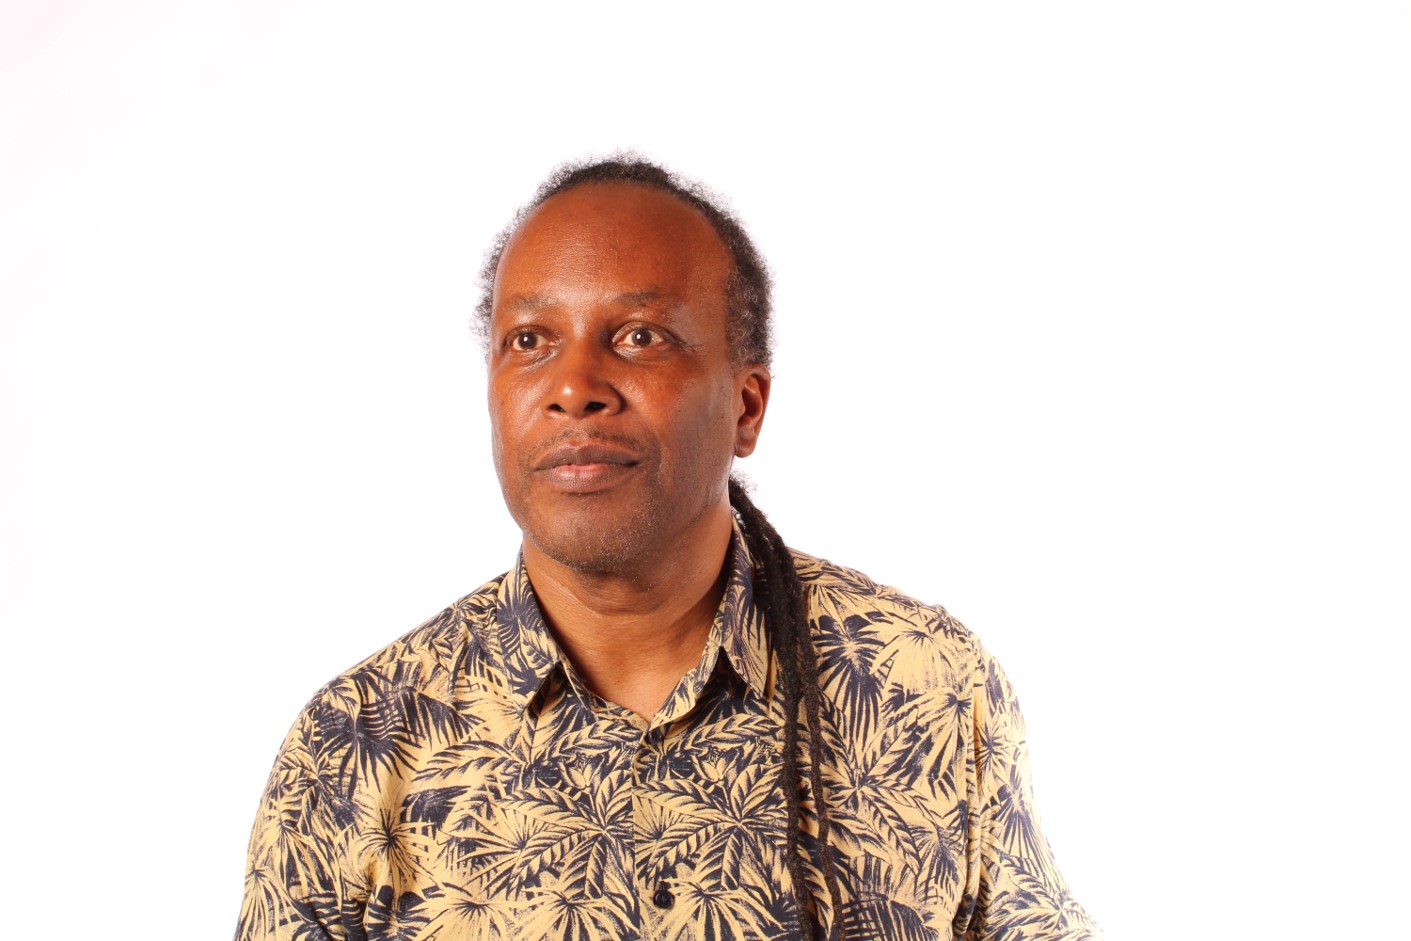
The 5 basic Portraiture lighting situations:

- Rembrandt – This is named from when Rembrandt painted and used the window light to create a triangle under the left eye around the nose and above the chin. The subject moves their shoulders toward the light and then the head is turned towards the camera. A soft box light can then be used to fill in more light to the dark shadows.
- Split light – The light can be moved to the side of the face. Its very easy to transition from Rembrandt to split as you move the head away from the light.
- Broad light – Camera is looking at the lit front of the face, so here the body is turned away from the light.
- Paramount/Butterfly light – Move the light up high directly from the camera, this is very flattering as the shadows sink into the cheeks and under the nose, can use a soft box or reflector below too for a shadow under the chin.
- Loop Light – The light can be moved a tiny bit lower than the Rembrandt position and tiny bit more round to the front. A shadow line on the nose and dives more into the cheeks. A soft box again can be used to flatten the harsh light.
