Exposure and Metering
Metering is how your camera decides what exposure to set the scene.
When I prepare to take a shot of a scene, its important to acknowledge how I depict the world and how the meter sees it. Whilst I’m experiencing all the wonderful colours, what the meter is actually seeing and attempting to record, is a story told in palette of greys. Or more accurately a world of one grey, the middle grey.
To understand and explore this further and how to meter correctly I experimented with my camera. Finding a very dark or very light background I placed a subject in front of it, I took a coupe of shots ensuring that plenty of the background is on show in the images. Then using the photometry options, switched between each of the metering modes to see what differences I noticed in the exposure.
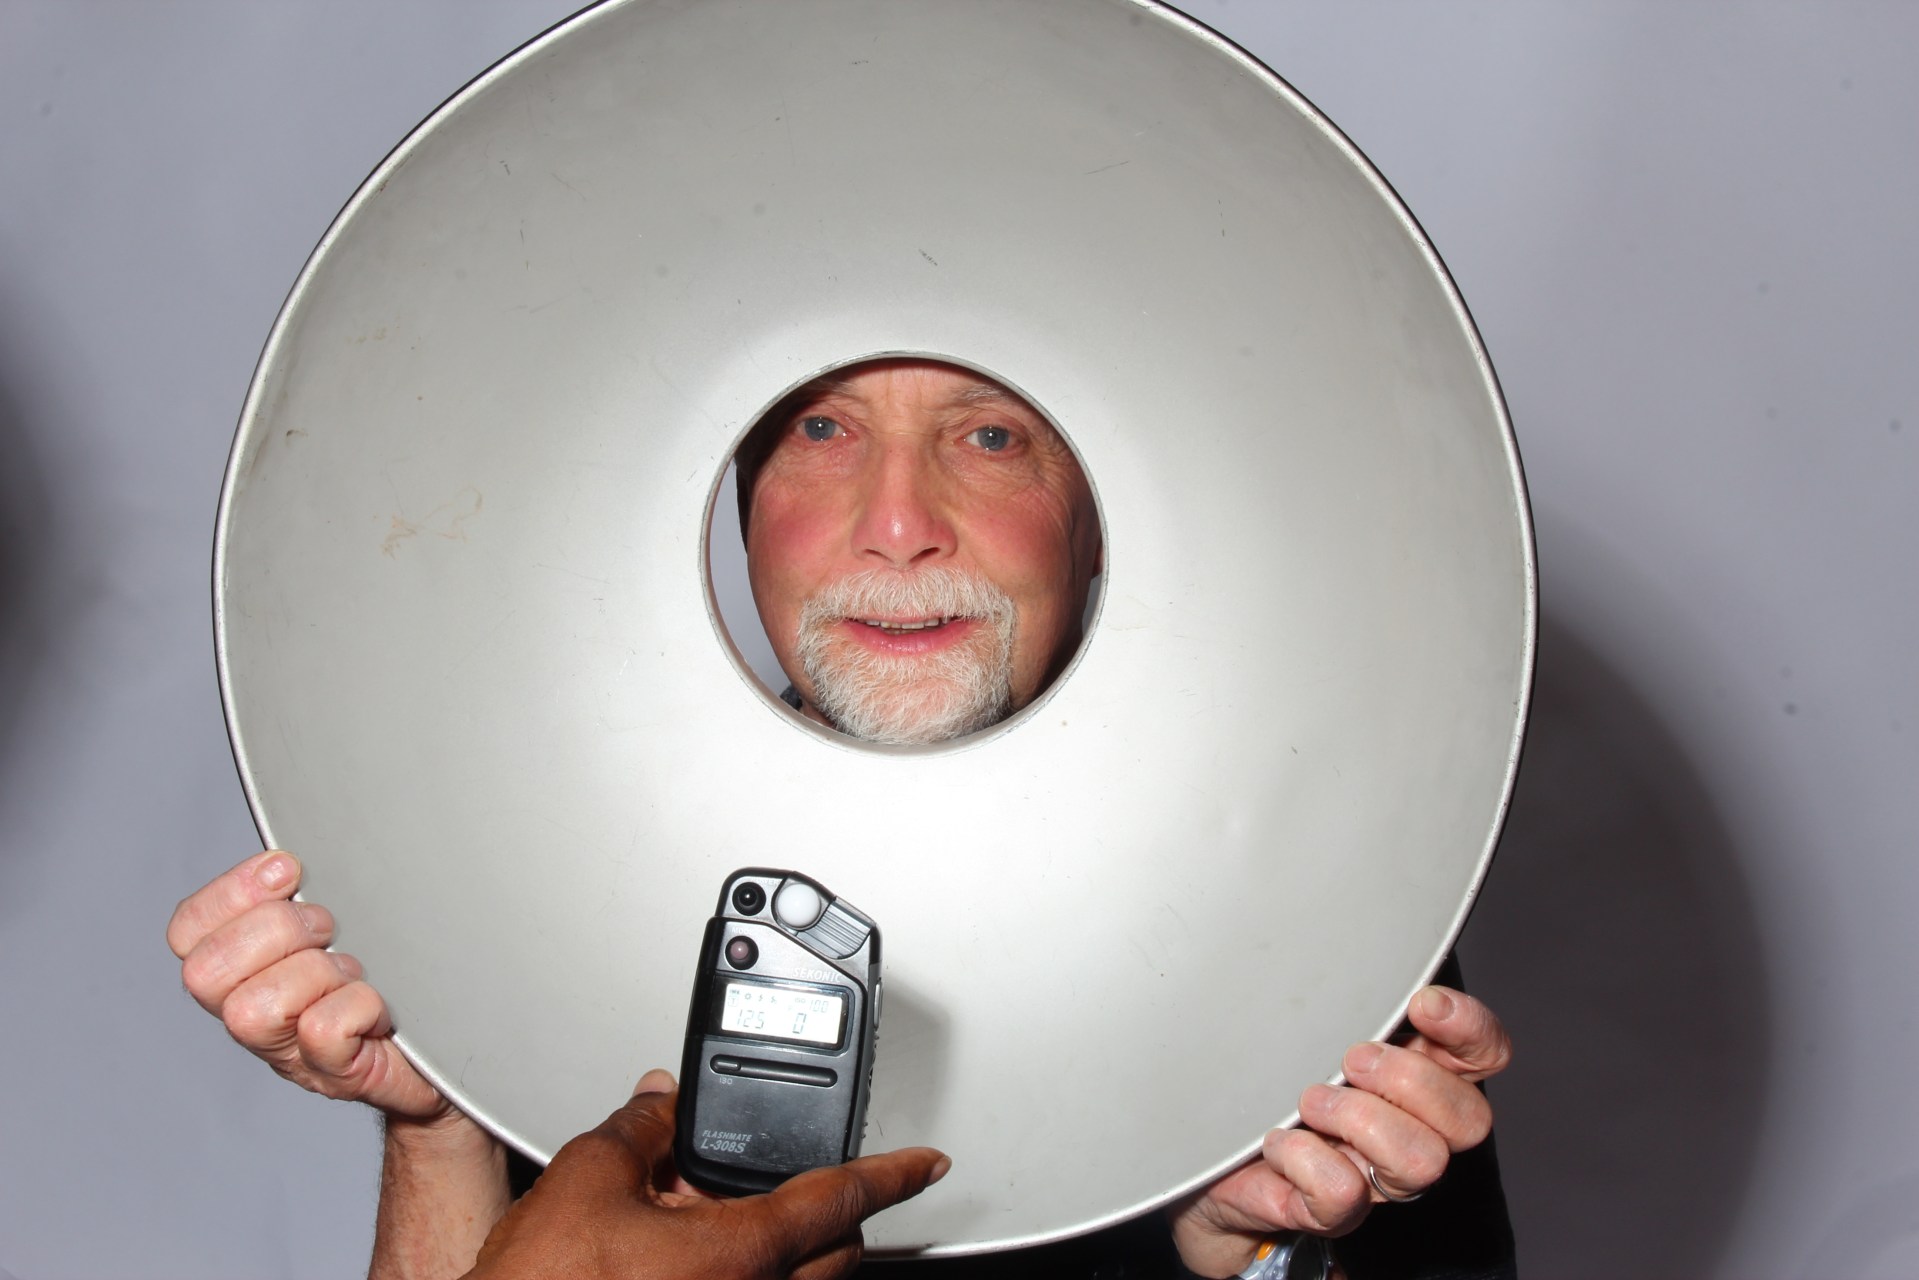
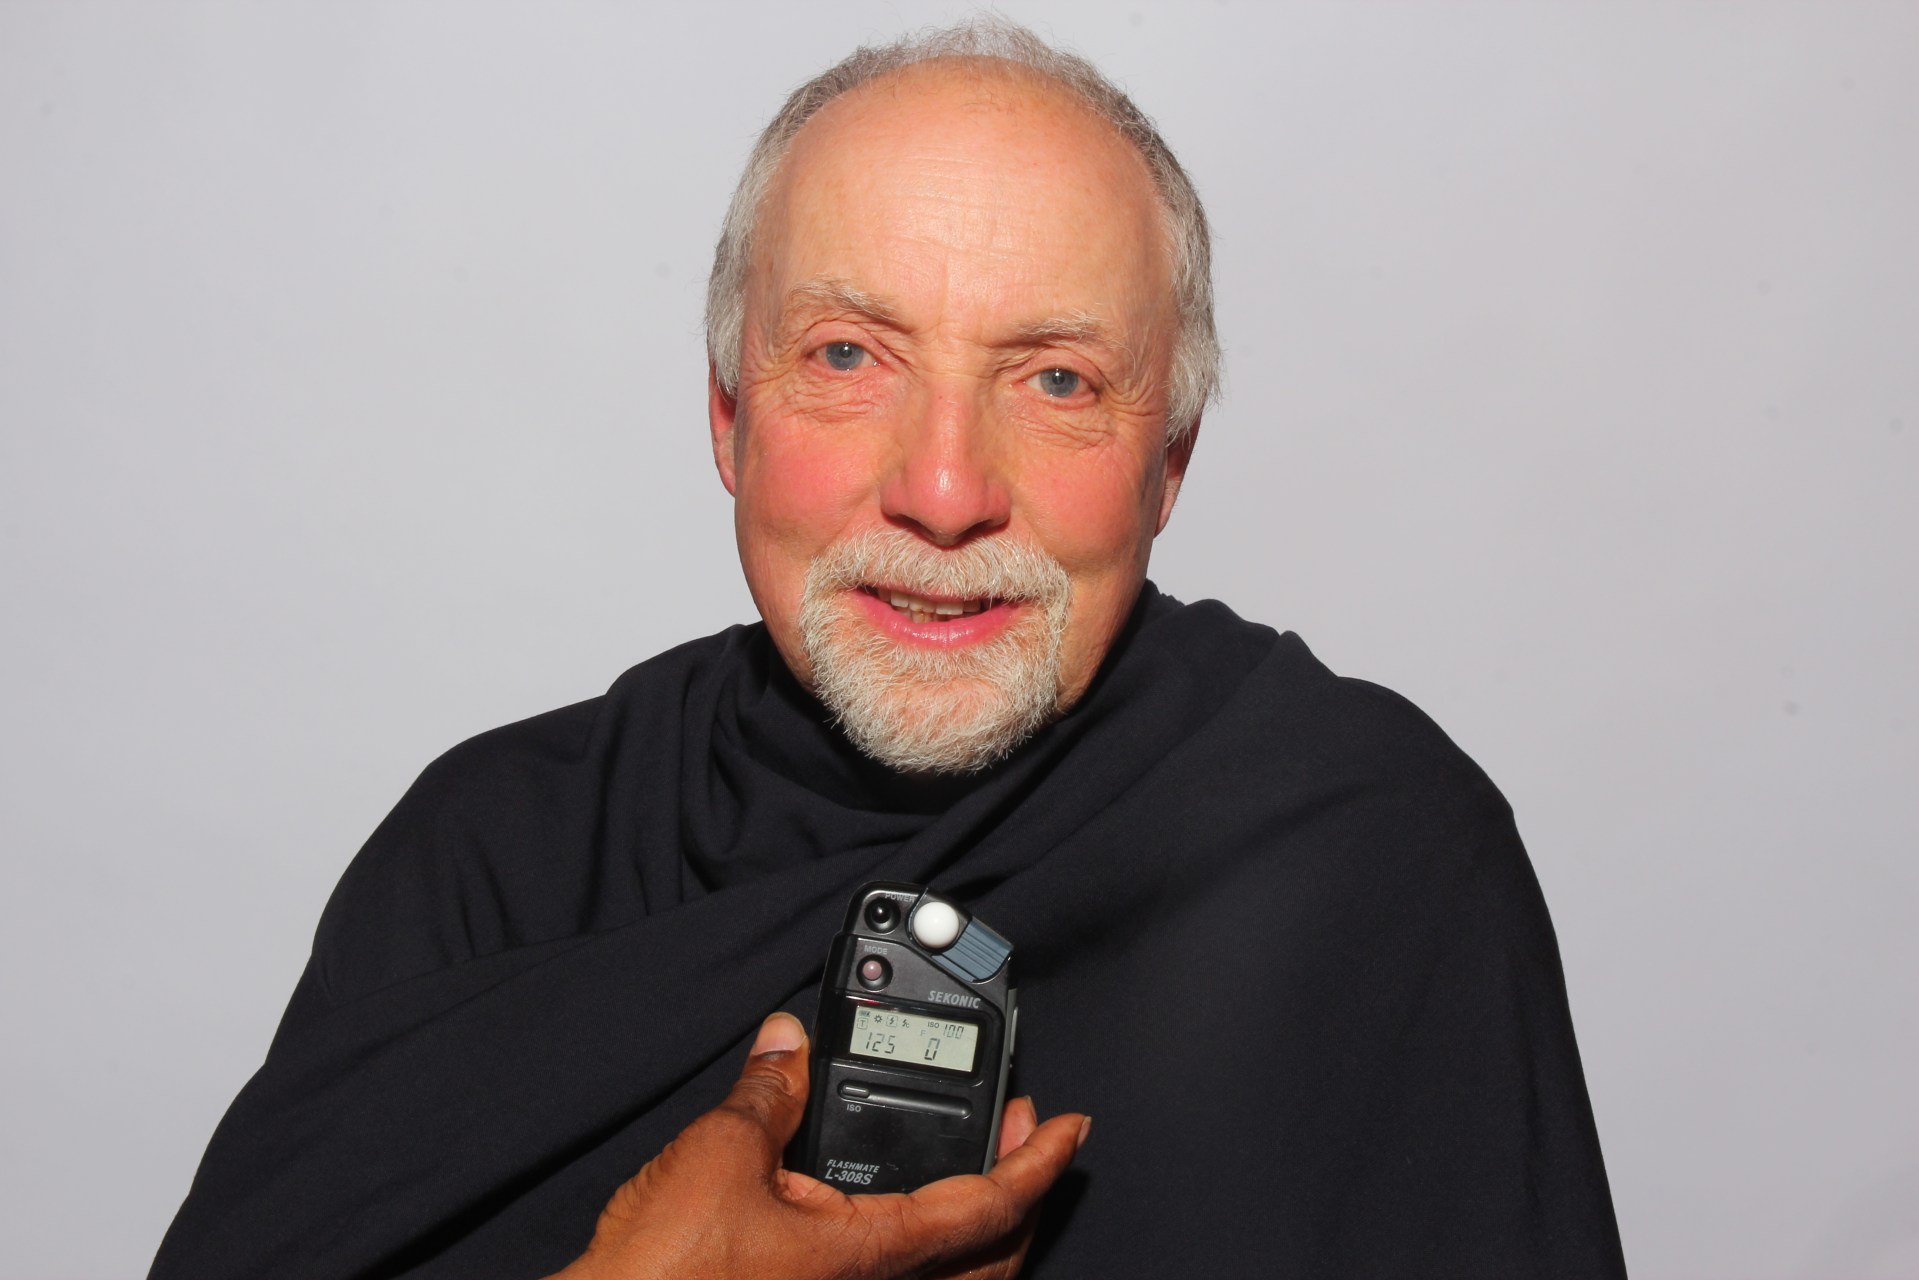
In class, in the studio we used a different approach and instead of using the meter in the camera, we used an external Flash meter- The Sekonic Flash Light Meter L-308. This measures the amount of light at the subject (instead of the amount of light hitting the camera, which will be impacted by the various factors such as the tone of the subject i.e. whether it is closer to white or black, and the tone of the background, i.e. a black background would mean less light hitting the camera meter, even if the amount of light hitting the subject was the same.). When putting the meter reading into our camera it will provide a consistent exposure setting for apertures and allow you to either over or underexposure for the type of lighting you want.
An example of a light meter and its controls:

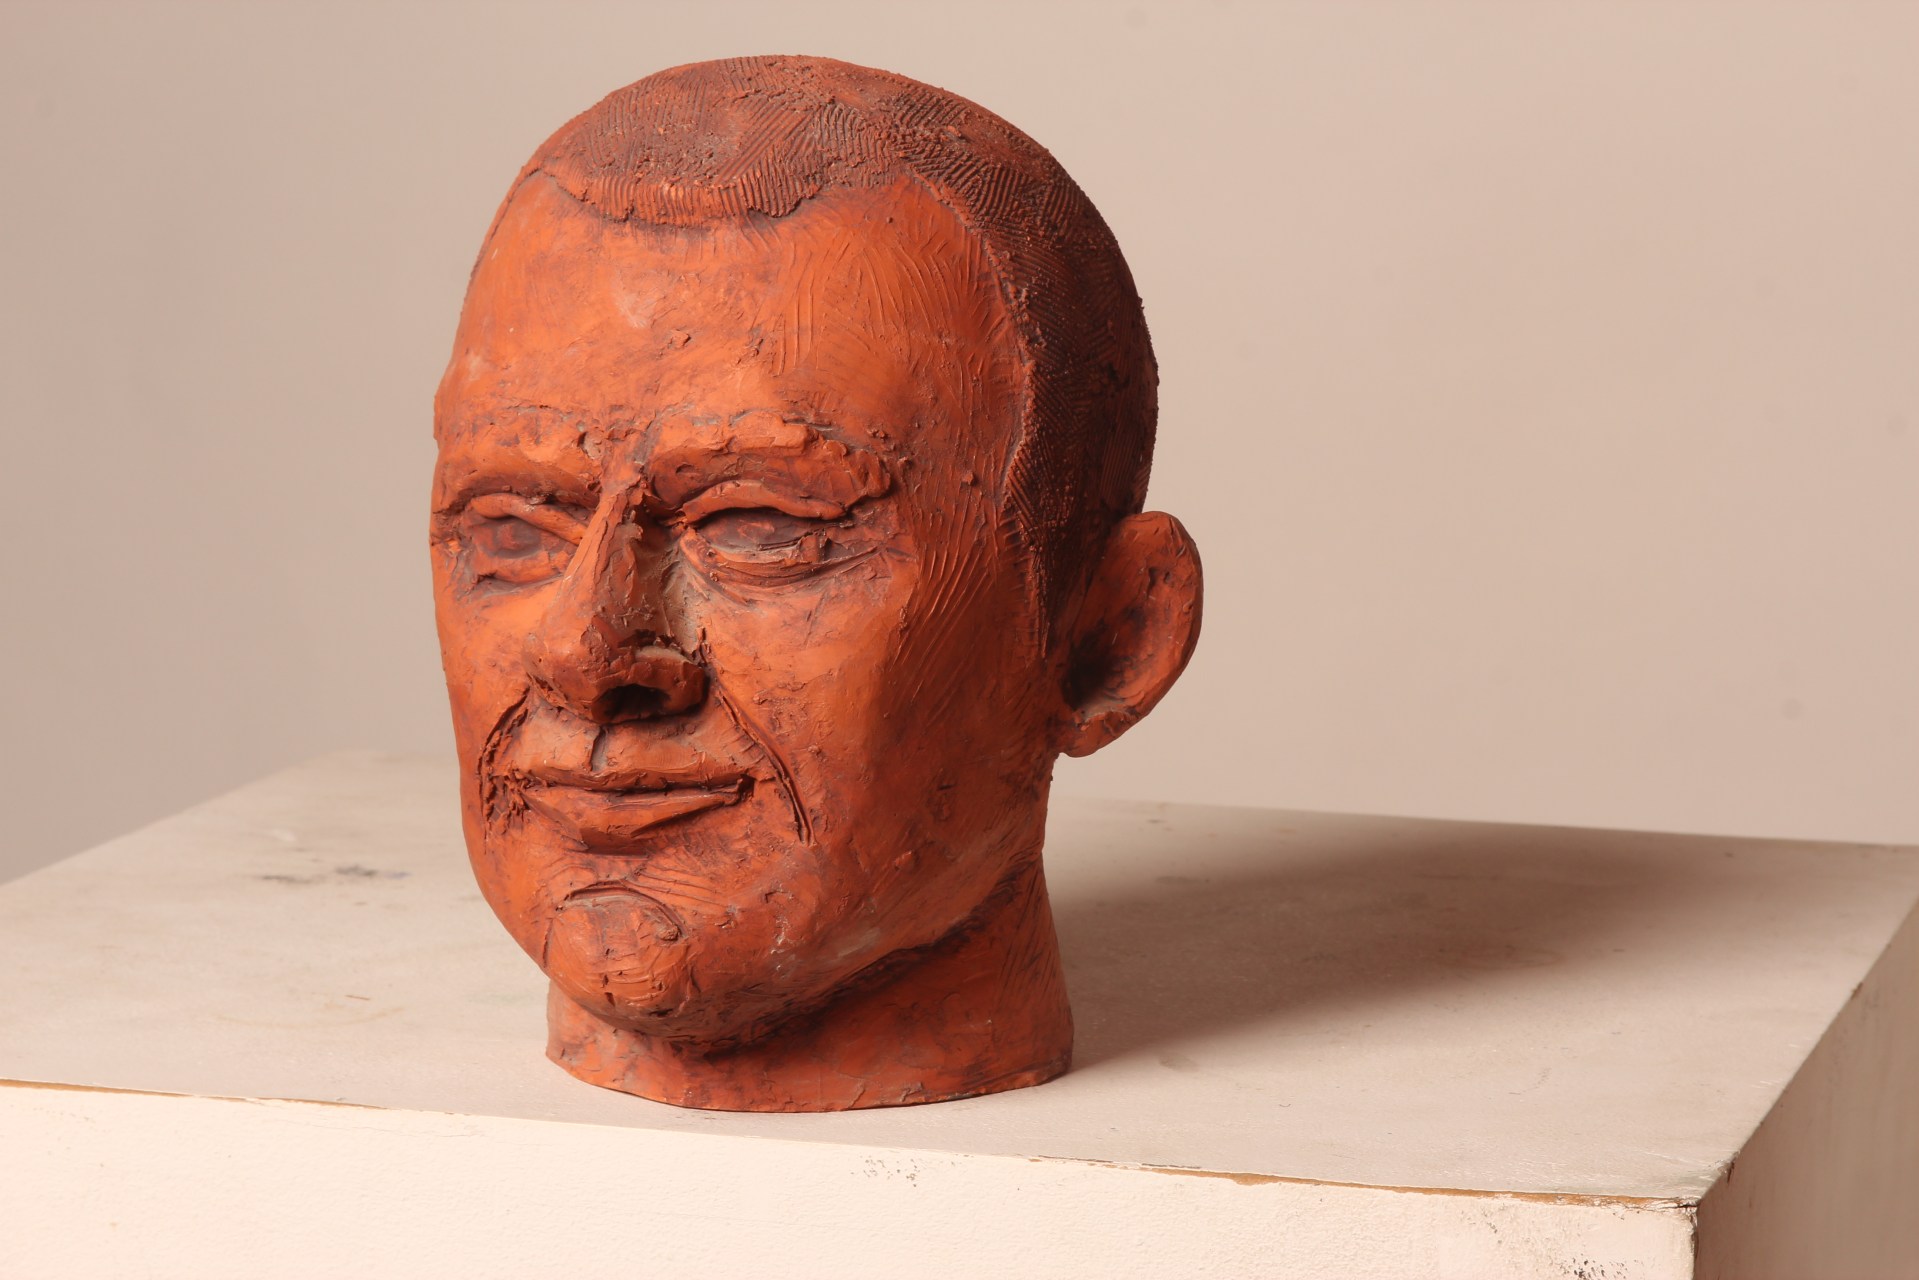
1.1,2.1 In the studio we set up with a white backdrop, closed the blinds and used 2 artificial light sources. One a modelling light and the other is a constant long round light which comes on with the flash. In other terms, strobes, flash lighting or continuous lighting. We made sure the shutter speed can’t go above 1/250 with the flash, so keeping at 1/125 and an ISO 100 Fstop 16 – F11 would be a good aperture to work with. We set our cameras on flash mode, however with my Cannon DSLR 600D, I discovered it worked better in auto white balance. We used a soft box with the the artificial light source. The soft box catches the light into a “box” and only lets it out through the front side. This makes the lighting more even. We then experimented with the light source, by moving it to the side and from above. This would then provide either even lighting or if from the side more exposed shadows.
3.1 With the series of photos below, you will see with the first two shots I used my internal flash and taking a meter reading from the Sekonic reading. In the next shots I then switched to using a transmitter on the camera with the tungsten light and flash. This made a dramatic improvement. The following images you will see the first set of pictures will have the meter in it and then the second image is what it looks like after putting the meter reading into the camera.
The first two images below is the example of just using the internal flash.


Then using a transmitter on the camera with a tungsten light with a flash made a great improvement to the picture. The lighting and shadows is more defined.
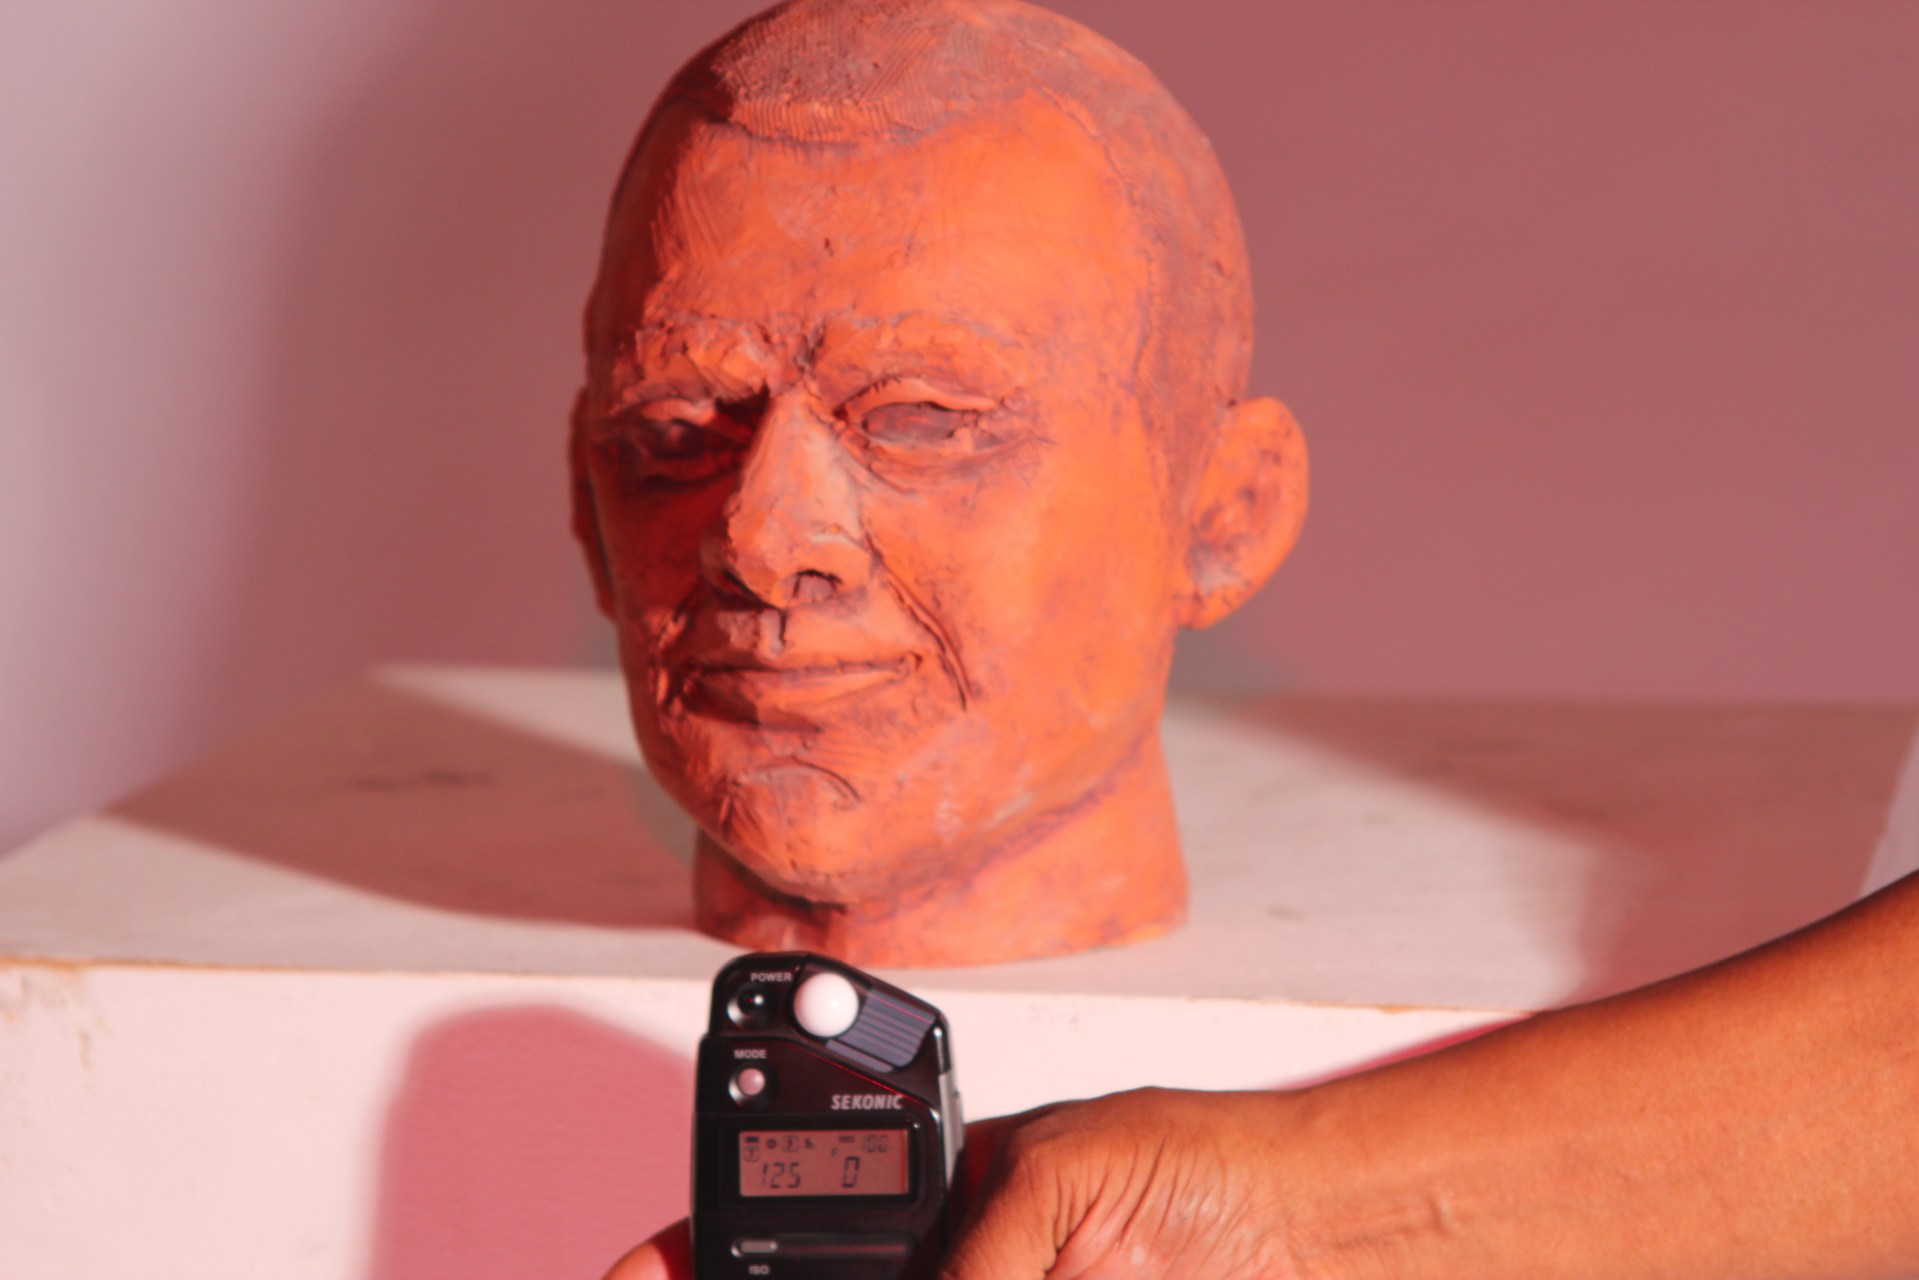
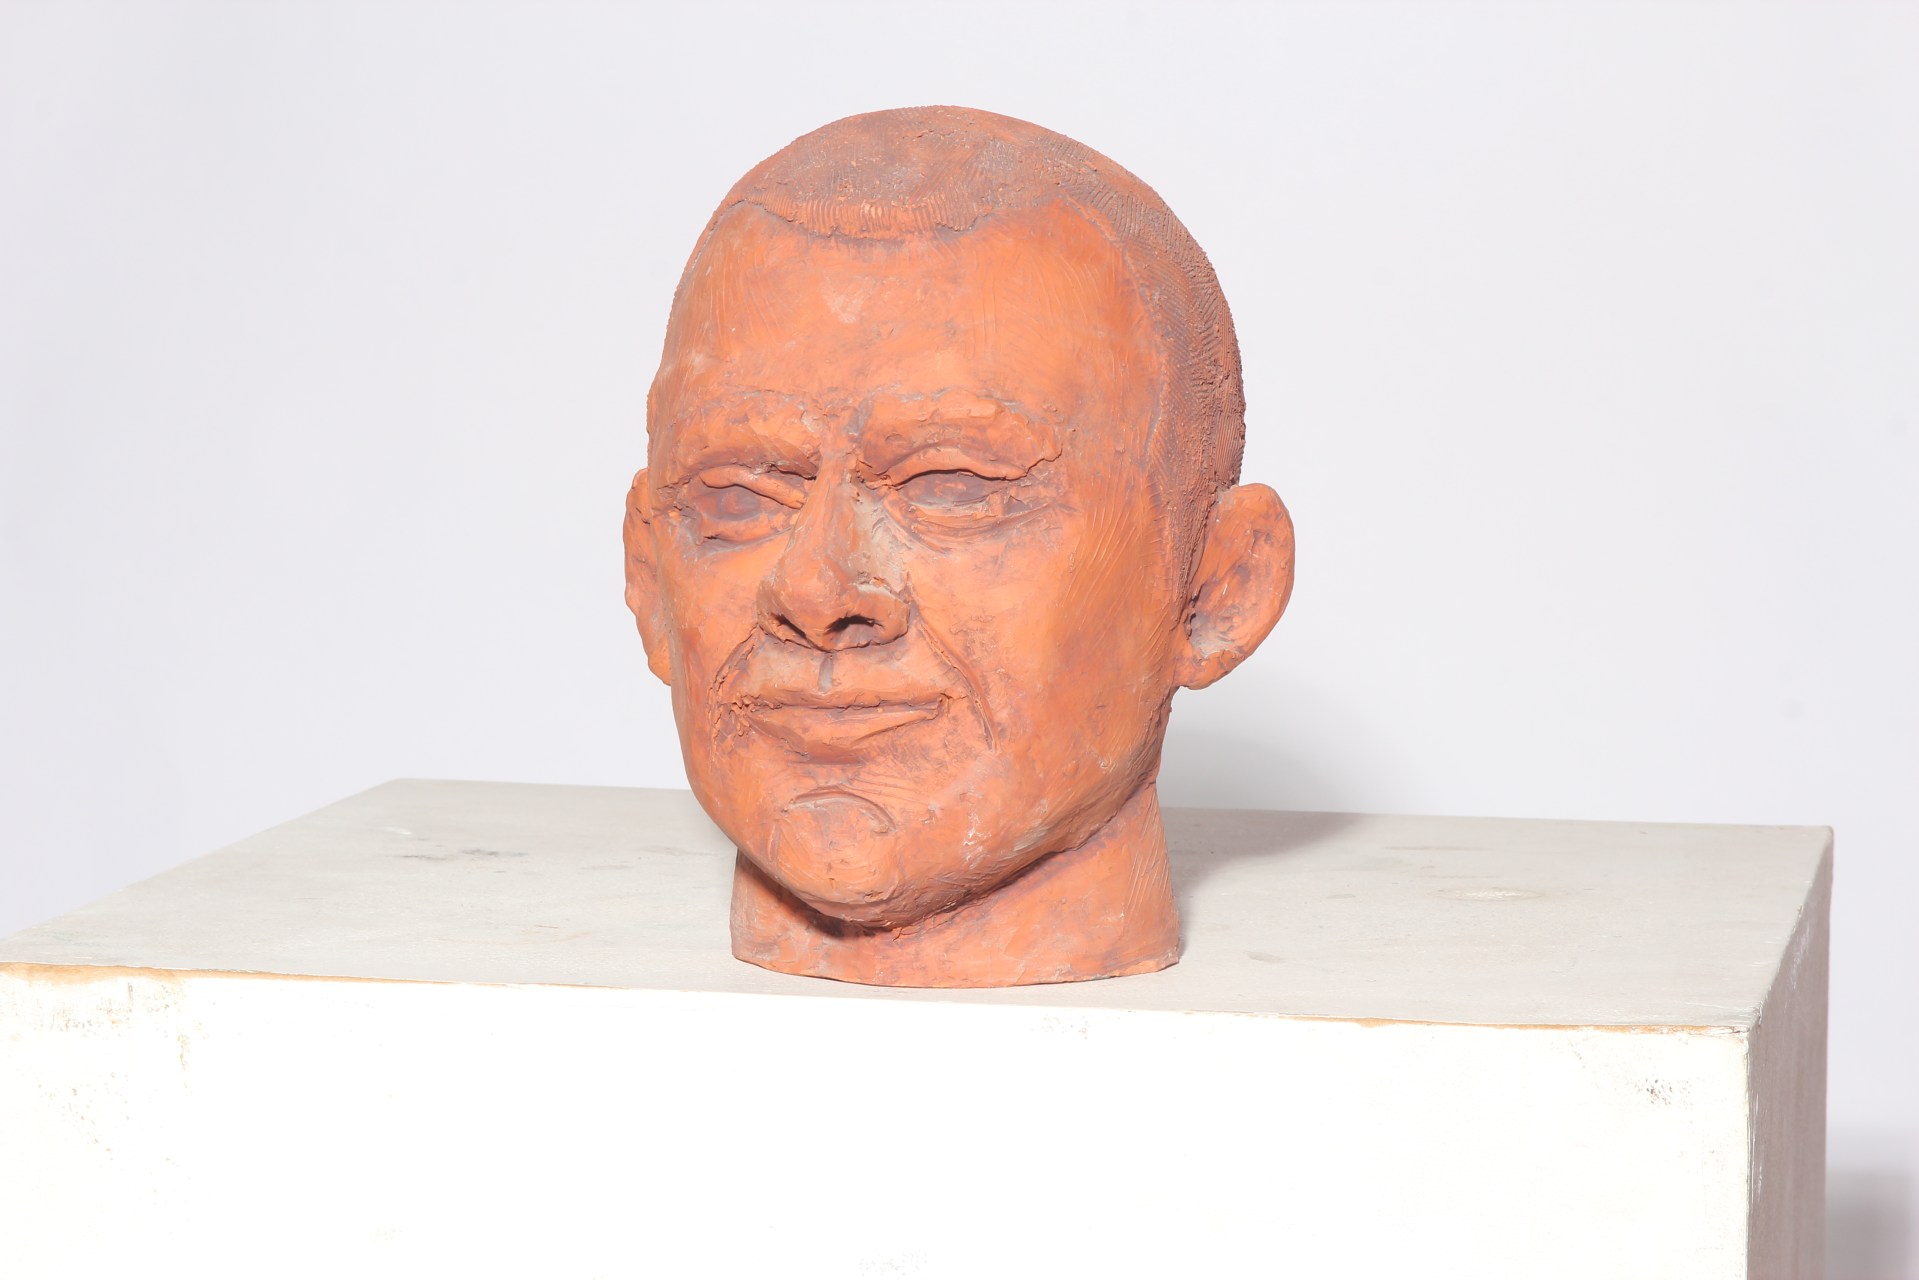


3.2 In the first pictures it made a big difference putting a transmitter on my camera. The internal flash on my camera does not provide enough light in a studio setting. Once I had the transmitter on I experimented with taking the meter readings and putting it manually on my camera. It was the aperture we had to work with most, as we had set up the light meter with shutter speed of 1/125 and a low ISO of 100, as we had a powerful flash providing lots of light. The meter reading suggested a mid to high number Fstop. I can see after the meter reading is put in, there is correct exposure.
4.1 We didn’t use a cable with the light meter (battery operated) which is a lot safer, as avoids tripping over it. We had to be aware of the lights getting extremely hot, if we needed to move them, special heavy duty gloves could be provided. The flashlights are very strong and can damage eyes, so we made sure whoever was being photographed was not exposed to it for too long.
