The Digital Image:
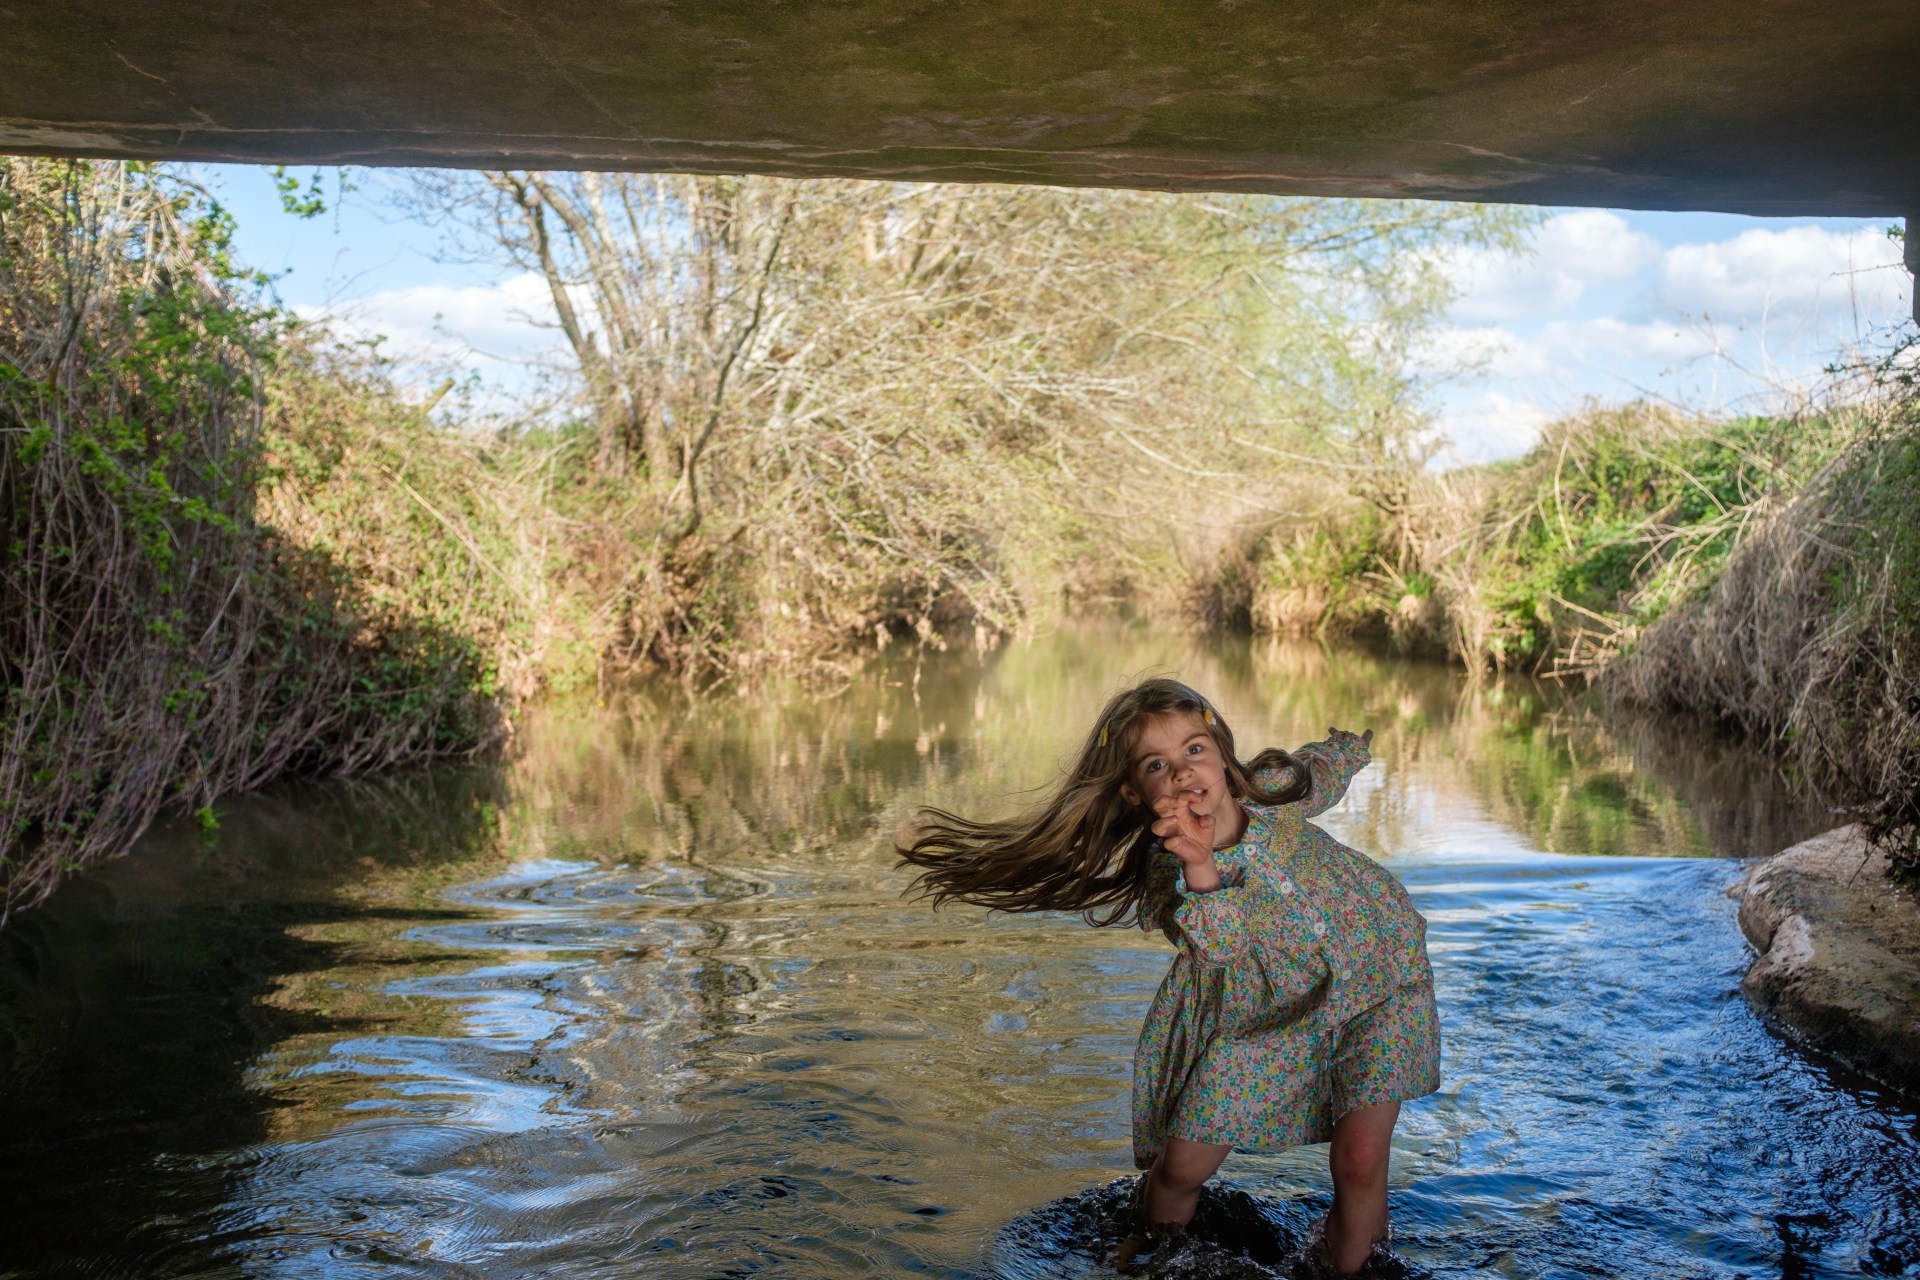
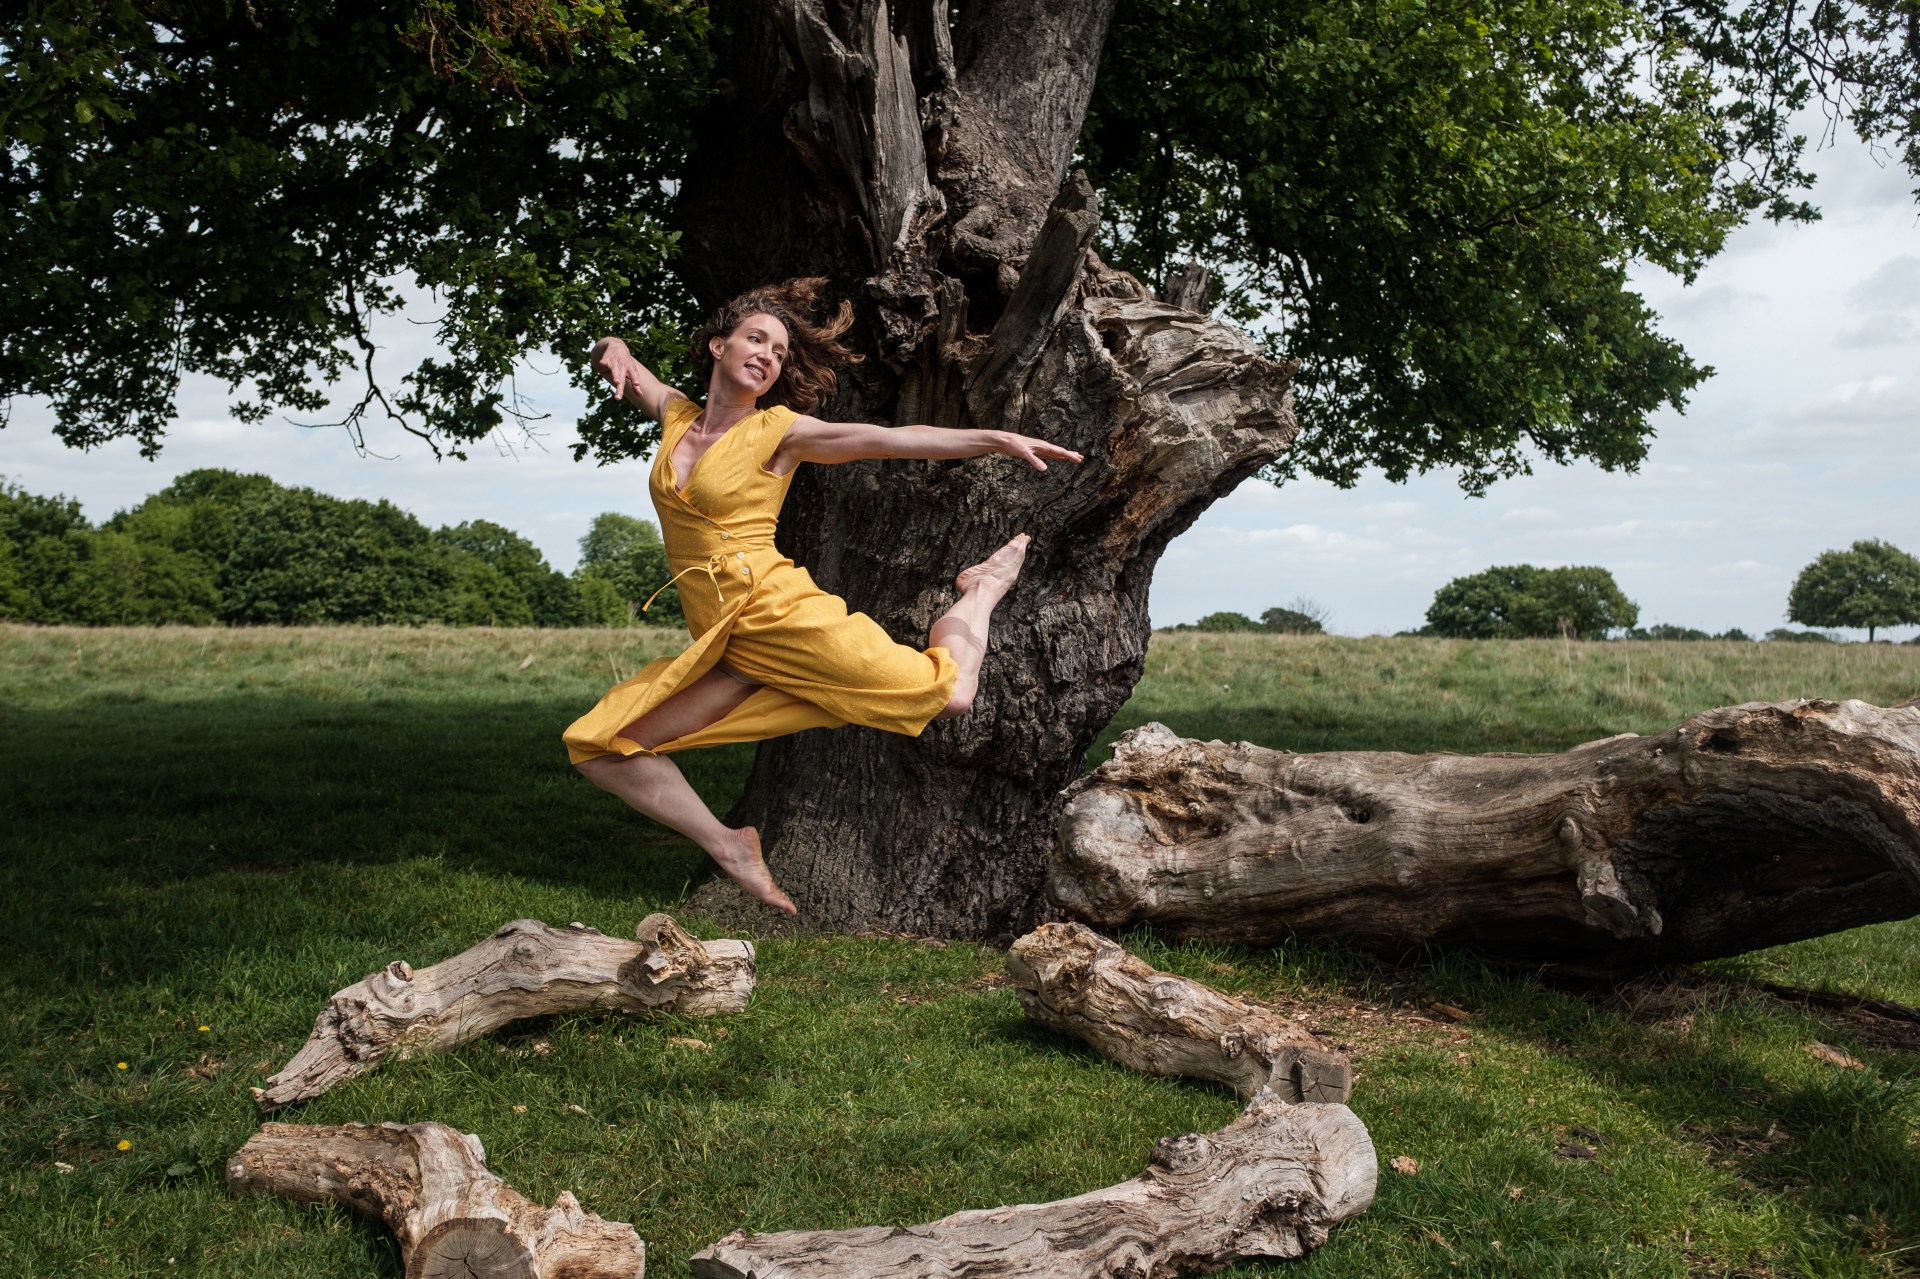
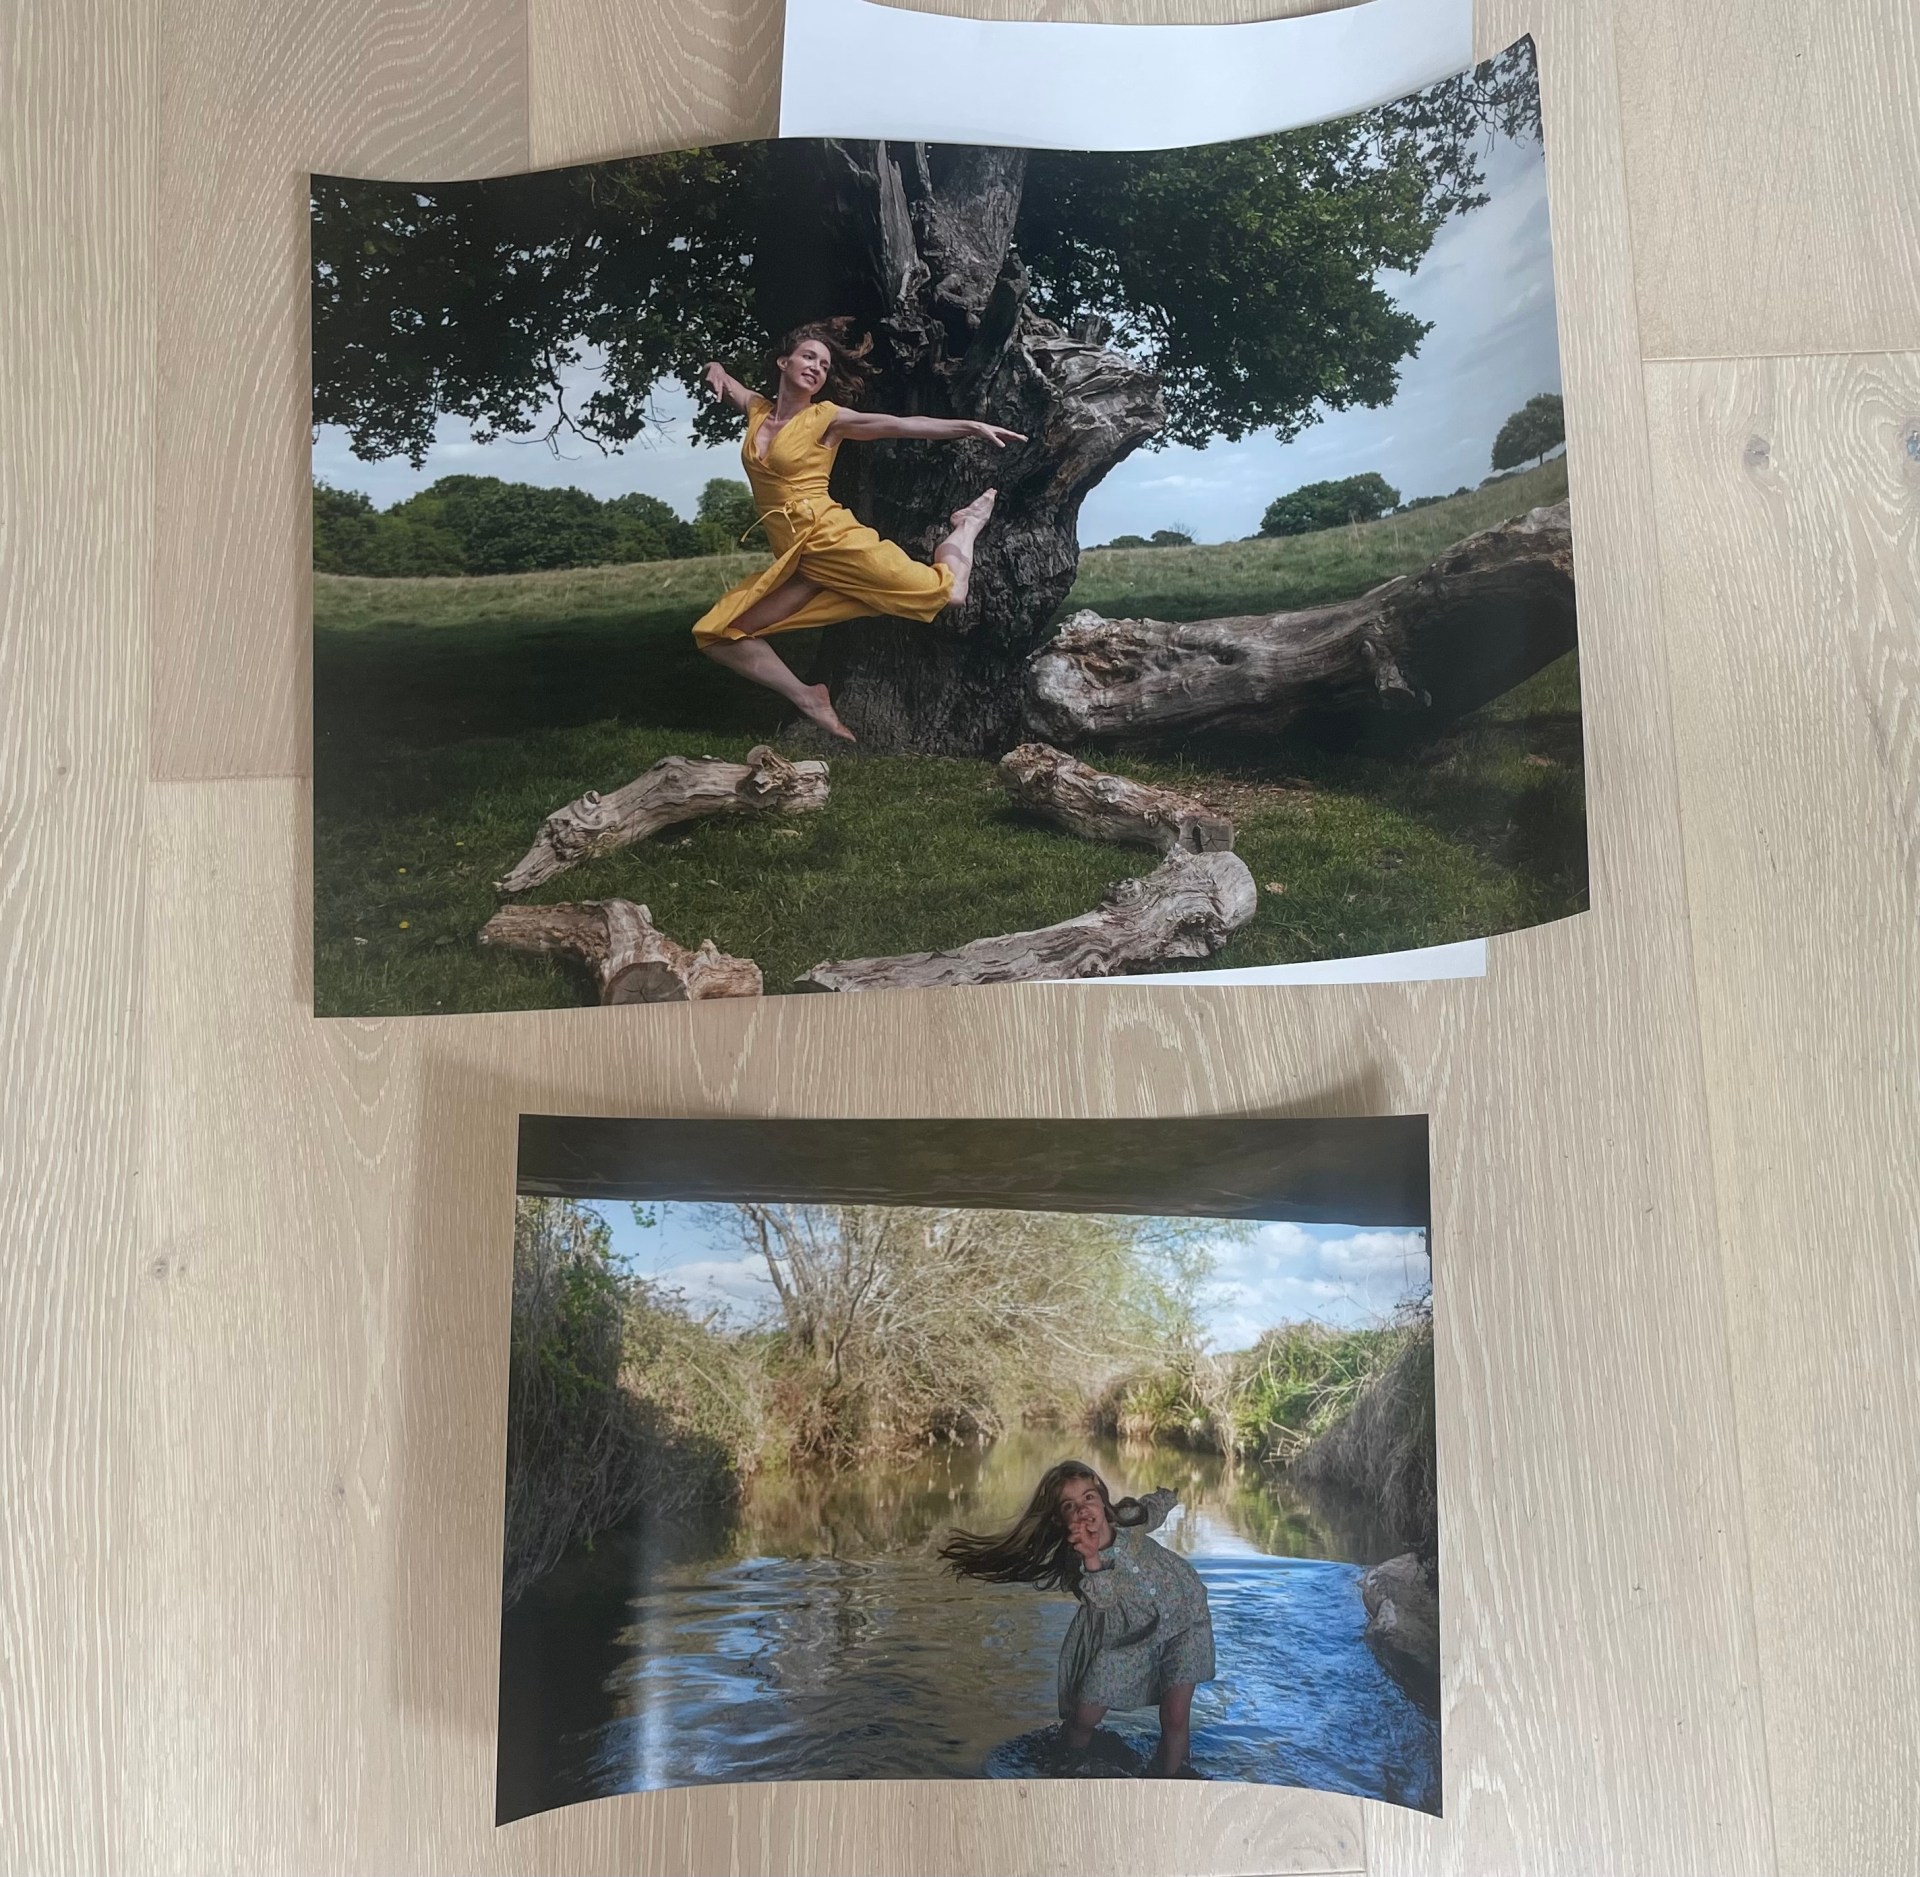
When using my FujiX100 or Cannon DSLR 600 D I shoot in Raw. Shooting in Raw means I have so much more scope to edit and improve my photo image in lightroom. Then using my SD memory card from the camera, I place it into my laptop in import the images to Adobe light room. Below you will see my two final images chosen for the photo exhibition:
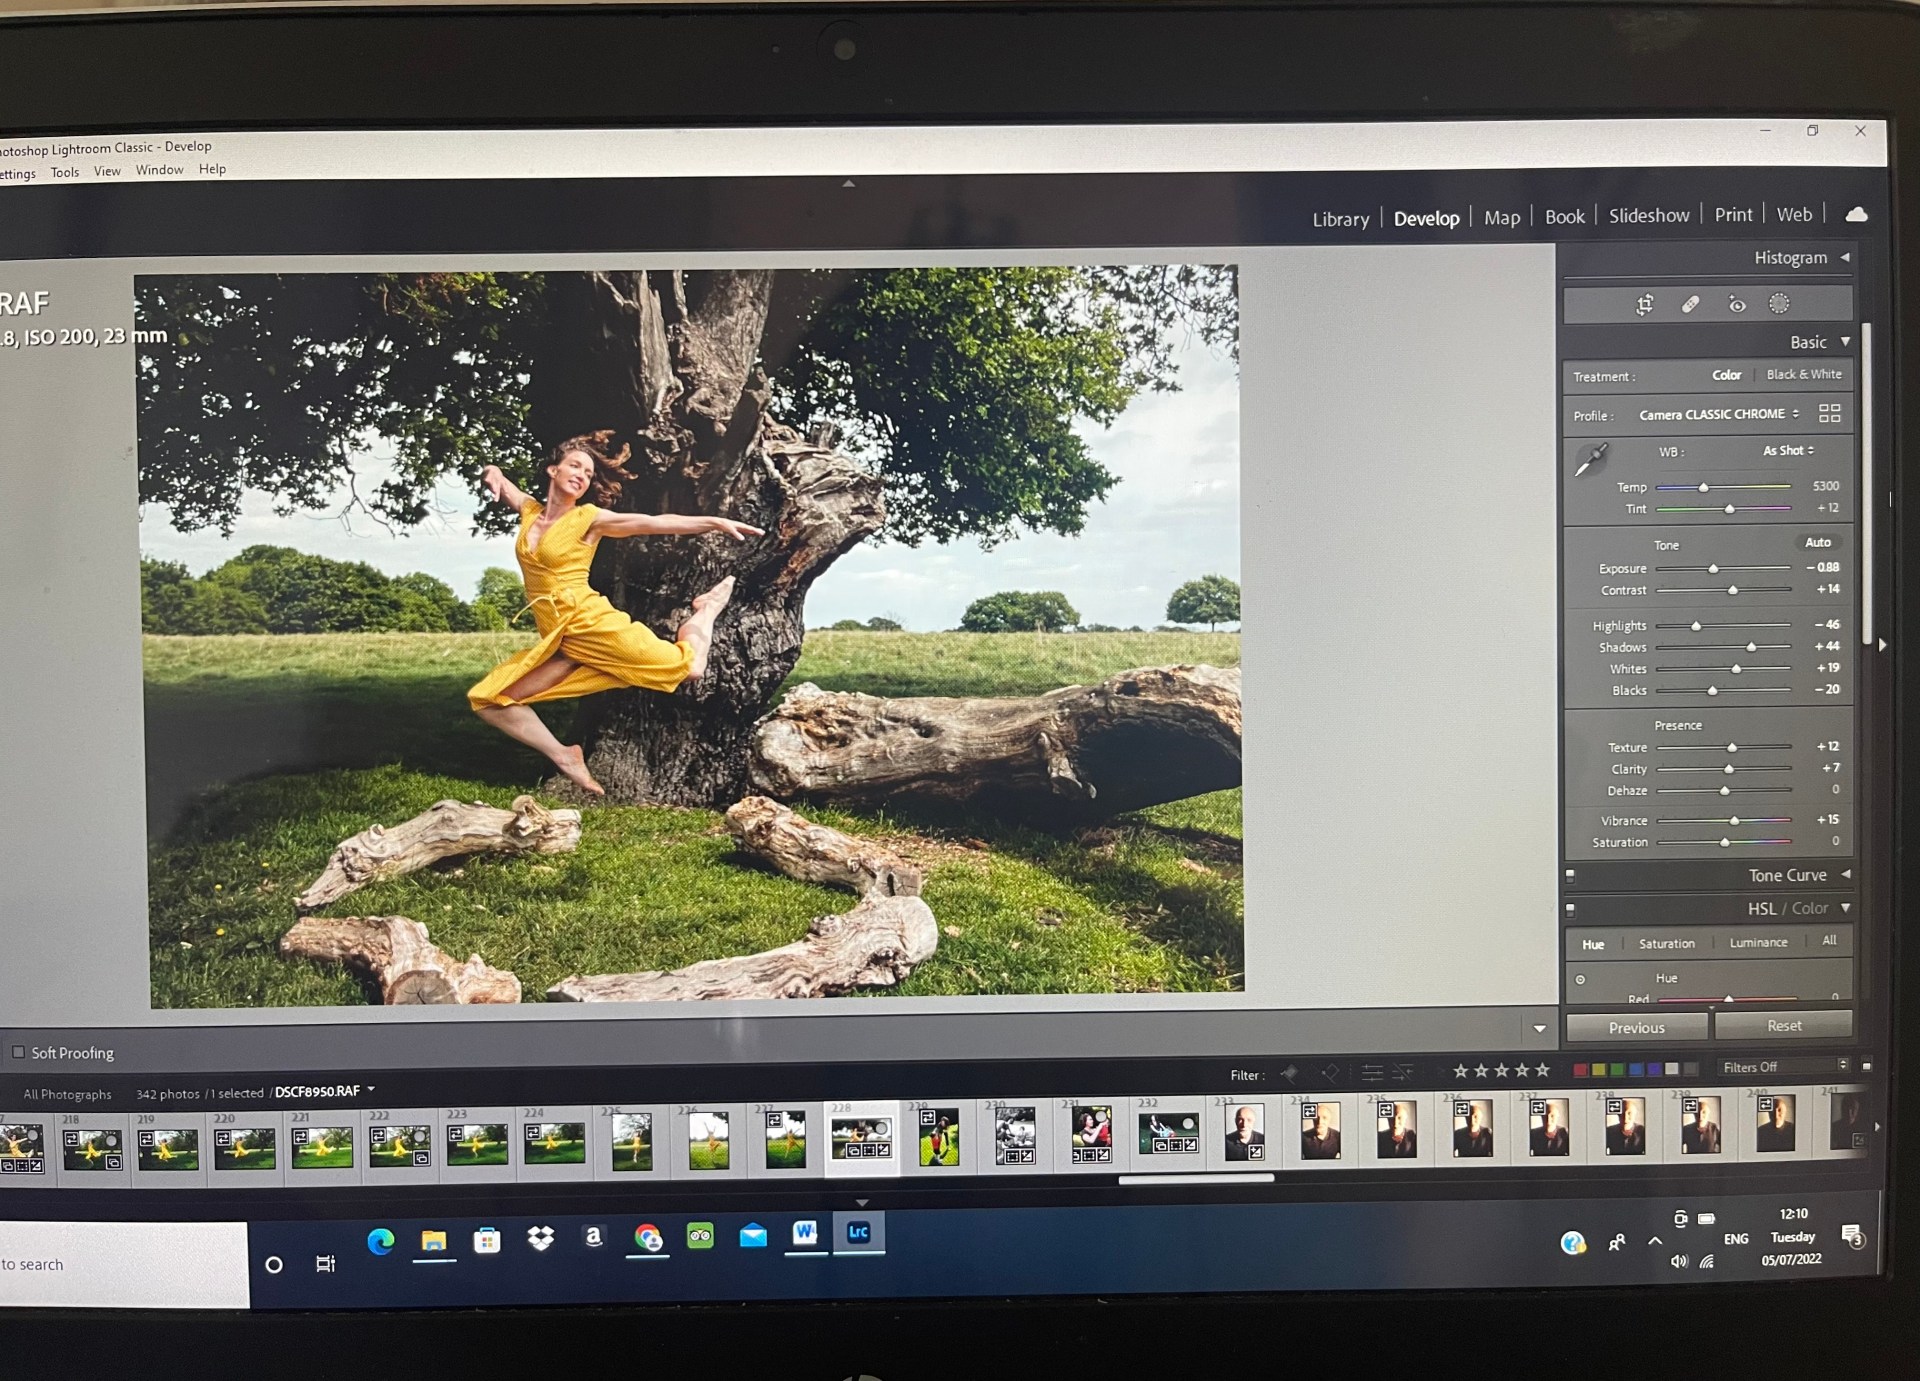
In the image below you will see a screenshot of how I edited the photo in the Lightroom, I was able to adjust the exposure, decrease the highlights, increase the shadows and slightly increase the texture and clarity to sharpen up the movement in the dress as well as her muscles on her body. I increased the vibrance too so that it really brings out all the lovely colours.
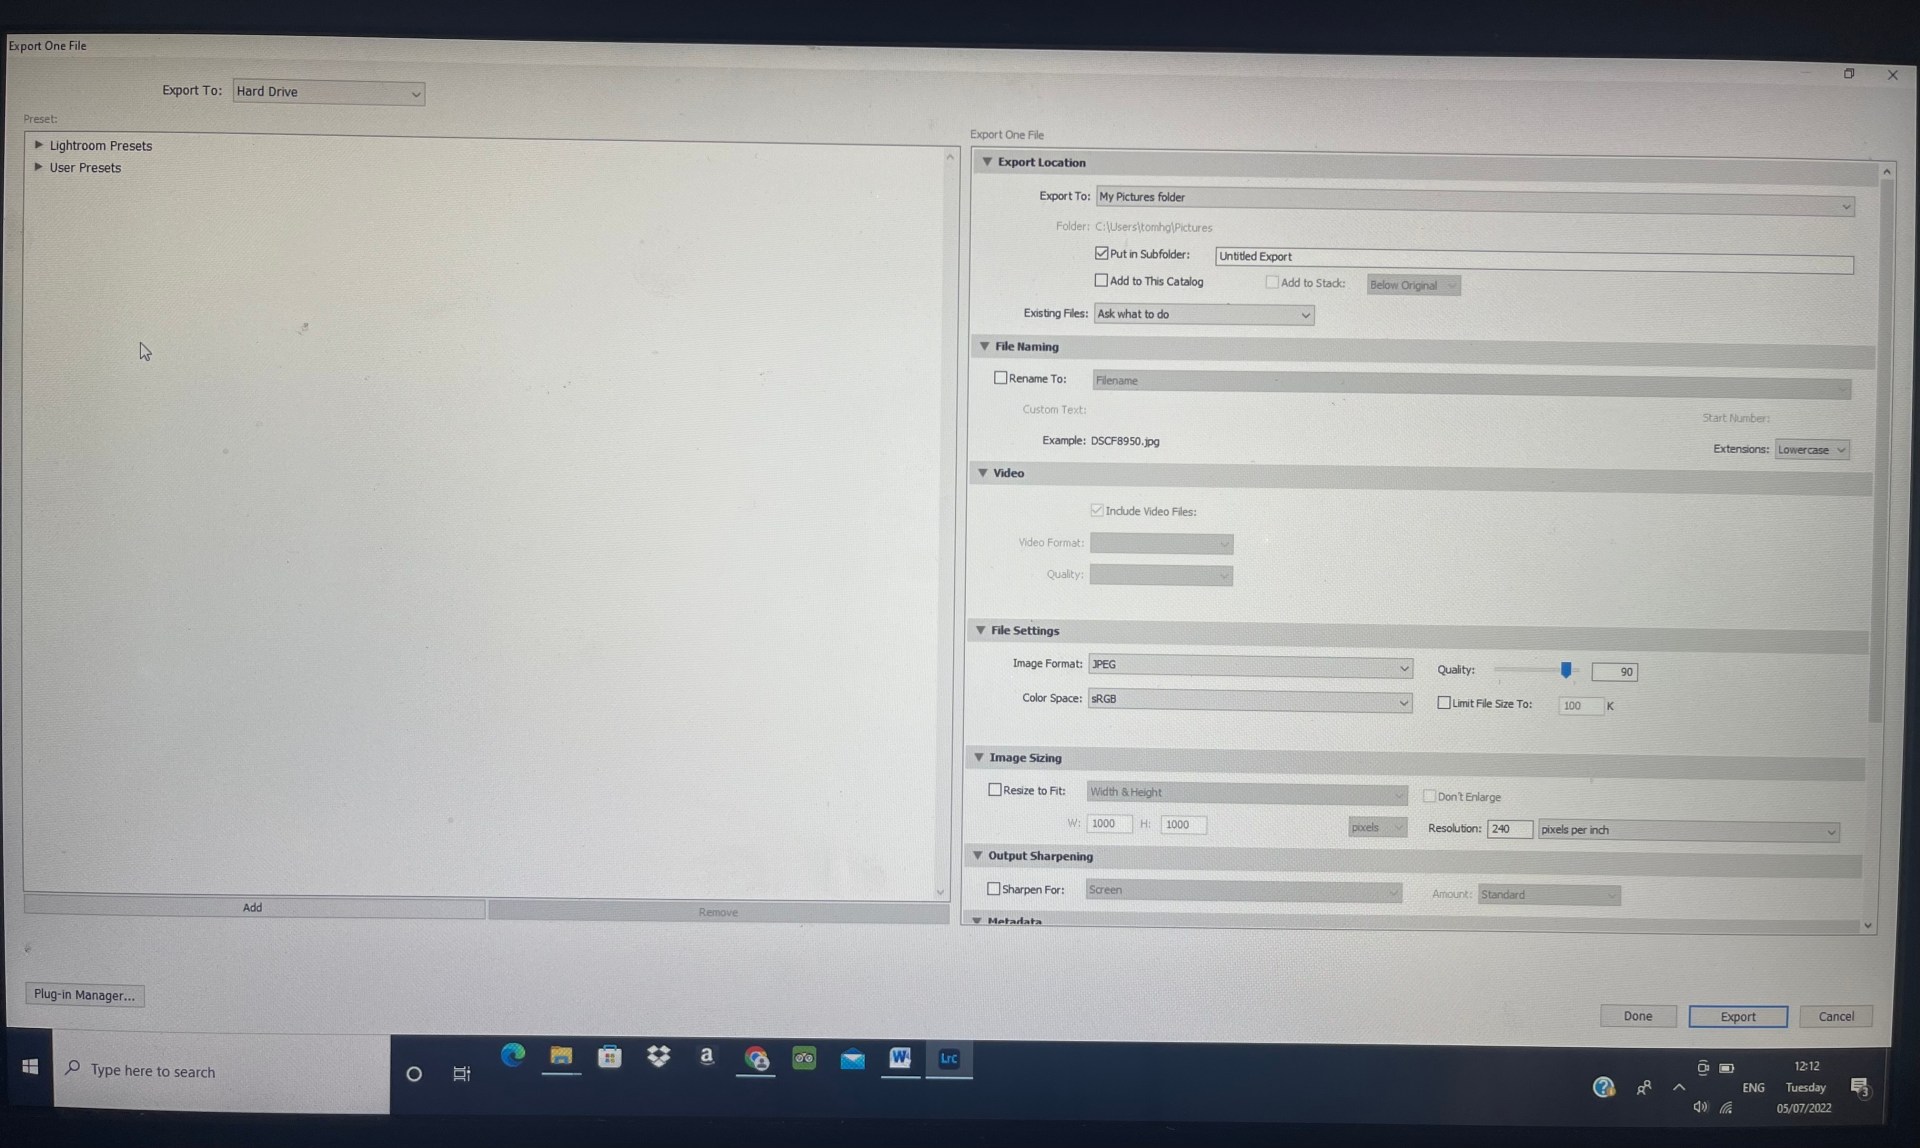
Once I was happy with the final image I then need to import the file as a jpeg to my desktop folder on the computer. As you can see from the screen shot below I make sure the quality of the image is a the top end, its now a Jpeg file. And the DPI resolution is 240 pixels per inch, Ideally you don’t want to go below 200 DPI when printing.
What is a pixel and why it is important for quality?
A pixel is the smallest item of information in an image, pixels are arranged in a grid made up of squares. Each square has a colour and shade to it. The more squares there are the more detail there will be in the picture. If there are too few pixels then there will be a lack of detail in the image or it will even look pixilated. There is no value to having an enormous amount of pixels in a small print out as the detail will not be visible/the printer will have not have enough resolution to print the detail in any case. In addition the quality of the image is limited by the quality of the lens used, noise from high ISO, camera shake and other factors, the high pixel count will not make up for any lack of detail as a result of these factors.
My jpeg files are then saved on a folder on my desktop and all my original images I imported to Adobe lightroom are saved to a library there.
Printing:
Once my image is saved and ready to go I can then look at printing companies. Print Space is an online printing company and provides 11 A4 sample pack-
“We only print on the finest papers, with top brands names such as Hahnemuhle, Kodak & Fuji Film Professional. A sample pack is the best way to see how they look and feel. Only £6 inc. VAT “
When looking through the samples I decide the C Type Fuji Matt would be most suitable for my work:
“Fuji Crystal archive paper with a semi- matt finish. The paper is coated with a slightly stippled texture giving a very natural photographic finish with subtle colour. Great versatile paper, very natural and works well with all photographic images. Maintains colours in a very natural way, giving a detailed. 3- dimensional beautiful photographic reproduction.”
I can then soft proof at home by downloading their papers ICC profile in Lightroom before sending the order.
Once happy with my decision I upload the jpegs to the website, making sure I have the correct measurements of an A2 and A3 size in inches, as there will be a border mounted in the frames I have a little bit of leg room for the size to be slightly bigger if it needs to be printed like that.
I am happy with the final prints that arrived the following day and look forward to seeing them in the exhibition.
3.1 I have to be careful with my eyes and screen time when using my computer. In my kitchen it is very bright so I make sure all the shades are on the skylight windows above. I make sure my posture is upright and stretch out my neck in intervals. I keep hydrated with water to avoid headaches from looking at the screen too much.
